Add team members to your workspace
In this guide, you'll learn how to invite team members to your workspace by creating profiles that store all their details in one place.
-
From the main menu on the left of your screen, go to Team.
-
Select Team members from the left menu panel.
-
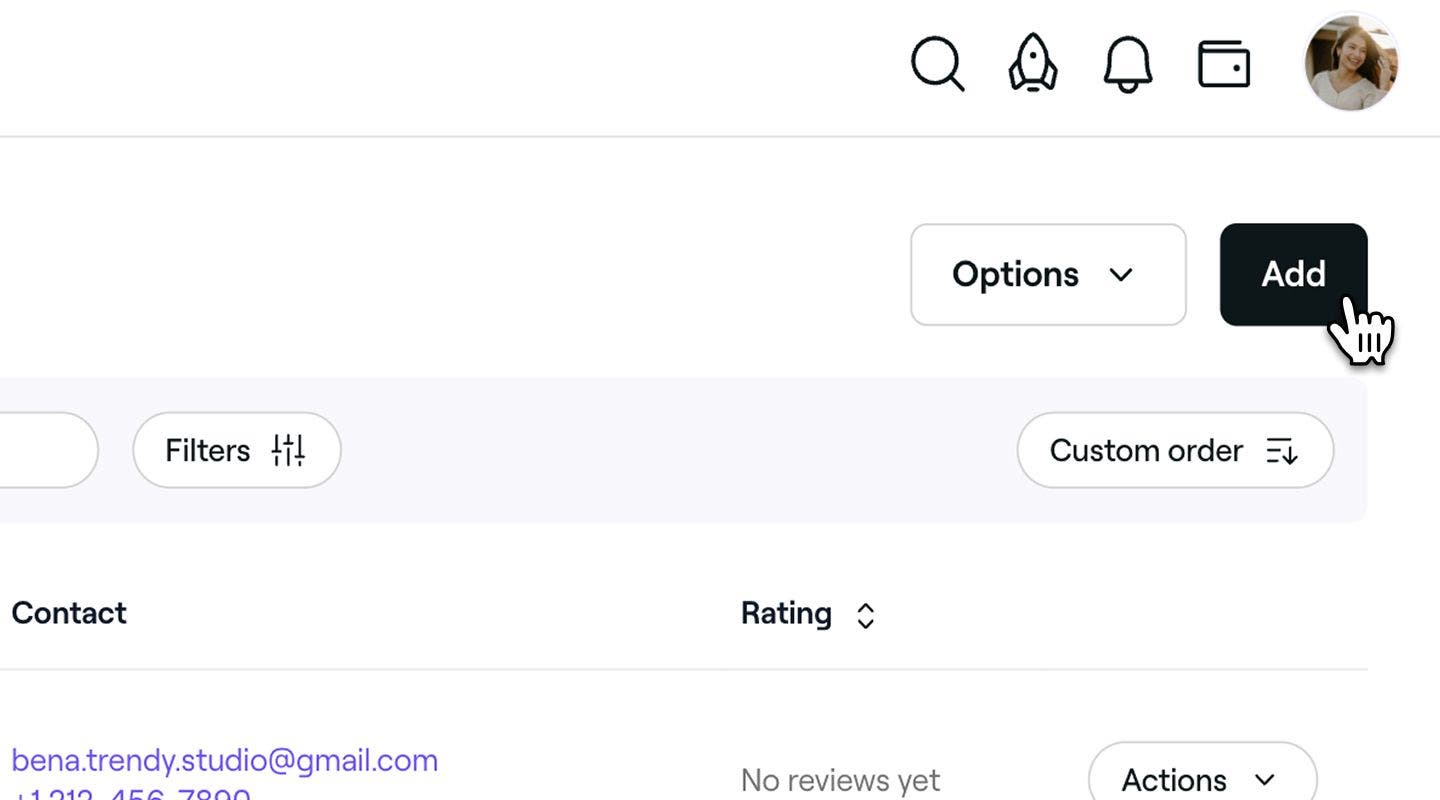
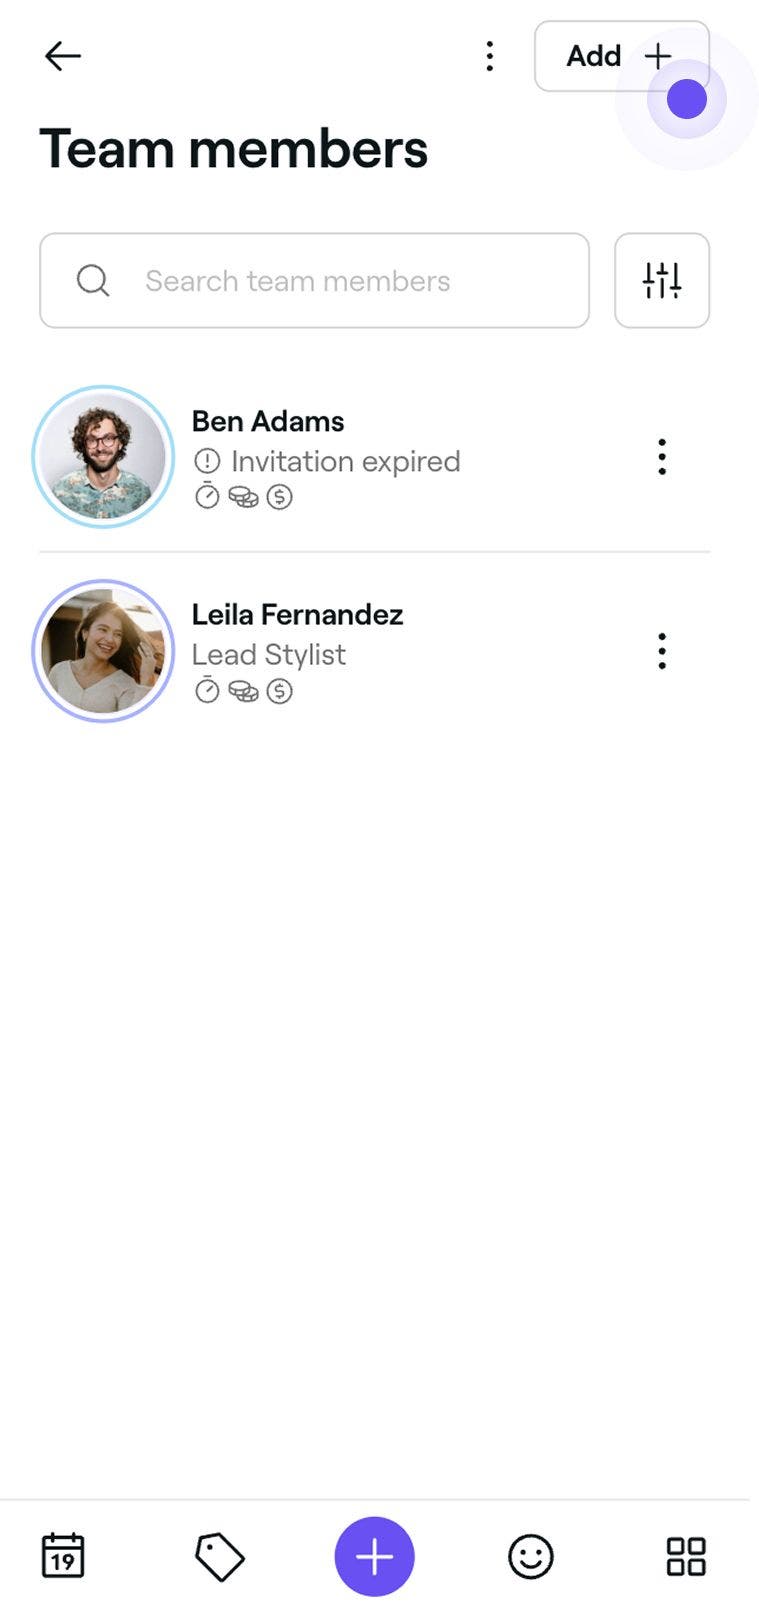
In the top right of the Team member list, click on the Add button to create a new team member profile.
-
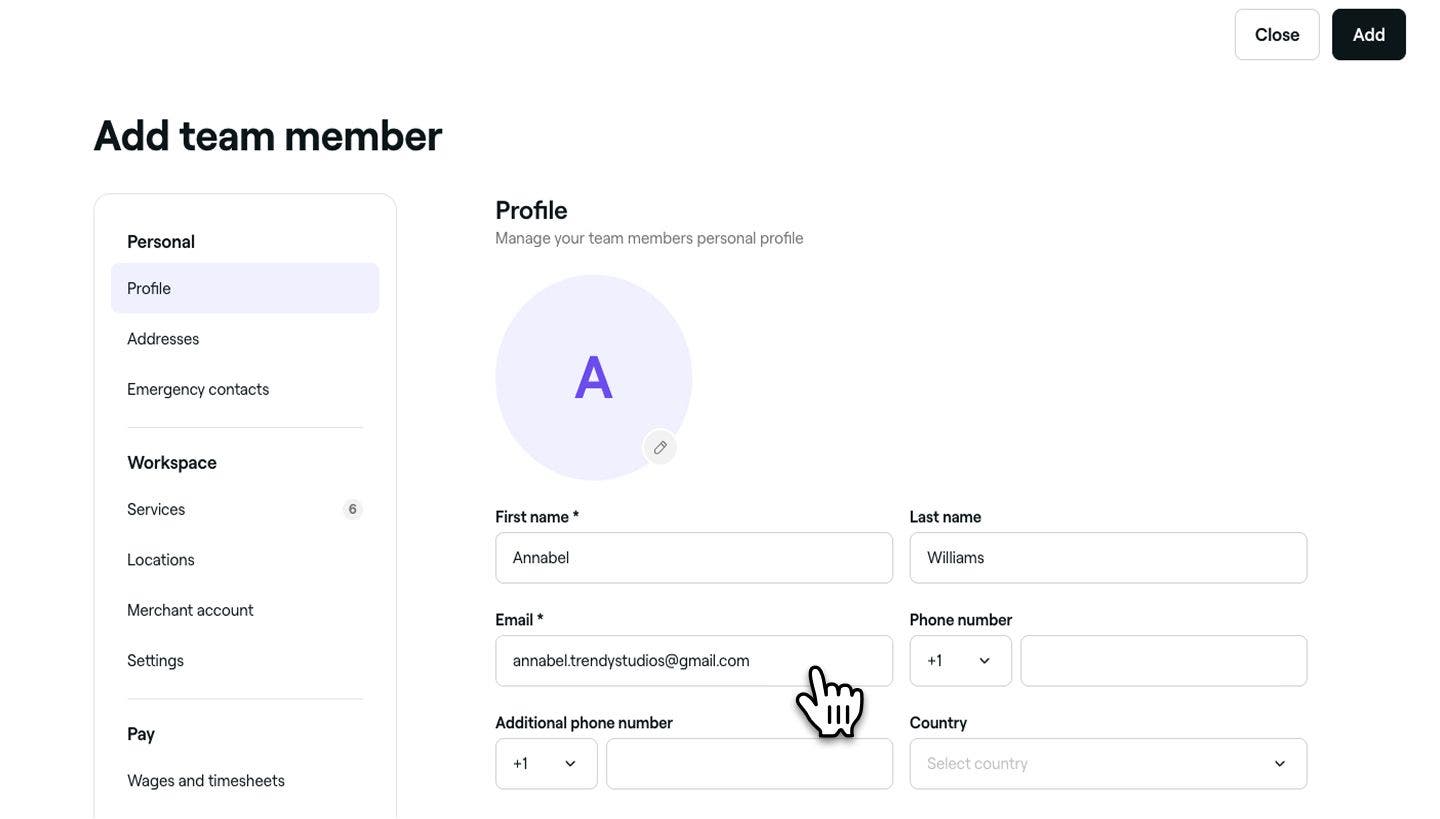
In the Add team member view, enter the team member's name and email address to create a basic profile.
-
Click on the Add button in the top right of the view to save the team member's profile.
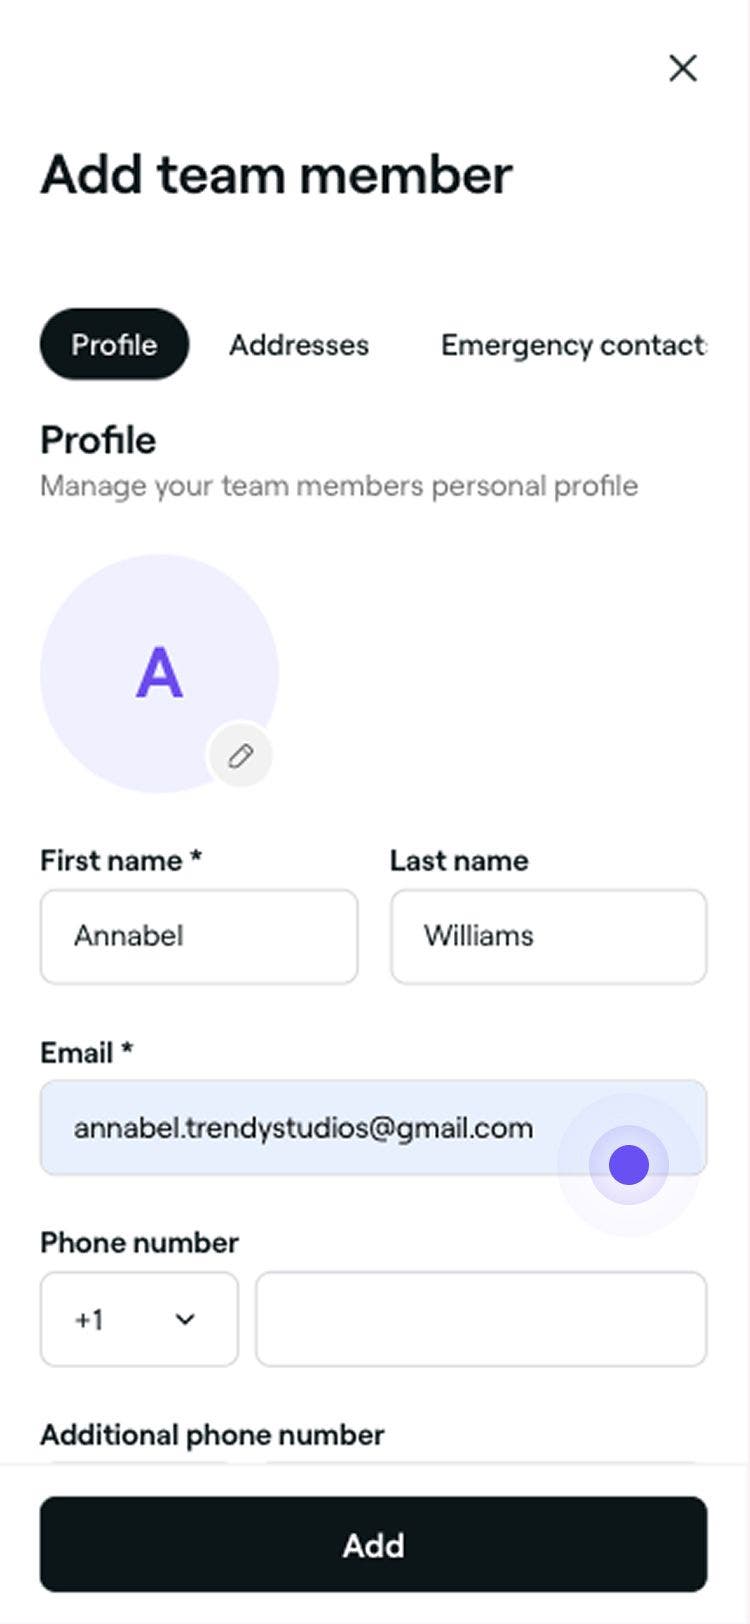
Once the team member’s profile has been created, they’ll receive an email invitation to join your workspace and set up their professional profile.
You can update a team member’s profile at any time, including their permissions, services, and locations. By default, they are assigned to all services and their shift times will be set to the location's opening hours.
FAQs
- The team member has no upcoming appointments.
- Their permission level has been changed to No access.
- Their profile has been archived.
Team members can work across multiple locations within one workspace but cannot belong to multiple separate workspaces. To join a new business, they must first leave their current workspace.
Team members can be assigned across multiple locations within one business. You can choose to assign them to selected locations or all locations through their team member profile.
Yes, you can create a team member profile without granting system access. During the setup in the Settings section, set the permissions to No access. This will ensure that an invitation is not sent.
You can permanently delete a team member’s profile from your workspace. Before doing so, please ensure the following:
Once deleted, the team member will be permanently removed from your workspace. However, their past data, including client reviews and reports, will still be stored in your records.
The team member will still have access to their professional profile, where they can join new workspaces or rejoin your workspace, if invited.If you are already on the Team plan subscription, any new team members added will be calculated in your next billing cycle.
If you’re an Independent using Fresha with only one bookable team member, adding additional bookable team members will require upgrading to the Team plan subscription. After you add the new team member's profile, you’ll be directed to the Change your plan page, where you’ll be prompted to upgrade your subscription in order to save the bookable team member.
To create a team member who can't be booked in the calendar, simply uncheck Allow calendar bookings in the team member Settings tab.
If a team member hasn’t accepted their invitation in time and the invite has expired, you can resend it directly from their profile without needing to remove or re-add them. Just go to Team from the main menu on the left of the screen, select the team member’s profile, and click on Resend invite. This will send a fresh invitation to the same email address, allowing them to join your workspace without any disruption to their existing profile or appointments.