Manage online bookings settings
In this guide, you’ll learn how to set up your online booking availability so clients can book your services online at a time that works for them.
In this article
Manage online availability settings
Once your Marketplace profile is live, clients can book appointments with you online based on your team members' availability. You can then manage how far in advance clients can book online.
-
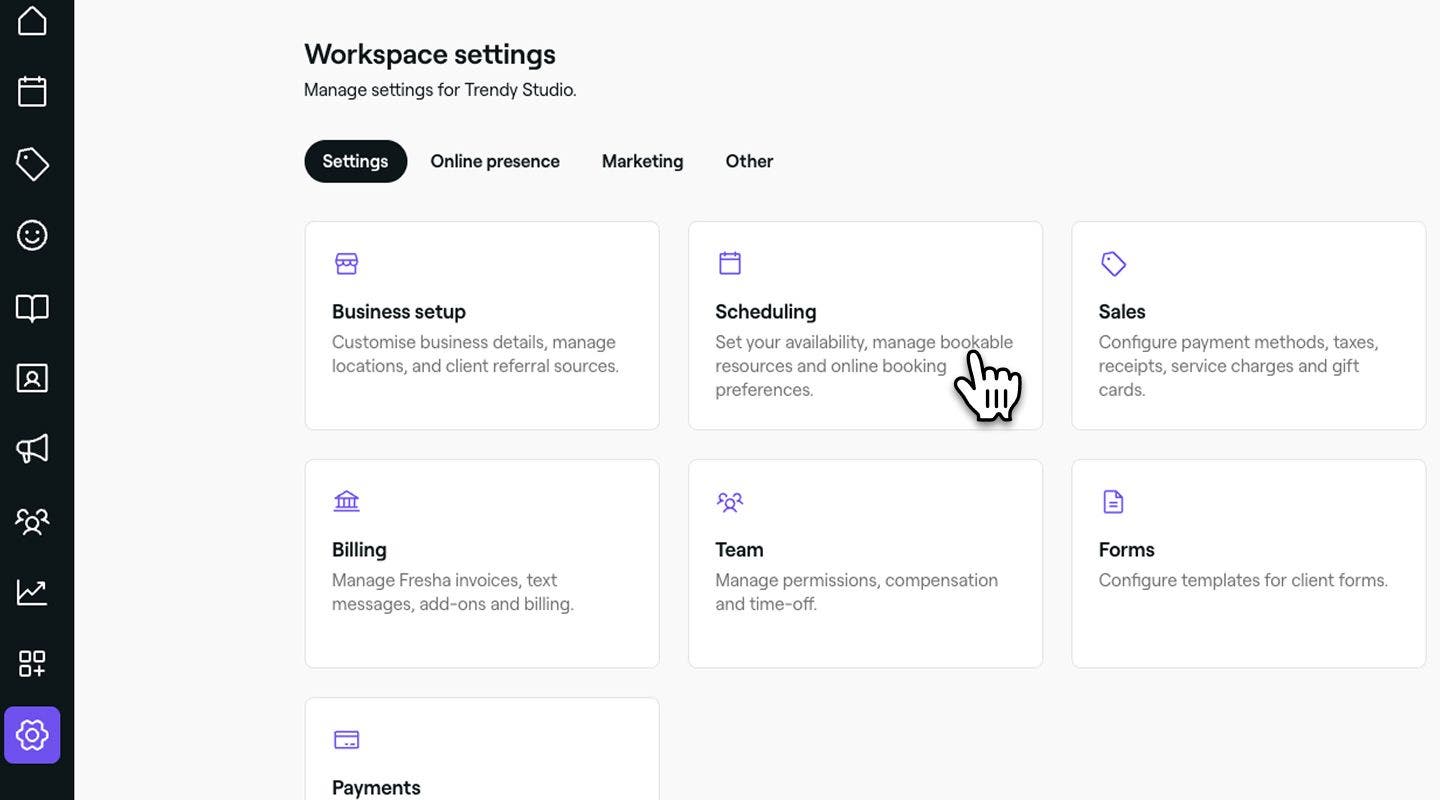
From the main menu on the left of your screen, go to Settings.
-
Click on the Scheduling category and then select Availability from the left menu panel.
-
Next to Booking window, click on the Edit button to update the settings.

-
In the Booking window view, set how far in advance clients can book appointments online under Online availability:
-
Set the minimum amount of time required between when a client makes a booking and when the appointment starts. You can choose no notice period or an option from Immediately up to 2 weeks before start time. For example if you set a 1 hour notice period, clients will only see appointment slots starting 1 hour later.
-
Choose how far into the future they’re allowed to book from. For example, you can accept bookings up to 12 months in the future, meaning clients can book with you for the following year within the 12 month timeframe.

-
-
Under Cancellation and rescheduling, set a deadline for when clients can cancel or reschedule online. After this time, they’ll need to contact your business directly by editing your payment policy.

-
Click on the Save button in the top right to apply the updates.


Once updated, your booking preferences will be immediately updated online.
Add important info
When clients book appointments online, you can provide important information and salon guidelines during the booking flow, such as parking availability, expected arrival times, age requirements, or other instructions like preparation tips for specific services.
-
From the main menu on the left of your screen, go to Settings.
-
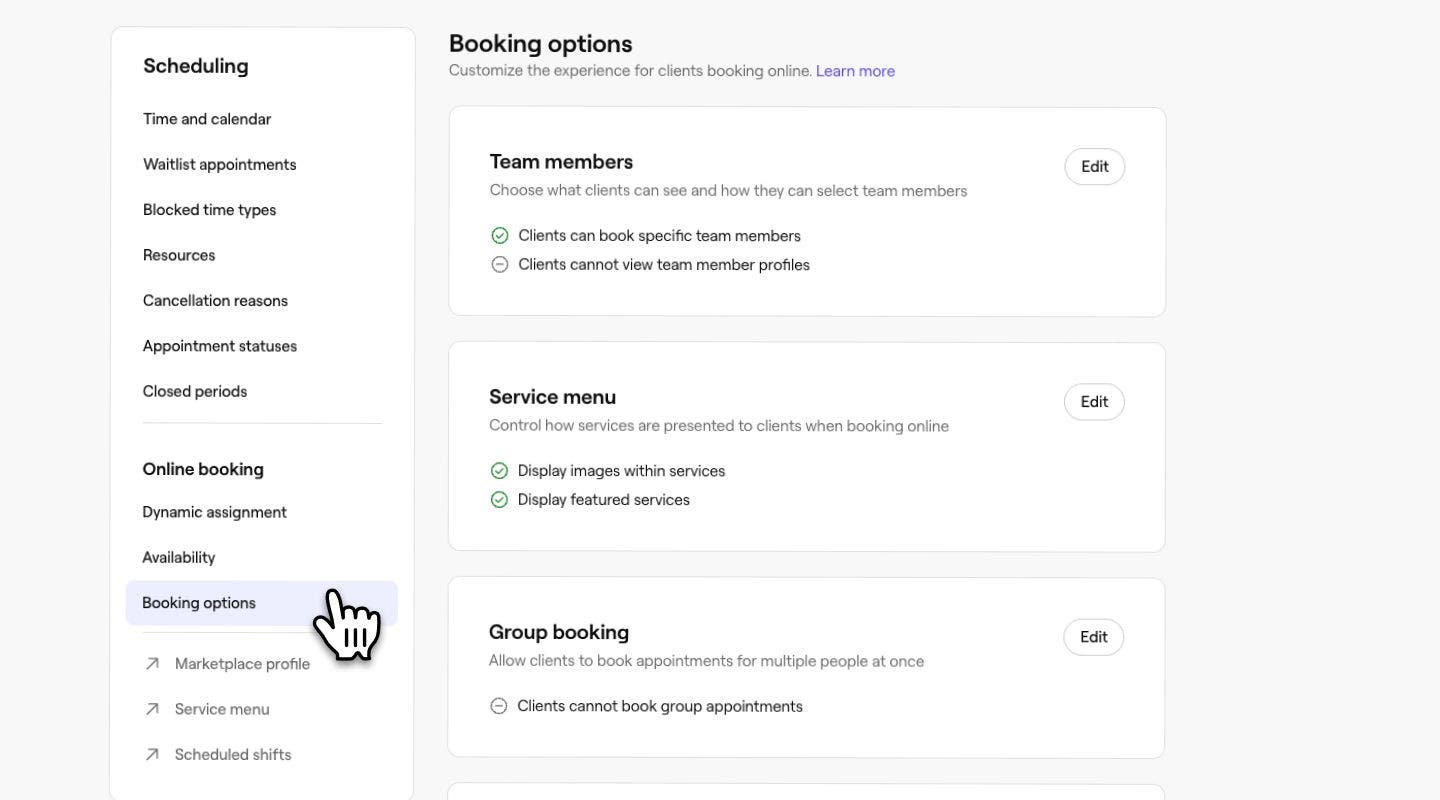
Select the Settings tab from the top and click on Scheduling.

-
In the left menu panel, select Online bookings.
-
Next to Important info, click on the Add button.

-
On the Important info page, add key information clients should see at checkout when booking appointments or buying gift cards or memberships.
-
Click on the Save button in the top right to apply your updates.


Once the information has been added, it will instantly display to your clients when completing their online booking. Your important information can be updated at any time, following the same steps.
Choose how your team's details display
You can customise what information clients see about your team members online, such as ratings and portfolio images.
-
From the main menu on the left of your screen, go to Settings.
-
Click on the Scheduling category to view your online booking settings.
-
From the left menu panel, select Online profile content click on the Edit button to update the settings.

-
Next, tick the following checkboxes to customize your online booking experience for clients, and allow the following:
- Display star ratings next to team members: Shows average star ratings for team members during booking. This is enabled by default.
- Display star ratings and profiles for team members: Shows each team member’s average star rating and their profile, including their bio, languages, interests, and social media links, if available.
- Display team members’ portfolio images: Allow images from your team members’ professional portfolio to also appear in the image gallery for your venue. You can control which team members' images are displayed by clicking Edit, and deselecting specific team members in your selection settings.
- Clients can book by team member gender: Show options to book “any female” and “any male” along with displaying team member pronouns.
-
Click on the Save button in the top right to apply your updates.
Once you enable team members’ portfolio images to feature on your marketplace profile, all images uploaded by those team members will appear under the Team portfolio tab of your image gallery.
Set up team member notification preferences
As clients book appointments online, you can choose to send email notifications to team members when appointments are booked, rescheduled, or cancelled. Each team member can manage their own personal notification settings.
-
From the main menu on the left of your screen, go to Settings.
-
Select the Settings tab from the top and click on Scheduling.
-
In the left menu panel, select Online bookings to view and manage your settings.
-
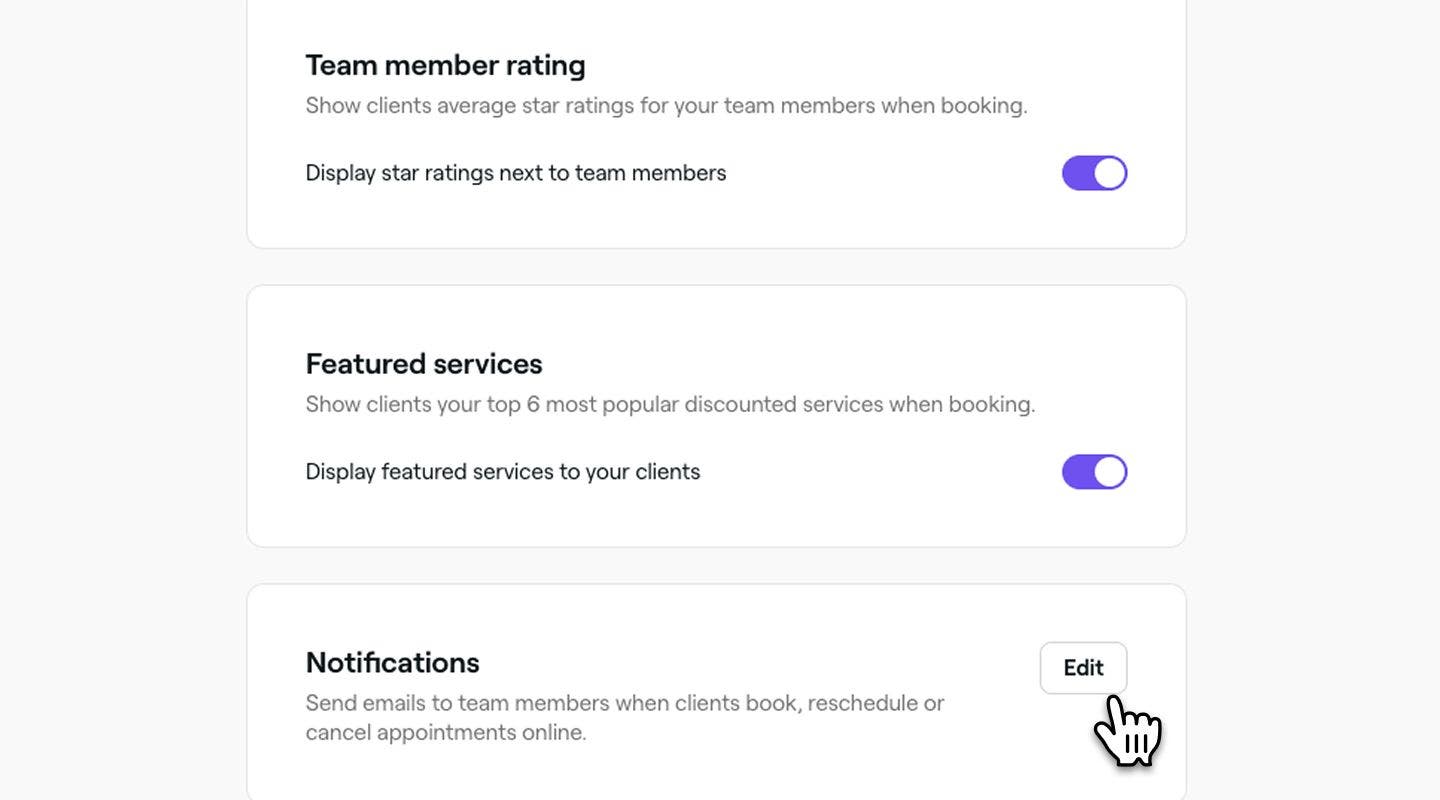
Next to Notifications, click on the Edit button.
-
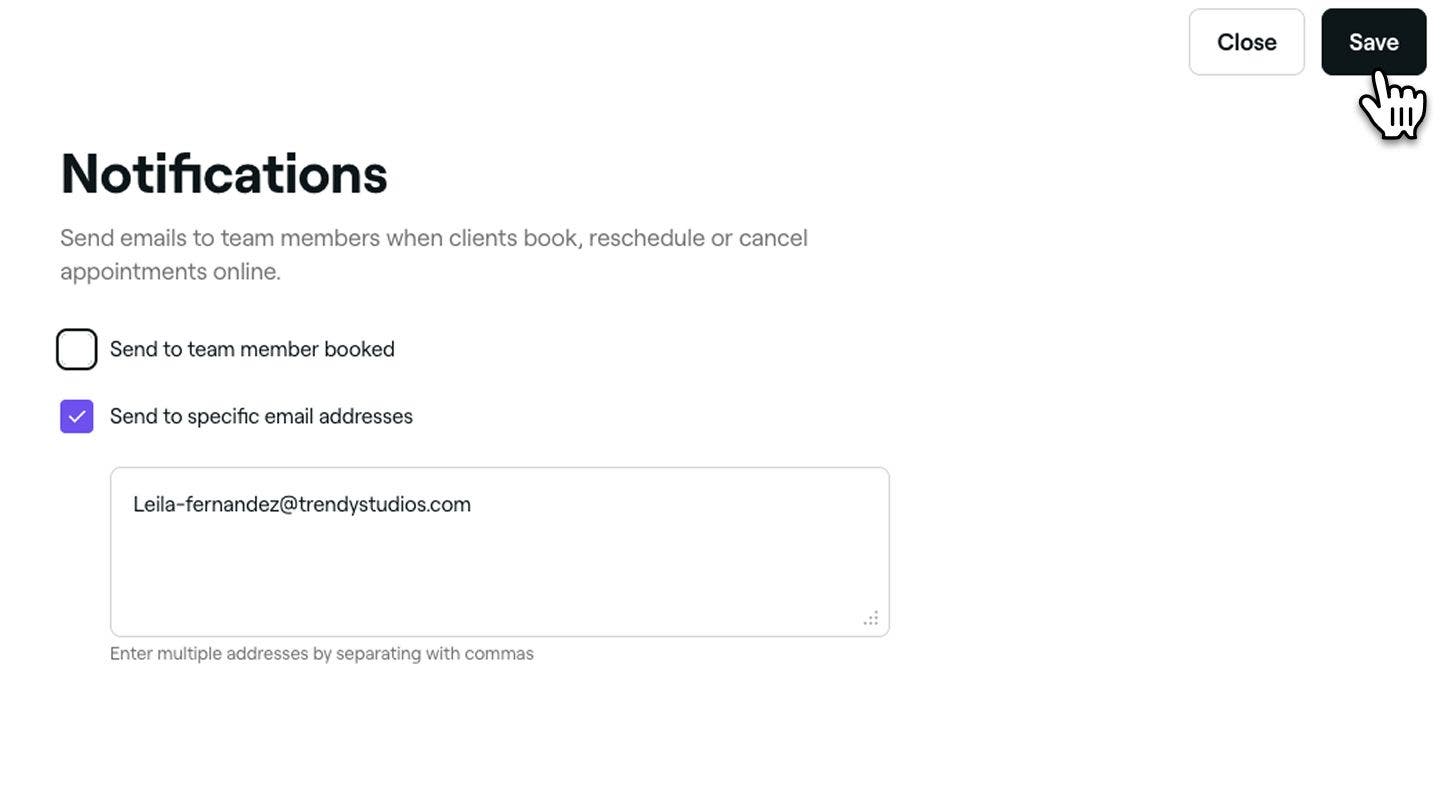
On the Notifications page, choose how booking notifications should be sent to your team.
-
Send to team member booked: Tick this checkbox to notify the team member the appointment was booked with.
-
Send to specific email addresses: Enter one or more email addresses, separated by commas, to send notifications to those inboxes.
-
-
Click on the Save button in the top right to apply your updates.


Your team will now receive booking notifications based on your selected preferences for new, rescheduled, or cancelled appointments.
FAQs
- Check that your services are bookable online.
- Check that your team has scheduled shifts.
- Review your closed business periods.
- Review your Online booking settings to see how far in advance your clients can book.
- Check that your profile is listed online.
No, once group appointments are enabled, they apply to all services, team members, and locations. This setting cannot be limited to specific ones.
No, the Important info section can’t be customised for individual locations, services, or team members. Any updates made will apply across your entire account, including all locations, services, and team members.
The Featured services category is automatically generated based on your six most popular services, excluding bundles, and can't be customised. However, if you'd like to hide Featured services entirely, you can disable it via your Online booking options under Workspace settings. This will remove Featured Services from both your venue page and the booking flow.
A team member’s rating becomes visible only after they’ve received at least 4 reviews. If they have fewer than 4, their rating won’t appear on the location page or Marketplace. Additionally, reviews are linked to both the team member and the location where the service took place. If a review wasn’t correctly assigned, it may not show under the team member’s profile.
If your marketplace profile is offline, clients won’t be able to book through the Fresha marketplace, Reserve with Google, or any booking links. If you haven’t disabled it, here are a few things to check:
Appointment terms and conditions are automatically generated based on your Payment policy settings, ensuring the terms your clients see and agree to when booking always reflect your current no-show and cancellation rules. To make changes to the terms and conditions displayed to your clients, update your payment policy.
To remove Featured services from your Fresha marketplace profile, go to your Online booking options and unselect Display featured services to your clients. Once turned off, Featured services will no longer appear to clients anywhere, including your venue page, your unique booking link, "Book now" buttons, and QR codes.