Add files to client profiles
In this guide, you'll learn how to upload documents and images in client profiles.
How files work
Files let you securely store documents and images within a client's profile. You can use them to save before and after photos or any other relevant records. Uploaded files are only visible to your team and stay attached to the client profile for future reference.
Add a file to a client profile
- Open a client's profile from your Client list.
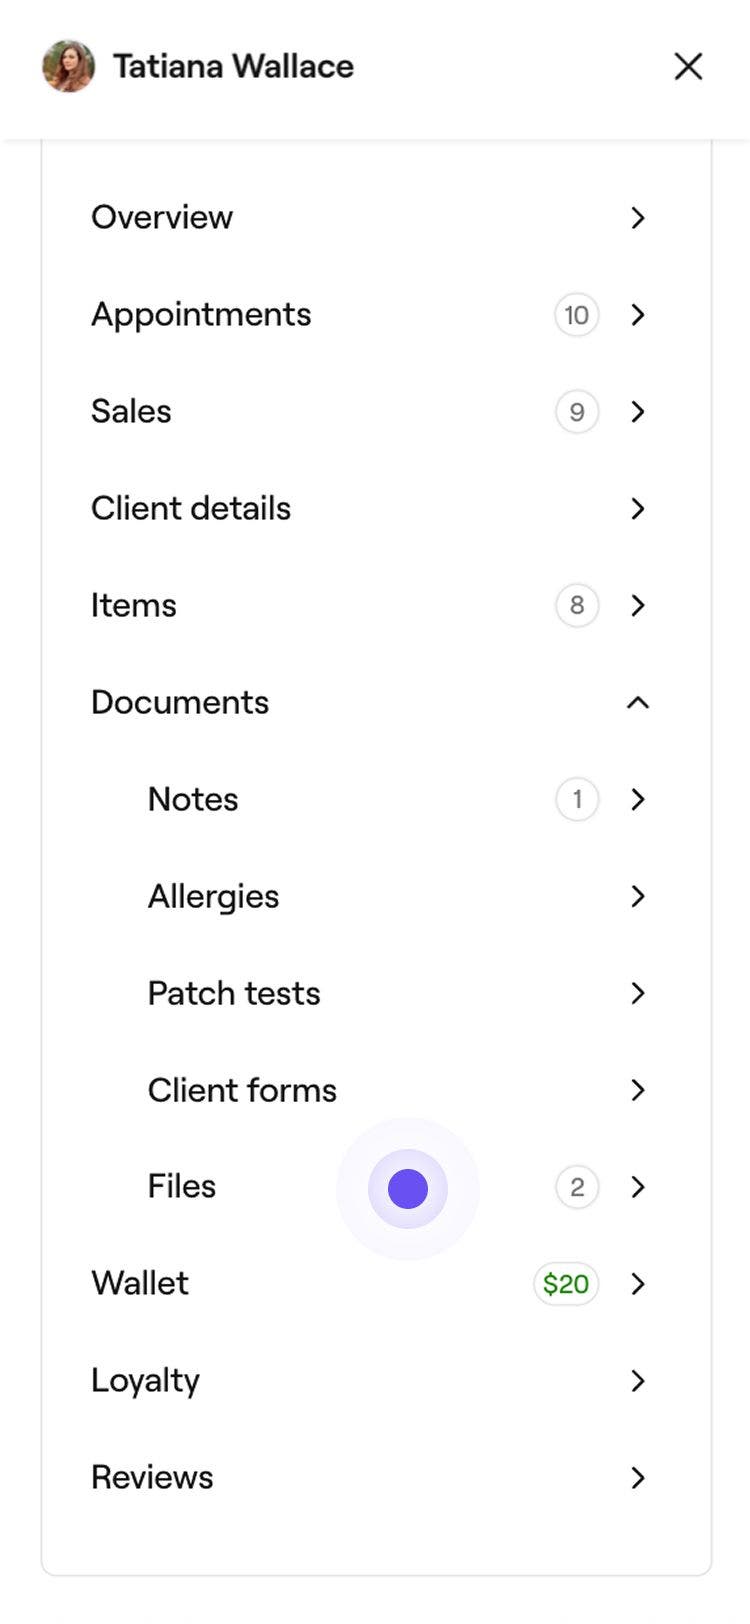
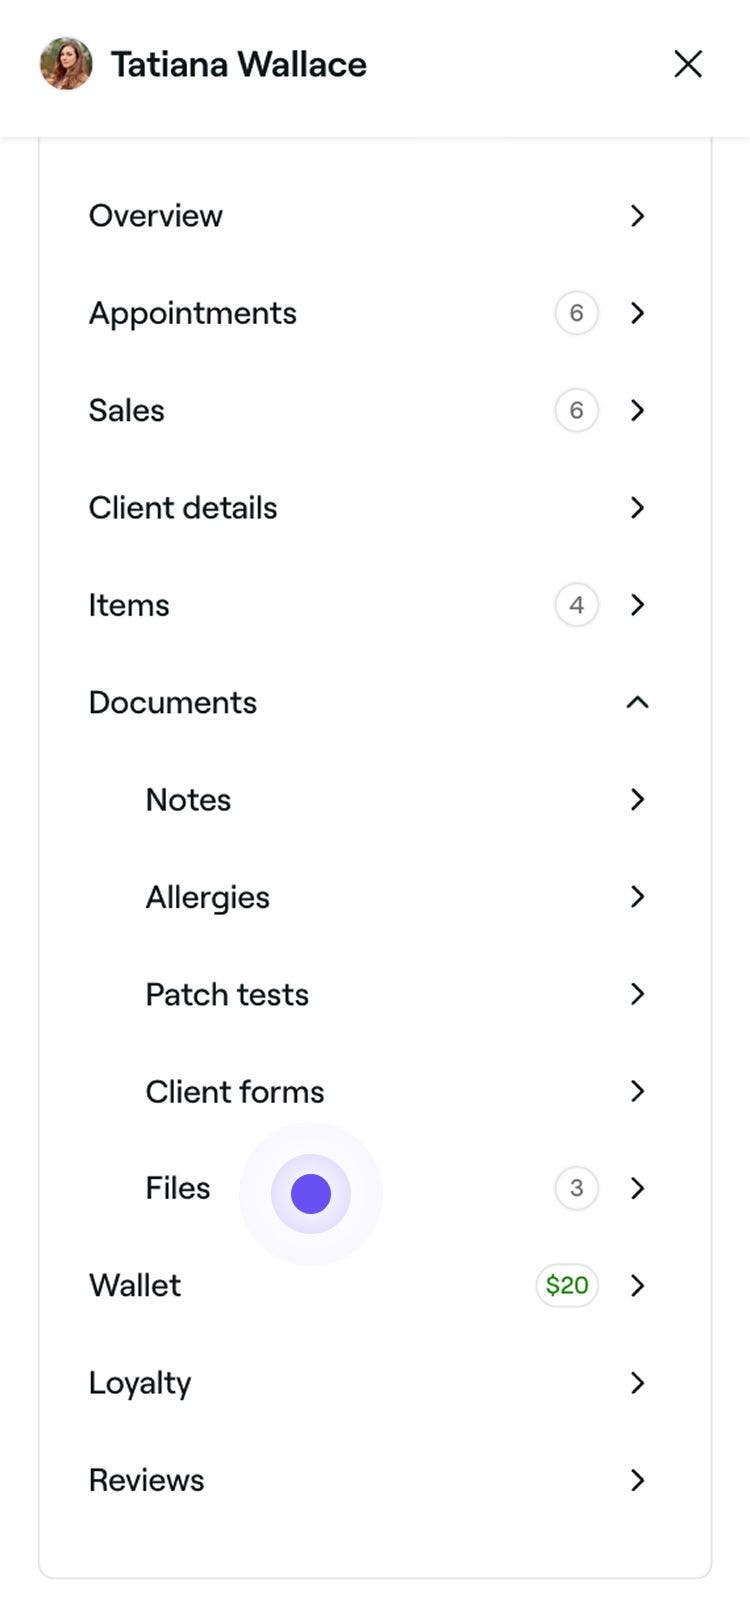
- In the menu panel of the client profile view, click on Documents and select Files from the list.

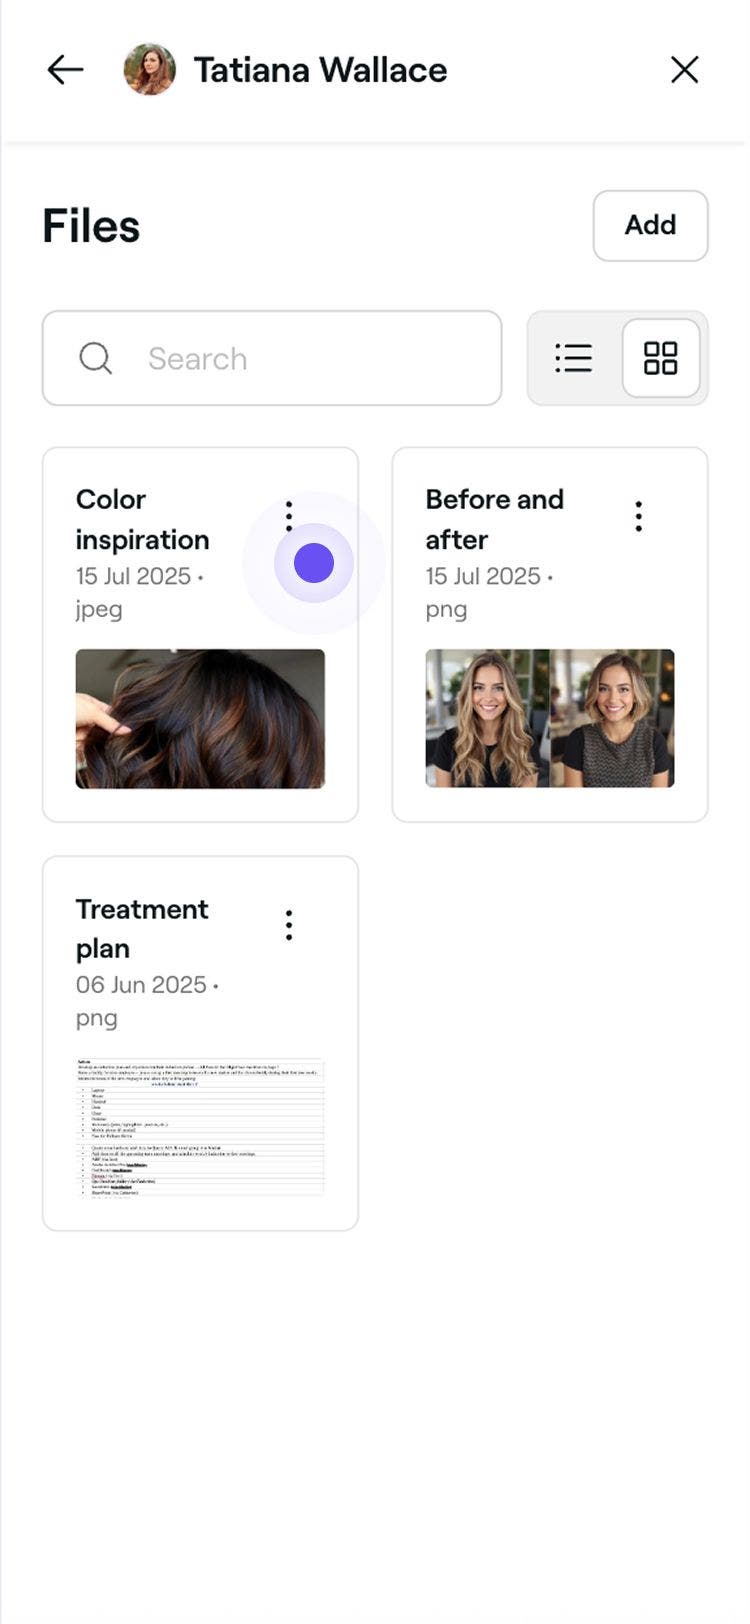
- Click on the Add button in the top of the right panel to upload a new file.

- Choose a file from your device to add. You can upload a wide range of file types, including CSV, PDF, XLS, XLSX, JPG, PNG, and JPEG.

Once uploaded, the file will appear in the client's profile under Files and can be viewed by your team at any time.
Manage client files
- Open a client's profile from your Client list.
- In the menu panel of the client profile view, click on Documents and select Files from the list.

- Use the search bar to locate a file or use the toggle to adjust your view between list and grid.
- Click on Actions (three dots) next to the file and select one of the following options:
- Preview file: View the uploaded content. CSV, PDF, XLS, and XLSX documents will need to be downloaded to view.
- Rename file: Update the file name in the pop-up, then click on the Rename button to save.
- Download file: Save the file to your device. It will appear in your downloads folder.
- Delete: Permanently remove the file from the client's profile. Click on the Delete button to reconfirm.

Once managed, the file will reflect any updates in the client’s profile and remain accessible to your team or be removed if deleted.
FAQs
Once files are deleted, they are removed from the client’s profile and cannot be recovered.
Files are kept private so your team can view them internally, while clients won’t see them.
