Enable automated messages
Learn how to enable Automations so key client messages are sent in the background at the right moments, freeing you from day-to-day admin.
In this article
About enabling automated messages
Automated messages help you communicate consistently with clients while reducing day-to-day admin. Once enabled, notifications are sent automatically based on your chosen settings. Choose when messages are triggered, customize content and delivery channels, and attach discounts where relevant to encourage bookings and keep clients engaged.
You can set up different types of automated messages for:
- Appointments: Keep clients informed with appointment updates, reminders and waitlist notifications.
- Marketing: Build relationships and encourage clients to book by offering discounts when they reach key milestones with your business.
- Client Connect: Let clients know they have a new message from you on Client Connect.
- Client Loyalty: Keep clients up-to-date with their progress in your Client Loyalty program.
Enable an automation
-
From the main menu on the left of your screen, go to Marketing.
-
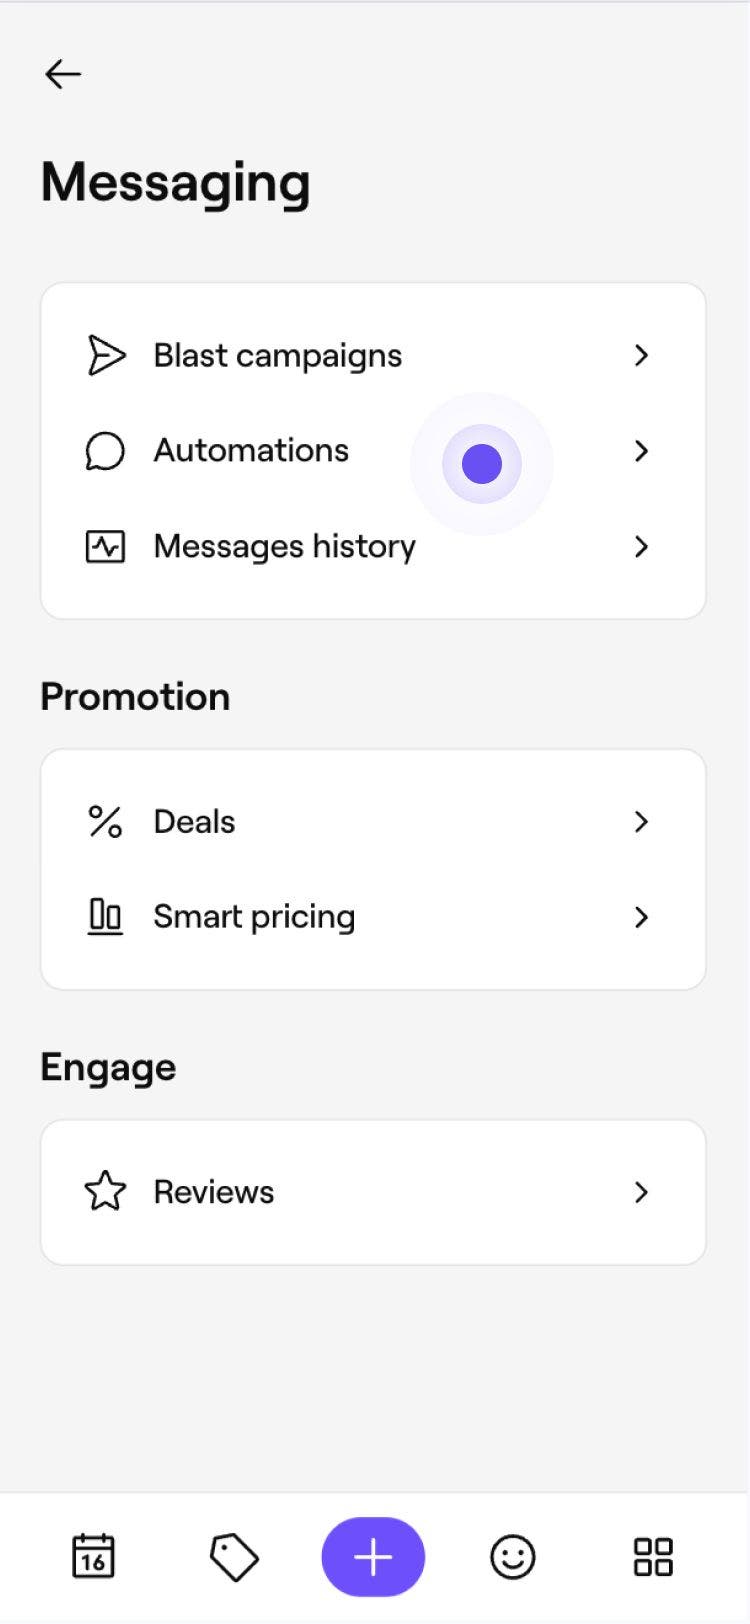
In the left menu panel, select Automations.

-
Choose the automated message you want to set up and click the Enable button to begin.

-
Decide when the automation will be sent by selecting Edit under Trigger, then click Apply.

- Some automated messages will already have a set trigger. For example, Thank you for visiting messages will always be sent after an appointment is checked out.
-
If available, attach a discount by selecting Edit under Deal. Create your offer and choose the services it applies to, then click Apply to save.

- Only Increase bookings and Celebrate milestones automated messages have the option to add a discount.
-
To customize how the notification is sent as an email, click Actions and select from the following options:

- Edit content: Customize your email, including the content and discount (where applicable) to suit your message. Then click Save in the top right to save your changes.

- Preview: View how your message will appear in different channels. Send an email to your inbox by clicking Send a test email to see how it appears to clients. Click Done to return to setting up your message.

- Disable: If you don’t want this automation to be sent via email, disable the channel.
- Edit content: Customize your email, including the content and discount (where applicable) to suit your message. Then click Save in the top right to save your changes.
-
Under Send a message, use Actions next to WhatsApp and Text message to Preview or Disable that channel.

-
If both channels are enabled, use the And/Or dropdown to choose how messages are delivered:
- And: Send the message by both WhatsApp and text message.
- Or: Send by WhatsApp first. If the message can’t be delivered, a text message will be sent instead. You’ll only be charged for the channel that successfully delivers the message.

-
-
In the top right, click Save to save your automated message settings.



Your automated message is now active and will automatically send to eligible clients based on the trigger and delivery settings you've selected.
FAQs
Messages are only sent when a client meets the trigger conditions you’ve created, not when you turn the automation on. For example, a Reminder to rebook message will only be sent after the period of time you've specified since the client's last visit.
Automated messages sent as text messages use a standard format to ensure clear and consistent communication. While these can't be customized due to service provider limitations, you can personalize email reminders by adding aftercare instructions, key policies, or any important information to help prepare your clients before their appointments.
Automated messages start sending for eligible appointments and milestones from the time they're enabled. Previous appointments or milestones won't trigger a message.
You can create custom Reminders and Celebrate milestones automations using the Create new button on the Automations homepage. You can set up and customize the new message using the same steps as above.
Other automated message types are pre-created and can be customized using their available settings.
Email automated messages are sent free of charge. Text messages and WhatsApp automated messages are deducted from your monthly messaging balance. You can easily add more texts to your balance through your messaging balance or set-up Auto top-ups.