Set up your merchant account
In this guide, you’ll learn how to set up your merchant account in Fresha so you can start receiving payments directly from clients.
How a merchant account works
In a workspace, team members are paid directly by the business, and payments from their sales go into the venue’s wallet. Merchants, on the other hand, are self-employed professionals who manage their own payments.
With a merchant account, you can use the venue’s booking tools and facilities while payments from your sales go straight into your own Fresha wallet. This lets you track and manage your income independently. To set up your merchant account, the venue owner will send you an email invitation to join their workspace.
Join a workspace as a new merchant
If you’re new to Fresha, the workspace owner will add you as a merchant and send you an email invitation to join their workspace and set up your merchant account.
- Open your email invite and select the Accept invite button.

 - Choose to continue with Facebook, Google, Apple, or your email address.

 - Review your account details, then tick the box to agree to Fresha’s policies and terms, and then click on the Continue button.
- Click on Edit to update your contact details.

 
 - Click on Edit to update your contact details.
 - Create a password for your account, then click on the Join Fresha button.

 - A welcome message confirms your account is connected to the venue’s workspace. Select the Continue button to proceed.

 - Review your mobile number and click on the Send code button to verify your number using the 4-digit verification code.

 - Click on the Continue button to start setting up your merchant account.
 
Once you’ve joined your new workspace as a merchant, you can set up your merchant account to start receiving payments directly to your merchant wallet.
Set up a new merchant account
After creating your merchant account, you’ll need to complete the setup by adding your business, payment, and billing details. An onboarding checklist will appear in your account to guide you through each step of the process
- From the toolbar at the top of your screen, click on the Complete setup button.

 - In the account set up view, click on Start next to Set up your merchant account.

 - Click on the Continue button to review your merchant agreement, which outlines your account settings, fees, and payment deposit details.
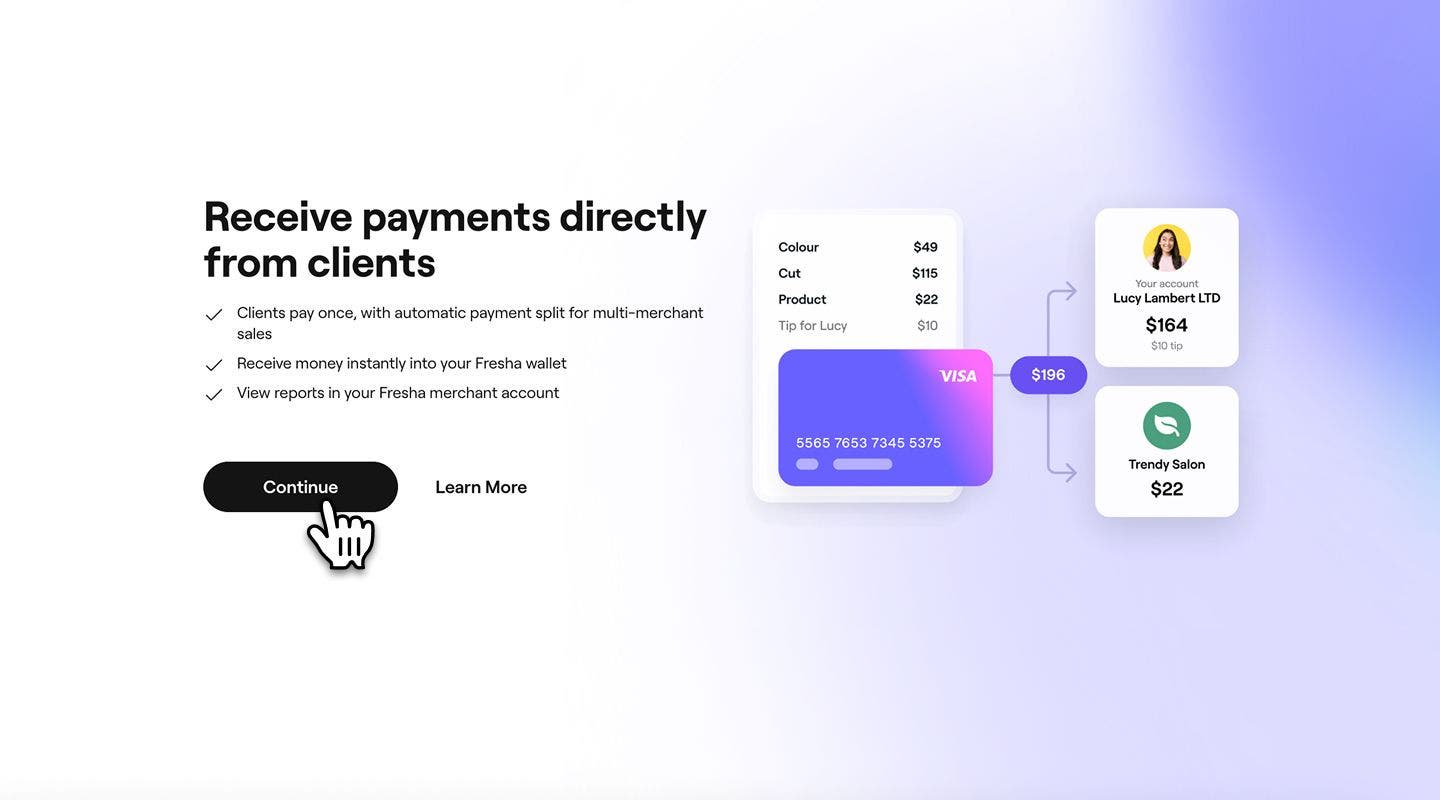
 - Select the Sign agreement button in the top right.

 - In the pop-up, enter your Full name and Title. Choose to Type or Draw your signature , then click on the Sign button.

 - Click on the Continue button to set up your payment details and start getting paid directly by clients.

 - Select one of the following account types that matches the type of bank account you want to payout to: 
- Sole trader, sole proprietor, or freelancer: You’re self-employed or a freelancer with a business bank account.
 - Company: You’re a company representative with a business bank account.

 
 - Follow the steps on screen and provide the following:
- Your identity details and a valid proof of identity, such as a passport.
 - Bank account details for the account where you want funds released.
 - Billing details: Add a payment method and billing details (how you would like your details to appear on invoices from Fresha)
 
 - Once submitted, click on the Done button in the top right.
 
You can begin accepting payments through Fresha right away while your details are being verified. If any additional information is required, you’ll receive a notification both in your account and by email.
Join a workspace as an existing merchant
As a merchant, you can only belong to one workspace at a time. If you've left a workspace and want to join a new one, you'll need an invitation from the new workspace owner.
- Open your workspace email invite and select the Accept invite button.

 - Choose to log in to your merchant account using Facebook, Google, Apple, or your email address.

 - Enter your password, then select the Login button.

 - Click on the Accept invite button to join your new workspace.

 - A welcome message confirms your account is connected to the venue’s workspace. 

 - From the toolbar on the top right of your screen, click on your Profile picture and select the Set up button.

 - Review your merchant agreement, which outlines your account settings, fees, and payment deposit details.
 - Select the Sign agreement button in the top right.

 - In the pop-up, enter your Full name and Title. Then choose to Type or Draw your signature and click on the Sign button.

 - Click on the Done button to begin taking payments.
 
Once your setup is complete, your merchant account is fully active, you can start taking client payments at checkout, with funds sent straight to your merchant wallet.
Become a merchant at your current workspace
If you're already a team member in the workspace and want to become a merchant, the workspace owner can convert your profile by activating your merchant account. You'll receive an invitation to complete the setup.
- Open your email invite and select the Set up now button.  

 - Log in to your team member account using your registered email and password.

 - Log in to your team account using Facebook, Google, Apple, or your email address.

 - Click on the Continue button to review your merchant agreement, which outlines your account settings, fees, and payment deposit details.
 - Select the Sign agreement button in the top right.

 - In the pop-up, enter your Full name and Title. Choose to Type or Draw your signature, then click on the Sign button.

 - Click on the Continue to set up your payment details and start getting paid directly by clients.

 - Select one of the following account types that matches the type of bank account you want to payout to: 
- Sole trader, sole proprietor, or freelancer: You’re self-employed or a freelancer with a business bank account.
 - Company: You’re a company representative with a business bank account.

 
 - Follow the steps on screen and provide the following:
- Your identity details and a valid proof of identity, such as a passport.
 - Bank account details for the account where you want funds released.
 - Billing details: Add a payment method and billing details.
 
 - Once submitted, click on the Done button in the top right.
 
After completing the setup, your merchant account is active and ready to receive payments directly to your merchant wallet.
FAQs
Merchant accounts are currently supported for users based in the United States.