HomeKnowledge baseFresha academy
Set up your merchant account
Back
  1. Knowledge base•
  2. Personal account•
  3. Set up your merchant account

Set up your merchant account

Learn how to set up your merchant account in Fresha so you can start receiving payments directly from clients.

In this article

  • How a merchant account works
  • Set up your merchant account

How a merchant account works

As an independent team member, you can receive payments directly from clients through a merchant account, allowing you to manage your earnings. You can still access the workspace’s tools to manage appointments, sales, and reports, while tracking your payments in your merchant wallet.

To set up your merchant account, the workspace owner adds you as a merchant, and an email invitation is sent for you to join their workspace and complete your setup.

Set up your merchant account

  1. Open your email invite and select the Set up now button.  
    1. If you’re new to Fresha, you’ll have a few extra steps to create an account. 
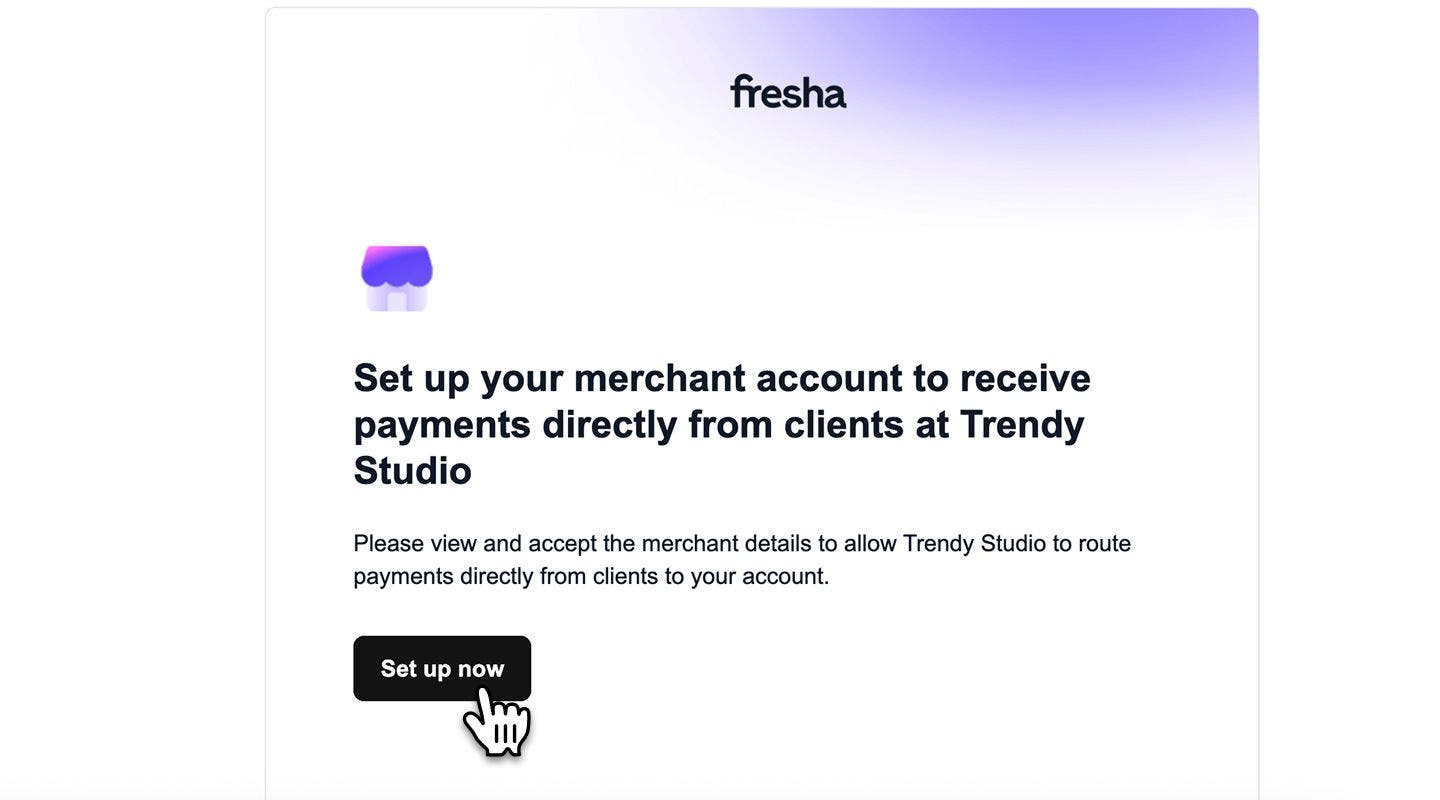
      team_member_merchant_web_1.jpg
  2. Once logged in, click on the Continue button to review your merchant terms, which outline your account settings, fees, and payment deposit details.
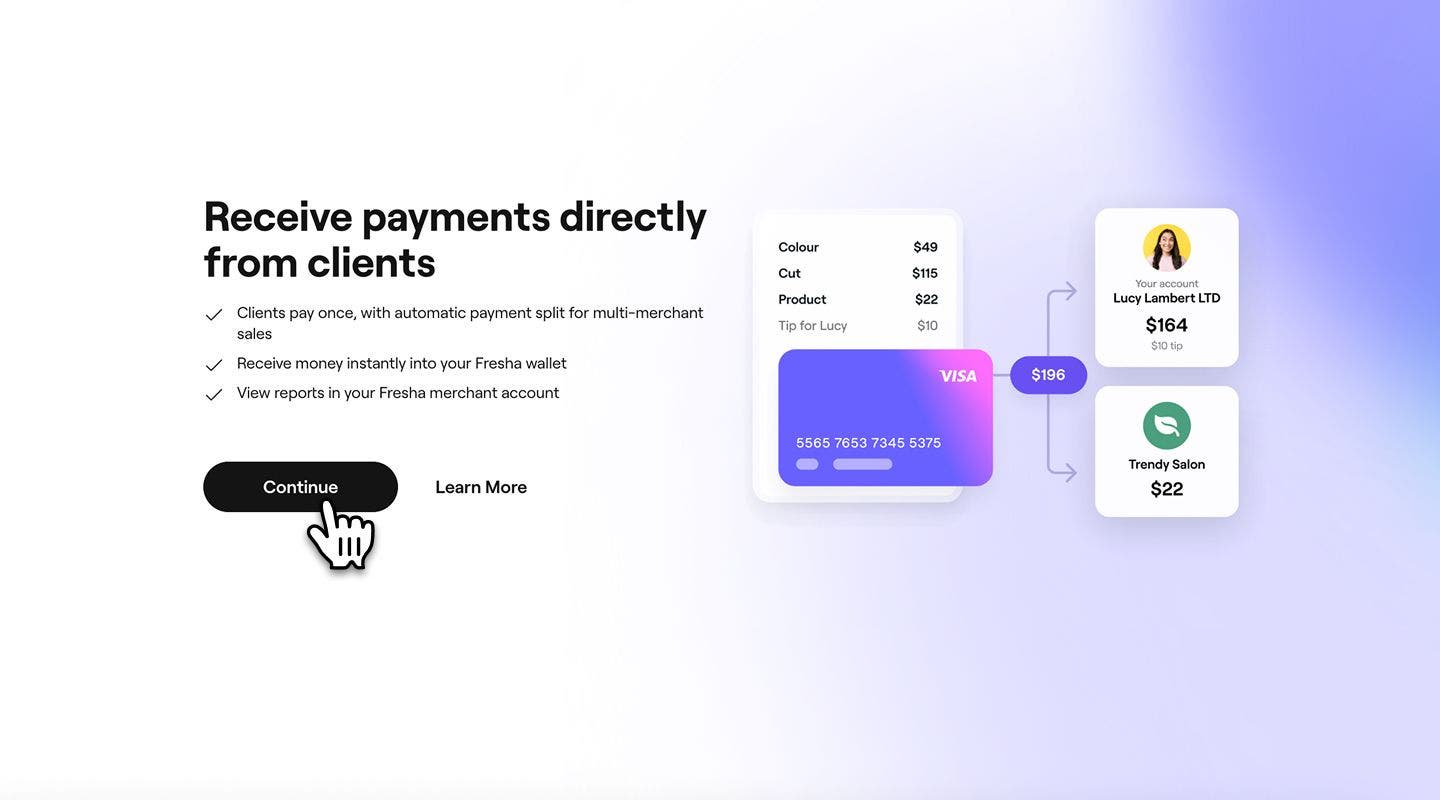
    team_member_merchant_web_3.jpg
  3. Click on the Continue button to review your merchant agreement, which outlines your account settings, fees, and payment deposit details.
  4. Select the Sign agreement button in the top right.
    team_member_merchant_web_4.jpg
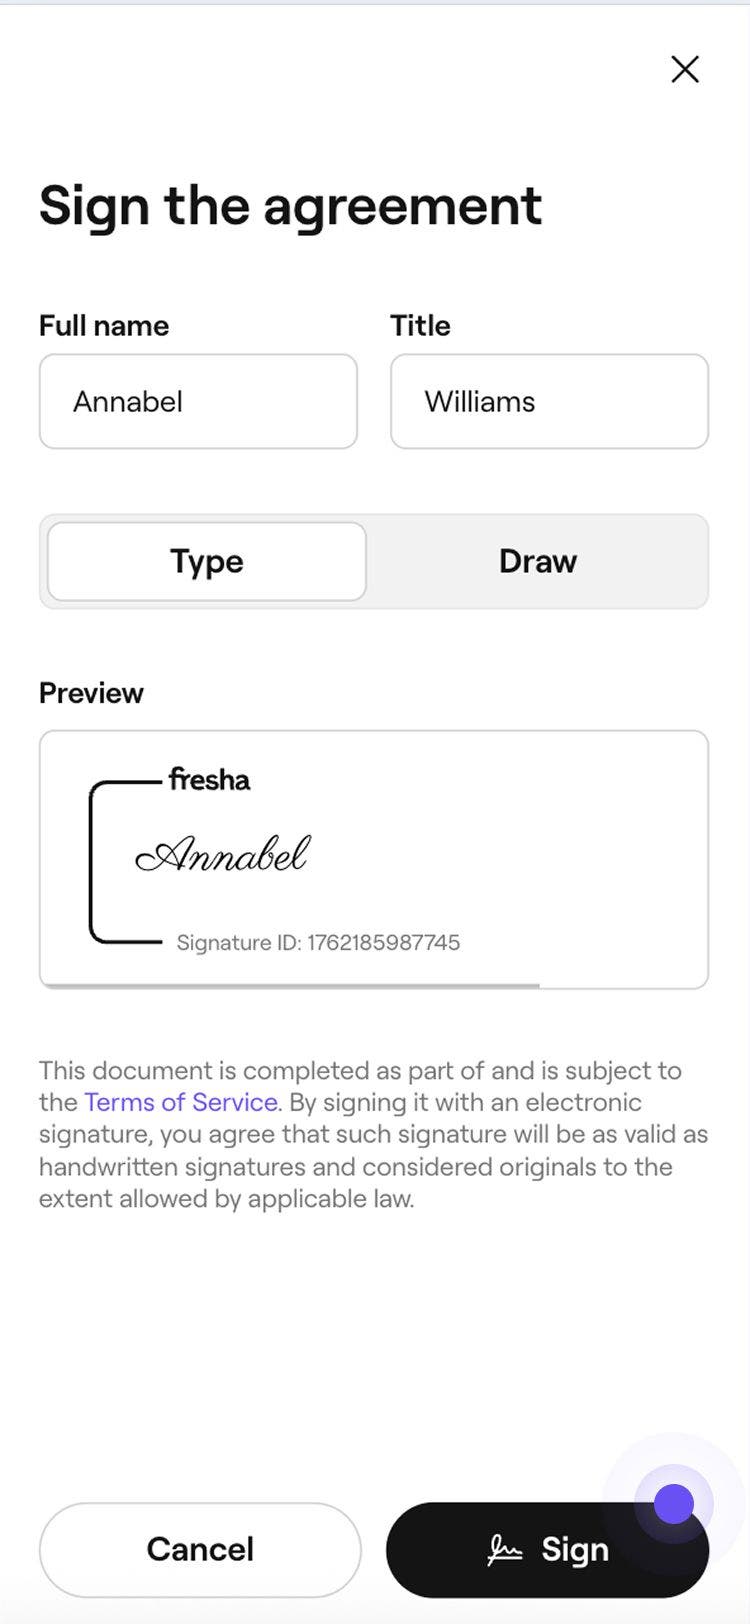
  5. In the pop-up, enter your Full name and Title. Choose to Type or Draw your signature, then click on the Sign button.
    team_member_merchant_web_5.jpg
  6. Click on the Continue to set up your payment details and start getting paid directly by clients.
    team_member_merchant_web_6.jpg
  7. Select one of the following account types that matches the type of bank account you want to payout to: 
    1. Sole trader, sole proprietor, or freelancer: You’re self-employed or a freelancer with a business bank account.
    2. Company: You’re a company representative with a business bank account.
      team_member_merchant_web_7.jpg
  8. Follow the steps on screen and provide the following:
    1. Your identity details and a valid proof of identity, such as a passport.
    2. Bank account details for the account where you want funds released.
    3. Billing details: Add a payment method and billing details.
  9. Once submitted, click on the Done button in the top right.
  1. Open your email invite and select the Set up now button.
    team_member_merchant_mob_1.jpg
    1. If you’re new to Fresha, you’ll have a few extra steps to create an account. 
  2. Once logged in, tap on the Continue button to review your merchant terms.
    team_member_merchant_mob_3.jpg
  3. Select the Sign agreement button in the top right.
    team_member_merchant_mob_4.jpg
  4. In the pop-up, enter your Full name and Title. Choose to Type or Draw your signature, then click on the Sign button.
    team_member_merchant_mob_5.jpg
  5. Tap on the Continue to set up your payment details and start getting paid directly by clients.
  6. Select one of the following account types that matches the type of bank account you want to payout to: 
    1. Sole trader, sole proprietor, or freelancer: You’re self-employed or a freelancer with a business bank account.
    2. Company: You’re a company representative with a business bank account.
      team_member_merchant_mob_7.jpg
  7. Follow the steps on screen and provide the following:
    1. Your identity details and a valid proof of identity, such as a passport.
    2. Bank account details for the account where you want funds released.
    3. Billing details: Add a payment method and billing details.
  8. Once submitted, tap on the Done button.

You can begin accepting payments through Fresha right away while your details are being verified. If any additional information is required, you’ll receive a notification both in your account and by email.

FAQs

    • Merchant accounts are currently supported for users based in the United States.

      If you haven’t received an invitation to join a workspace as a merchant, contact the workspace owner to resend the invite.


Merchant accounts

Was this guide helpful?

Merchant accounts

Set up your merchant account

Get started as a merchant by joining a workspace and managing your payments independently.

Manage your merchant account

Take control of payments and performance with your Fresha merchant account. Update billing details, transfer funds, and track your sales.

Receiving money from your merchant account

Move funds easily between your merchant wallet, personal wallet, bank account, or workspace.

Understand your merchant sales

Monitor your performance and see how much you’re earning as a merchant.

Fresha
Get the app

About Fresha

Careers

Help and support

Blog

Sitemap

For business

For partners

Pricing

Features

Scheduling

Point of sale

Payments

Capital

Marketplace

Support

Status

Legal

Privacy Policy

Terms of service

Terms of use

Find us on social

Facebook
Linkedin
Instagram

© 2026 Fresha.com SV Ltd