Create and manage an online product store
Expand your reach and serve clients more effectively by creating an online product store. Learn how to set up and manage your online store, making it easier for clients to access and purchase your products.
In this article
How the online product store works
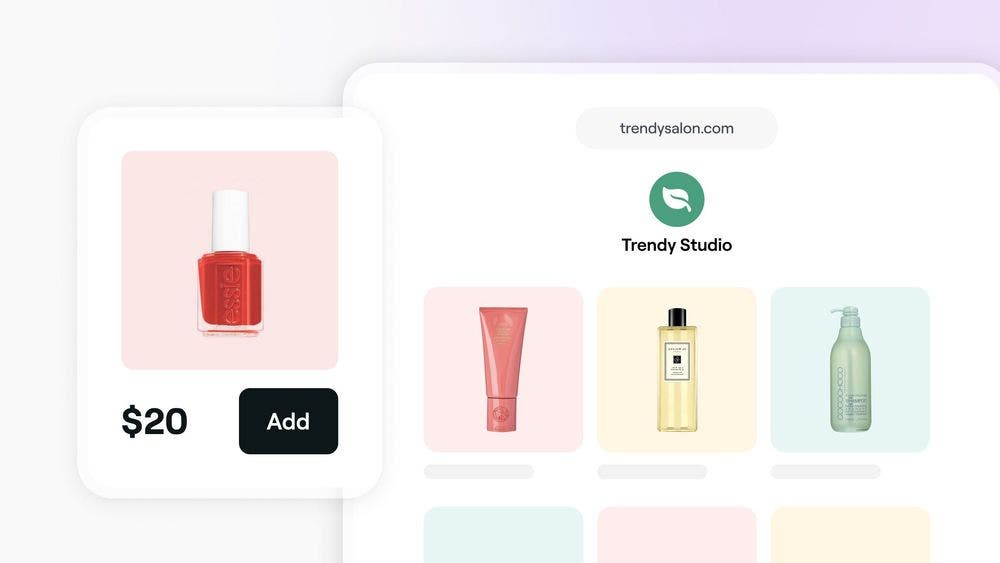
Fresha's online product store lets you sell retail items like haircare or beauty products directly to clients. You’ll get a shareable link that clients can use to browse and purchase products online, and if you're listed on the Fresha Marketplace, your store link will appear under the “Book everything” button, so clients can book services and shop products in one place.
To set up your product store, you'll need to have Fresha Payments enabled. Once activated, clients can pay securely online using any payment method available through Fresha Payments. You can also choose whether to offer shipping, in-store pickup, or both.
You manage the store from your Inventory settings, where product inventory will automatically update each time a client makes a purchase and you can control what’s available, set prices, and track orders, all within your workspace.
Product image guidelines
High-quality product photos are essential for capturing clients' attention, especially since online shoppers can't handle the products themselves. Here are some general recommendations:
- Resolution:
Use images between 500 x 500 and 2000 x 2000 pixels. - Aspect ratio:
Choose a square (1:1) aspect ratio. If the image has a different orientation, you can crop it by clicking Manage photos and using the pencil icon. - File formats:
JPG is recommended, but PNG is also supported. - Size:
Images should be between 1 and 5 MB, with a maximum upload size of 24 MB. - Background:
A white background is recommended to enhance clarity and quality.
Make sure the product takes up at least 50% of the photo. Include additional images showing the product with and without packaging, in use, and alongside other products in your line.
Create an online product store
- From the main menu on the left of your screen, go to Online booking.
- Select Product store from the left menu panel and click on Start now to customize and preview your store.
- Under Manage your products in the left panel, choose which products are available in your online store and how they are displayed:
- Select products: Click on Edit and then tick the checkbox next to each product you want to display and click on the Save button.
- Reorder products: Click on the Reorder products button, set the default sorting order of your items or drag and drop product categories in your preferred order, then click on the Save button.
- Under Store info in the left panel, personalise your store so clients know more about you by adding:
- Store logo: Click on Add image to upload an image of your store logo.
- Store name and description: Update your store name and add a short description if needed.
- Social links and website: Add links to your webpage, Twitter, Facebook and Instagram to connect with clients.
- Click on Next step in the top right to continue to set Shipping and returns policies for your store:
- Pick-up: Turn on Enable Pick-up if you offer in-store collection, then click Edit to choose eligible locations for client collection.
- Delivery: Turn on Enable Delivery if you offer shipping, then click Edit to choose eligible shipping locations. Set the tax for delivery and manage delivery option names and prices.
- Important info for clients: Add a Returns policy to display to your clients. Include any other essential information for your clients in Other info.
- Click on Publish store in the top right.
You'll be responsible for sending any orders made through your online store.
Once your store is published, it’s live and available for clients to visit online. You can share a direct link to your store through Options. If your business is listed on the Fresha marketplace, your store will also appear under the Book everything button.
Manage your online store info and products
- From the main menu on the left of your screen, go to Online booking.
- Select Product store from the left menu panel.
- Click on Options, then select Manage store.
- In the Customize and preview step, click on Edit under Manage your products in the left panel.
- Tick the checkbox next to each product you want to display in your online store, then click Save to return to the Customize and preview view.
- Click on Reorder products to change how products are displayed in your online store.
- On the Reorder categories view, choose how your products categories and products are displayed:
- Drag and drop categories on the right to change the order they appear in your online store.
- Select a category, then on the left, use the Default sorting order dropdown to choose if products are sorted by Product name, Retail price or Created date.
- Once finished, click Save to continue.
- Under Store info in the left panel, edit your store information to keep your details up to date. You can update your Store logo, Store name and description, and include your website and social media links.
- Click on Next step in the top right of your screen.
- If needed, update your shipping and returns policies in the Shipping and Returns step.
- Click on Publish store in the top right to save your changes.
Manage your shipping and returns policies
- From the main menu on the left of your screen, go to Online booking.
- Select Product store from the left menu panel.
- Click on Options, then select Manage store.
- Click on Next step in the top right to continue to Shipping and Returns.
- If you offer in-store collection, turn on the Enable Pick-up toggle.
- Click on Edit under Pick-up locations, and select the locations where clients can collect orders.
- Click on Save to continue.
- If you offer shipping, turn on the Enable Delivery toggle.
- Click on Edit under Delivery locations, and tick the checkbox beside the locations that offer delivery.
- Select All locations if delivery is available at every location.
- Click on Save to continue.
- If needed, select a Delivery tax rate from the dropdown.
- Add Delivery options and Prices.
- Enter a delivery option name and price (this price is the delivery fee clients will pay).
- Click on Add more to include additional delivery options.
- Under Important info for clients, add a Returns policy that will be shown to clients at checkout. You can also add any additional details in Other info.
- Click on Publish store in the top right to save your changes.
Disable an online product store
- From the main menu on the left of your screen, go to Online booking.
- Select Product store from the left menu panel.
- Click on Options, then select Manage store.
- Select Unpublish store.
- Click Unpublish to confirm.
Re-enable an online product store
- From the main menu on the left of your screen, go to Online booking.
- Select Product store from the left menu panel.
- Click on Options, then select Manage store.
- Select Publish store.
- Click Preview store to see your stores appearance before replublishing.
- Click Publish.
You can click on View store to be taken directly to your store.
FAQs
To receive funds from online store sales, payment processing must be enabled and verified. Fresha payment processing is available in a range of countries, and we are working to introduce this feature in more countries soon.
Setting up your online profile with Fresha is completely free! There are no monthly subscriptions, and all features of the product store are available at no cost to you.
For payment processing, we charge a competitive transaction fee when a sale is made through our secure payment solution.
You are able to set up your own delivery options, and control the prices that your clients will pay for these options. Delivery prices are set at a flat rate, not based on order value. The business is responsible for fulfilling all delivery services offered and charged to clients or customers.