Create custom client segments
Learn how to create highly targeted client groups based on specific behaviour, details, and activity.
About custom segments
Custom segments give you full control over how clients are grouped, updating automatically as your client data changes. You can combine multiple conditions, refine existing segment logic, and build segments tailored to your business goals.
Create a custom segment
- From the main menu on the left of your screen, go to Clients.
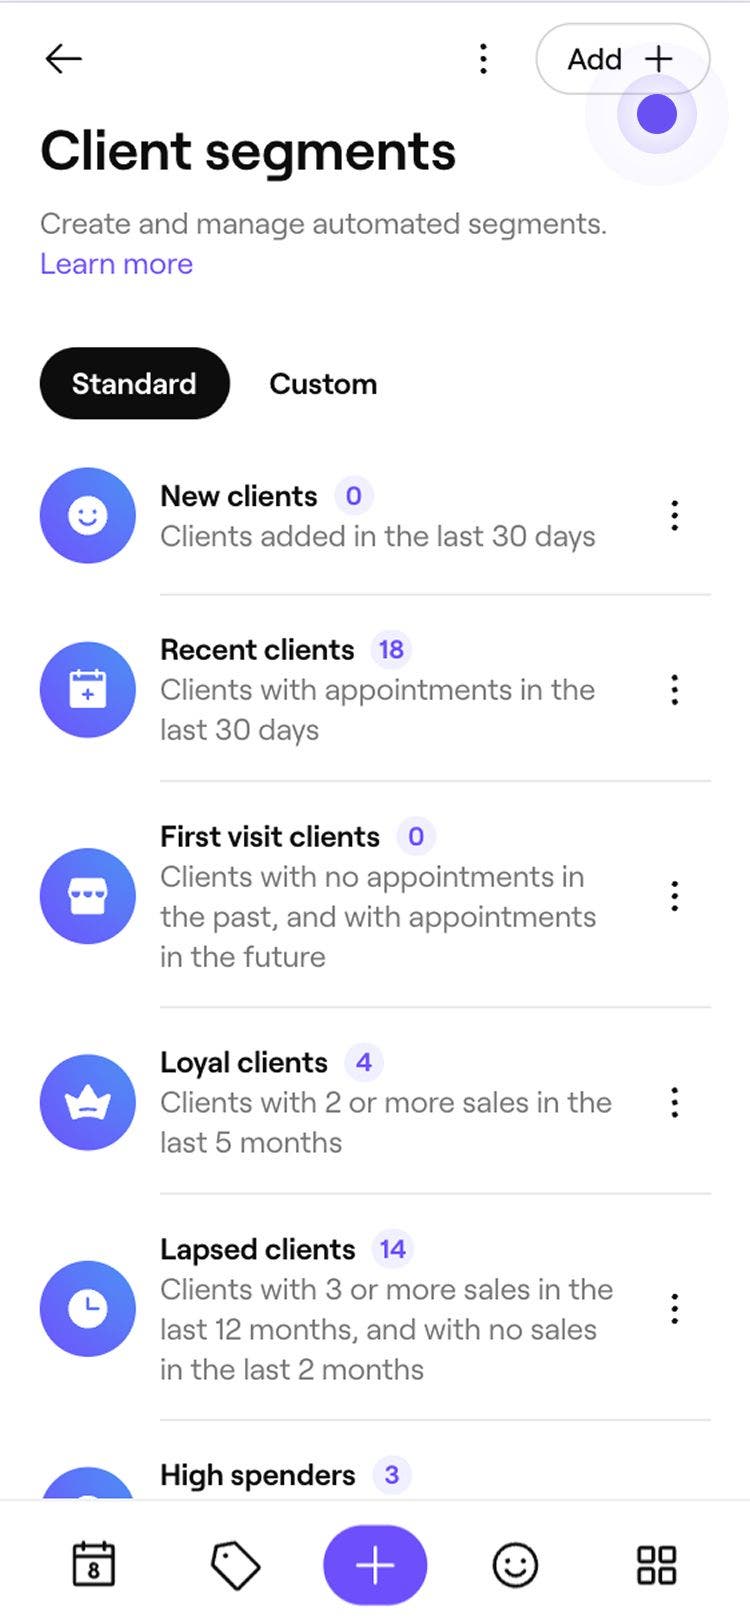
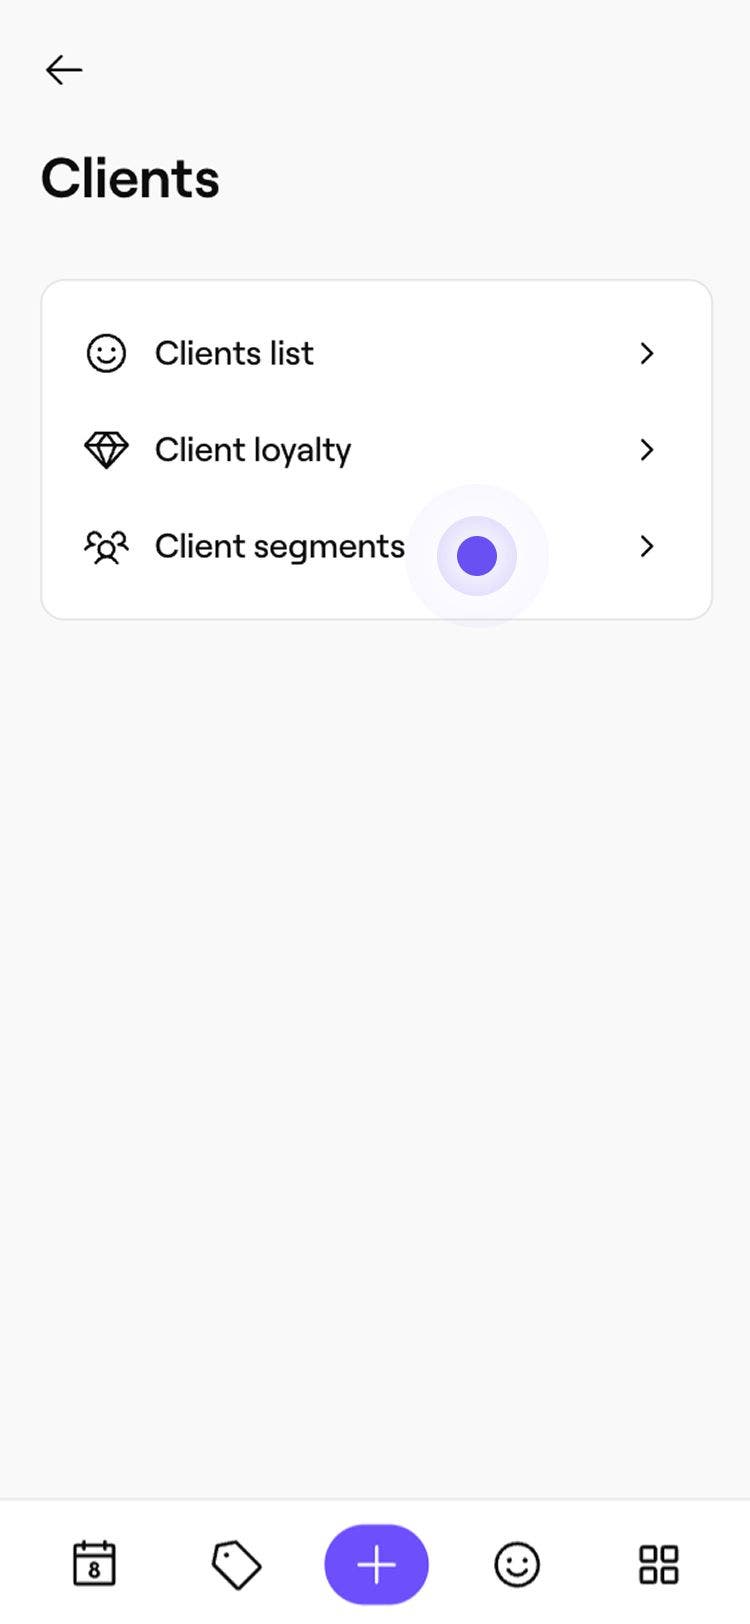
- In the left menu panel, select Client segments.
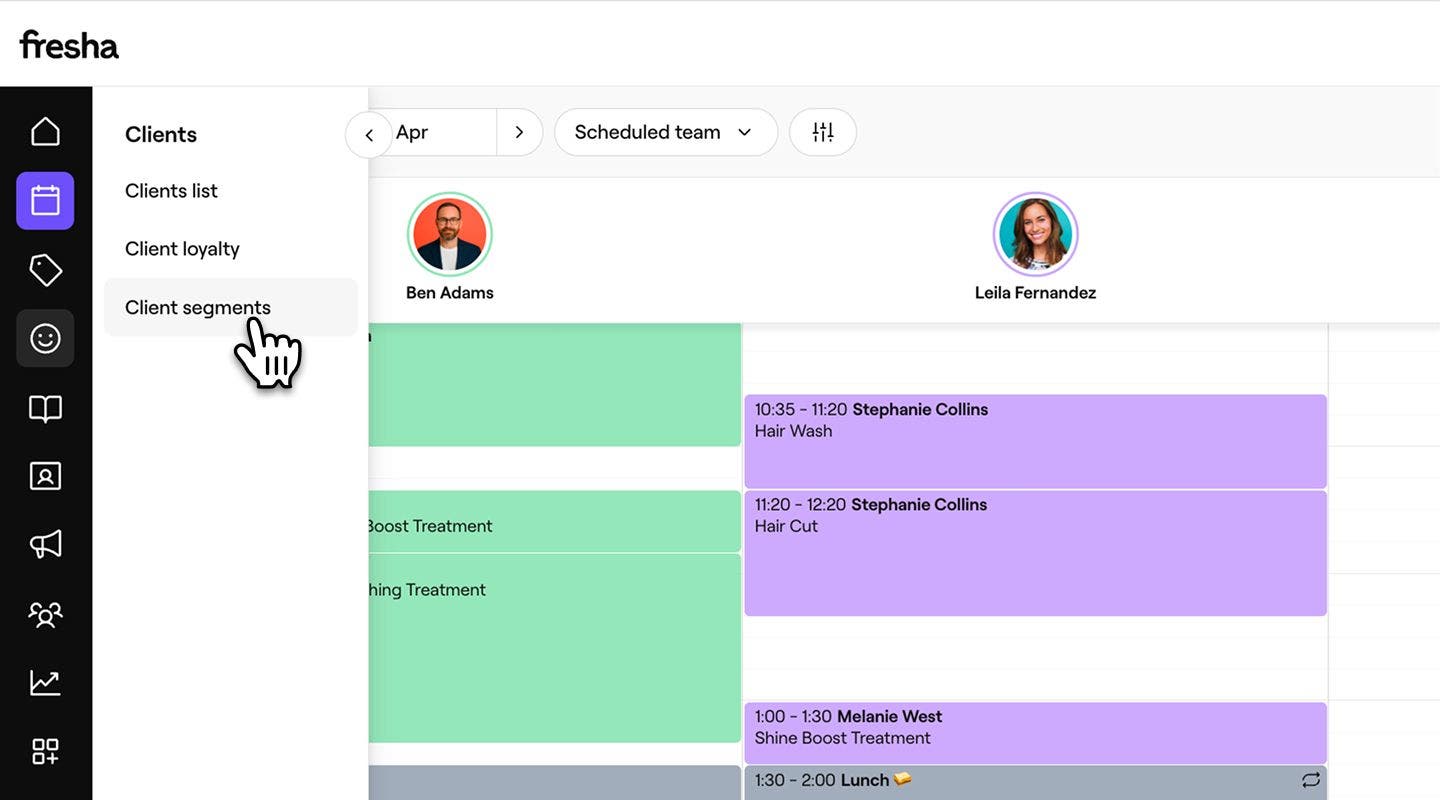
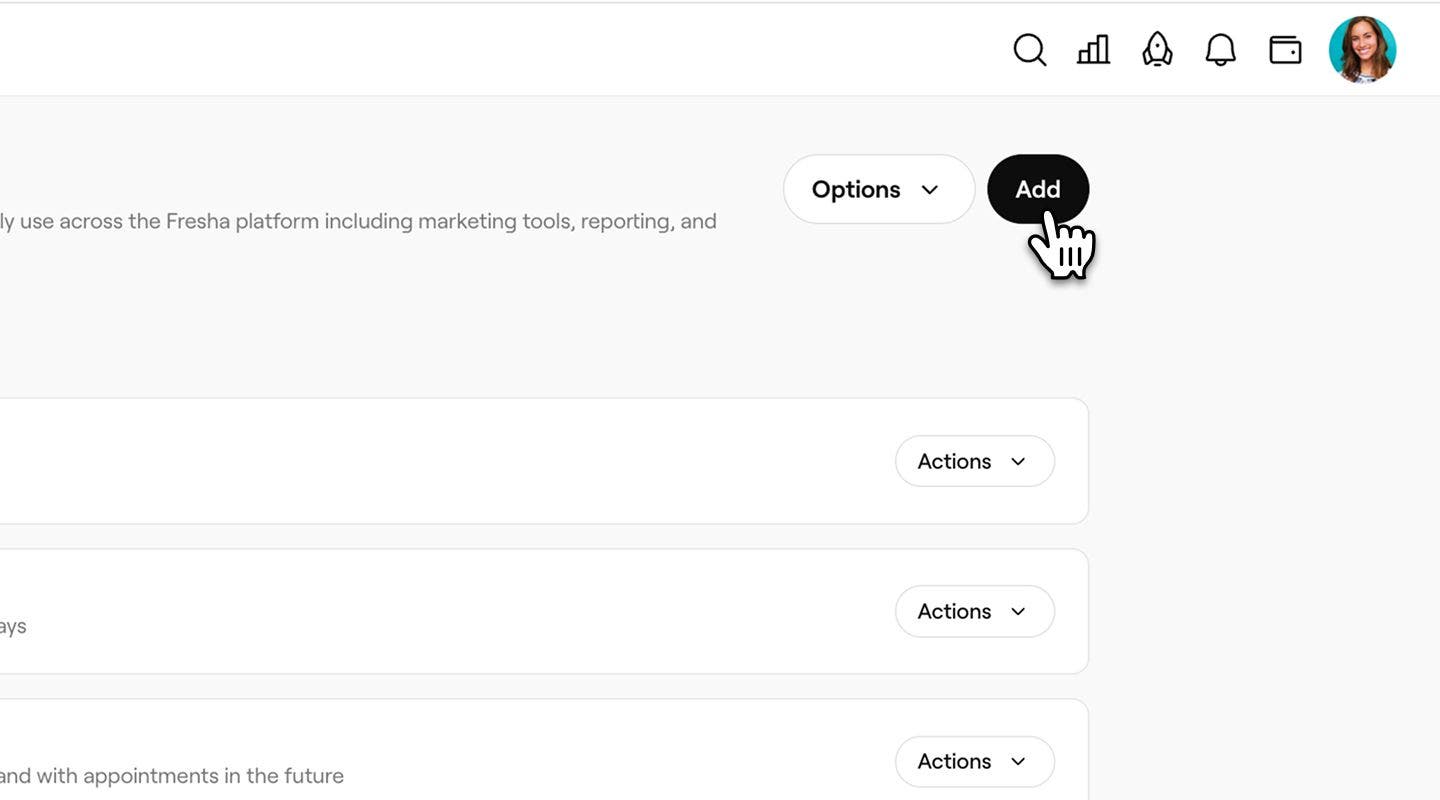
- To create a new segment, select the Add button in the top right.
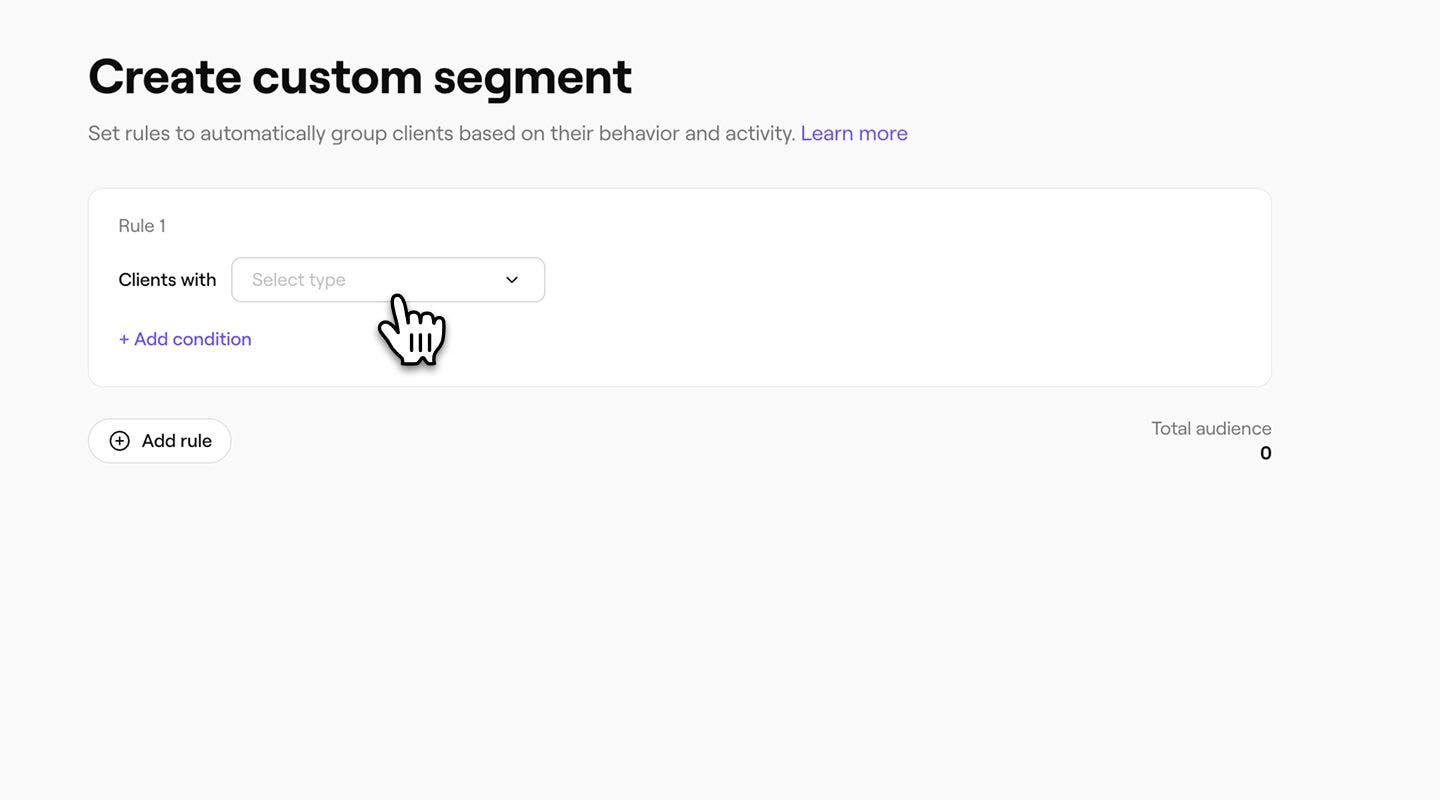
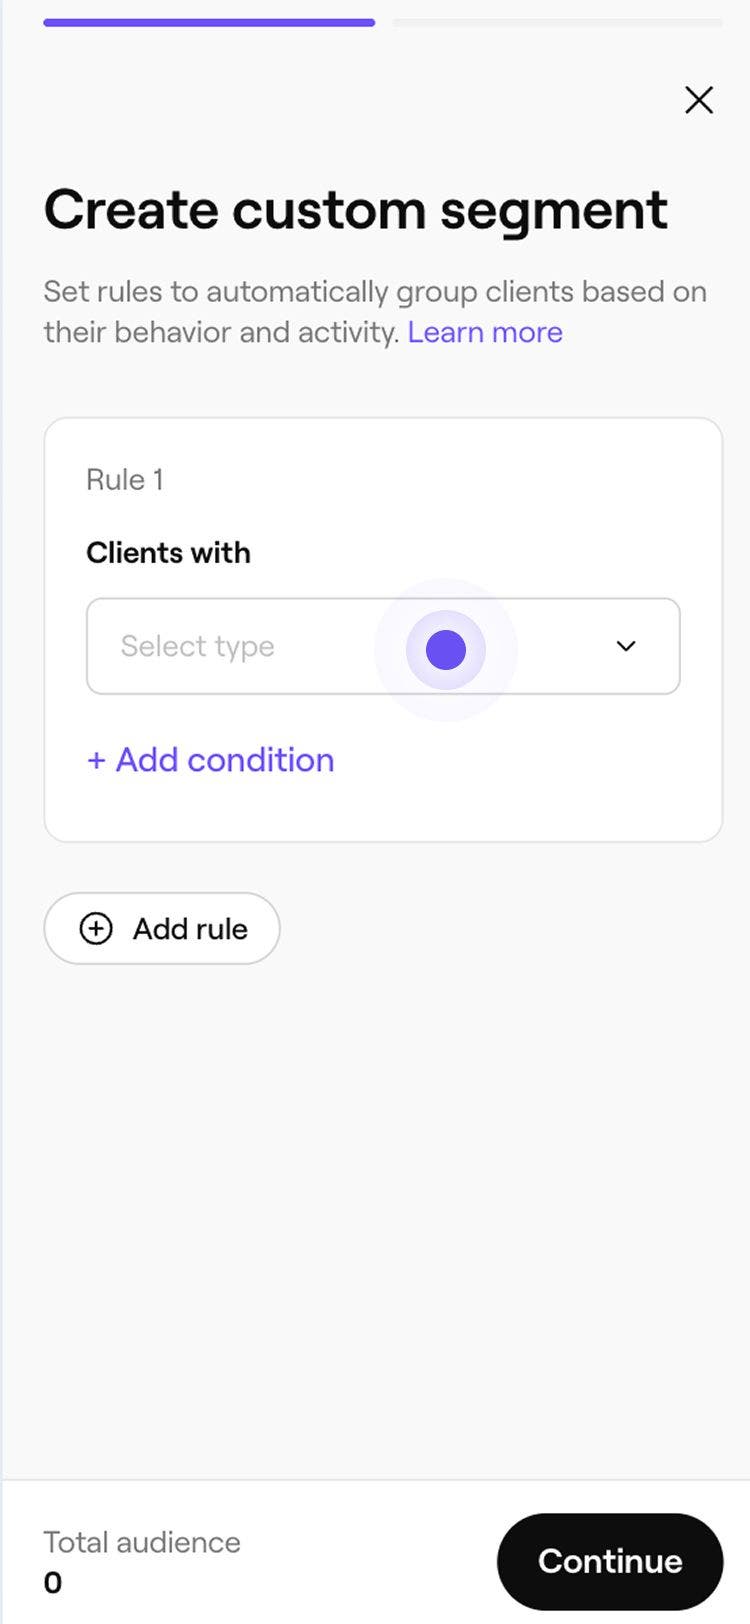
- On the Create custom segment screen, select a rule type from the dropdown.
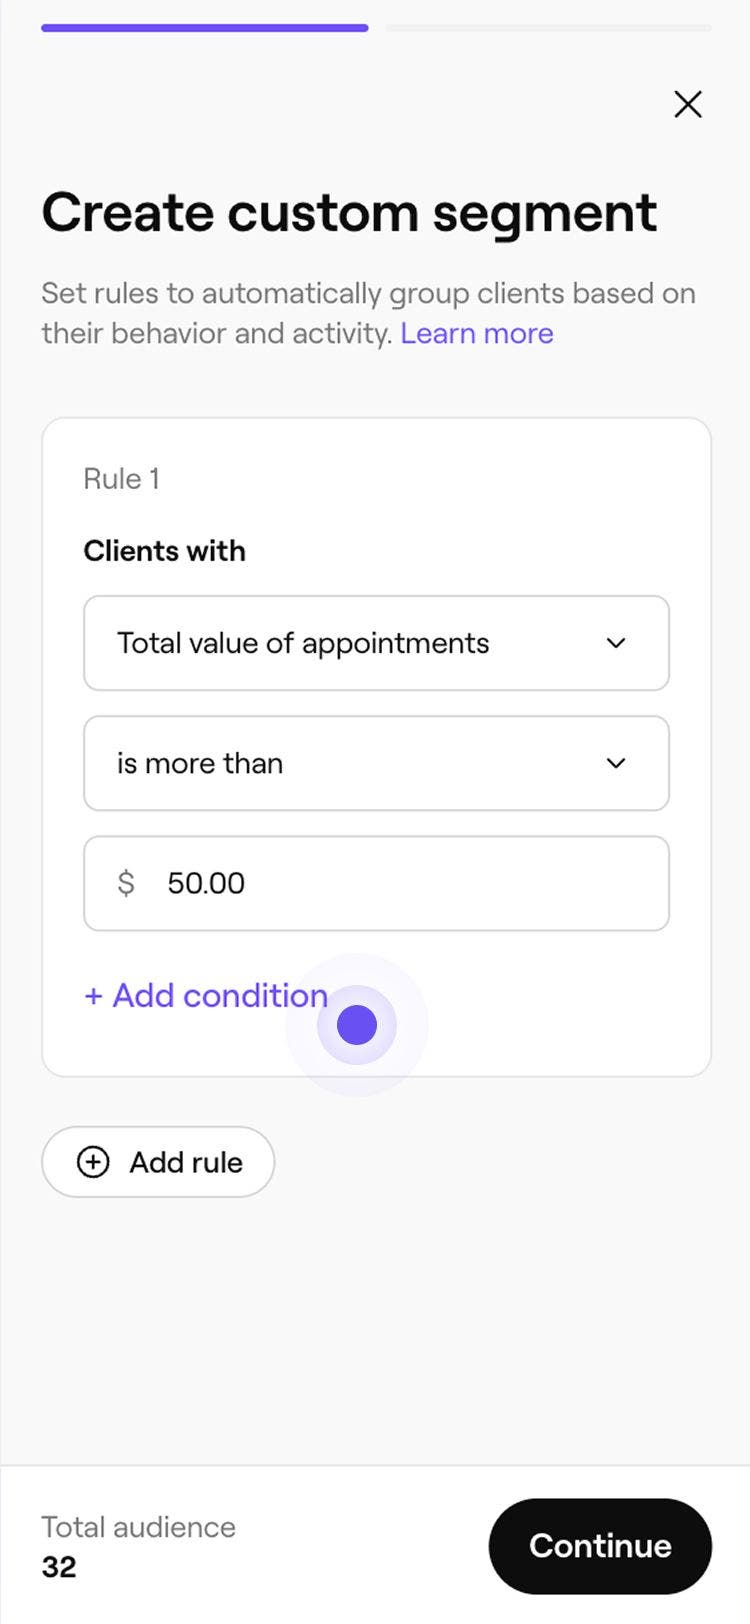
- Where required, customize the rule by specifying a count, total value, or other condition to apply.
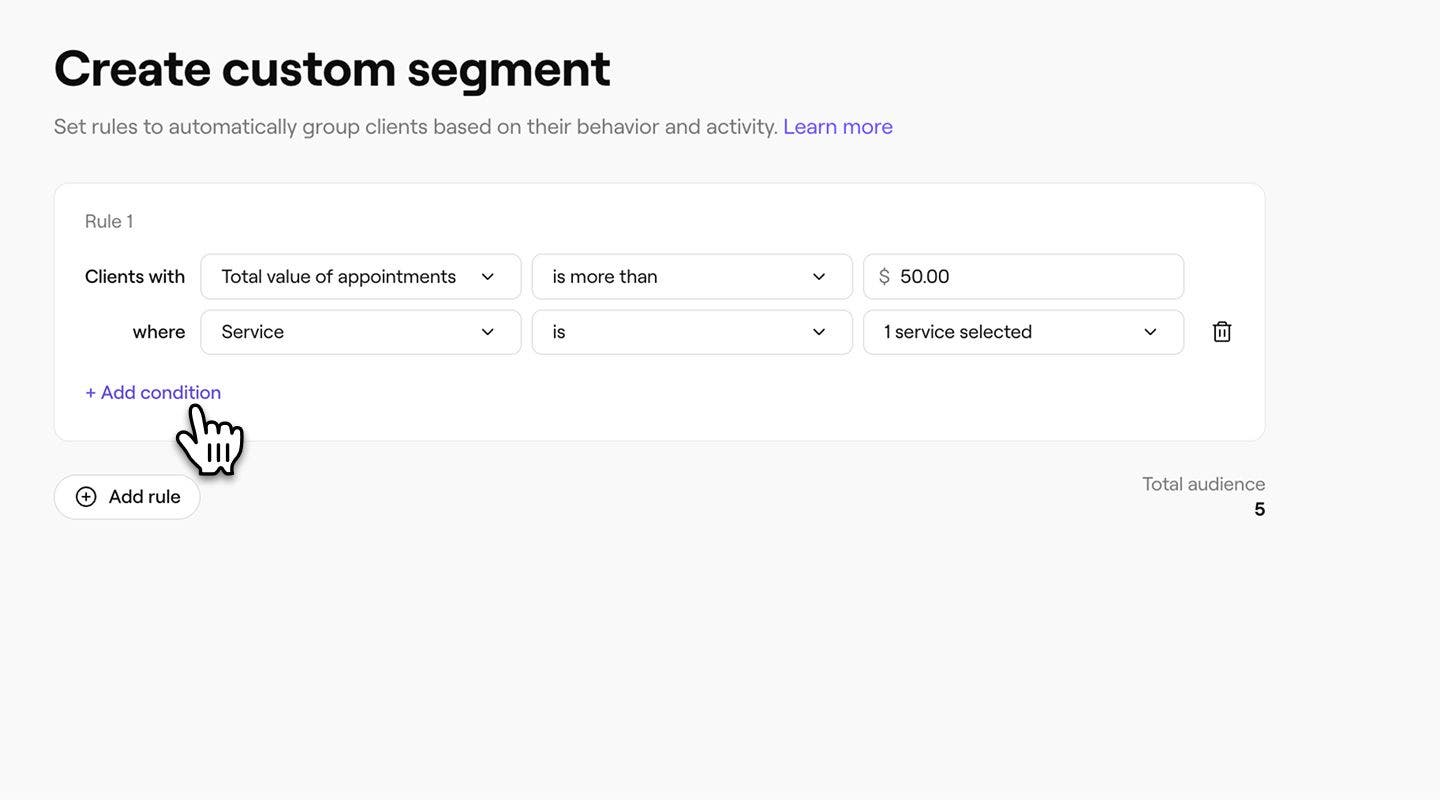
- Where required, customize the rule by specifying a count, total value, or other condition to apply.
- Add any conditions you require by selecting + Add condition. This lets you filter results based on your criteria, for example, appointments with a specific team member.
- Click on the Continue button in the top right.
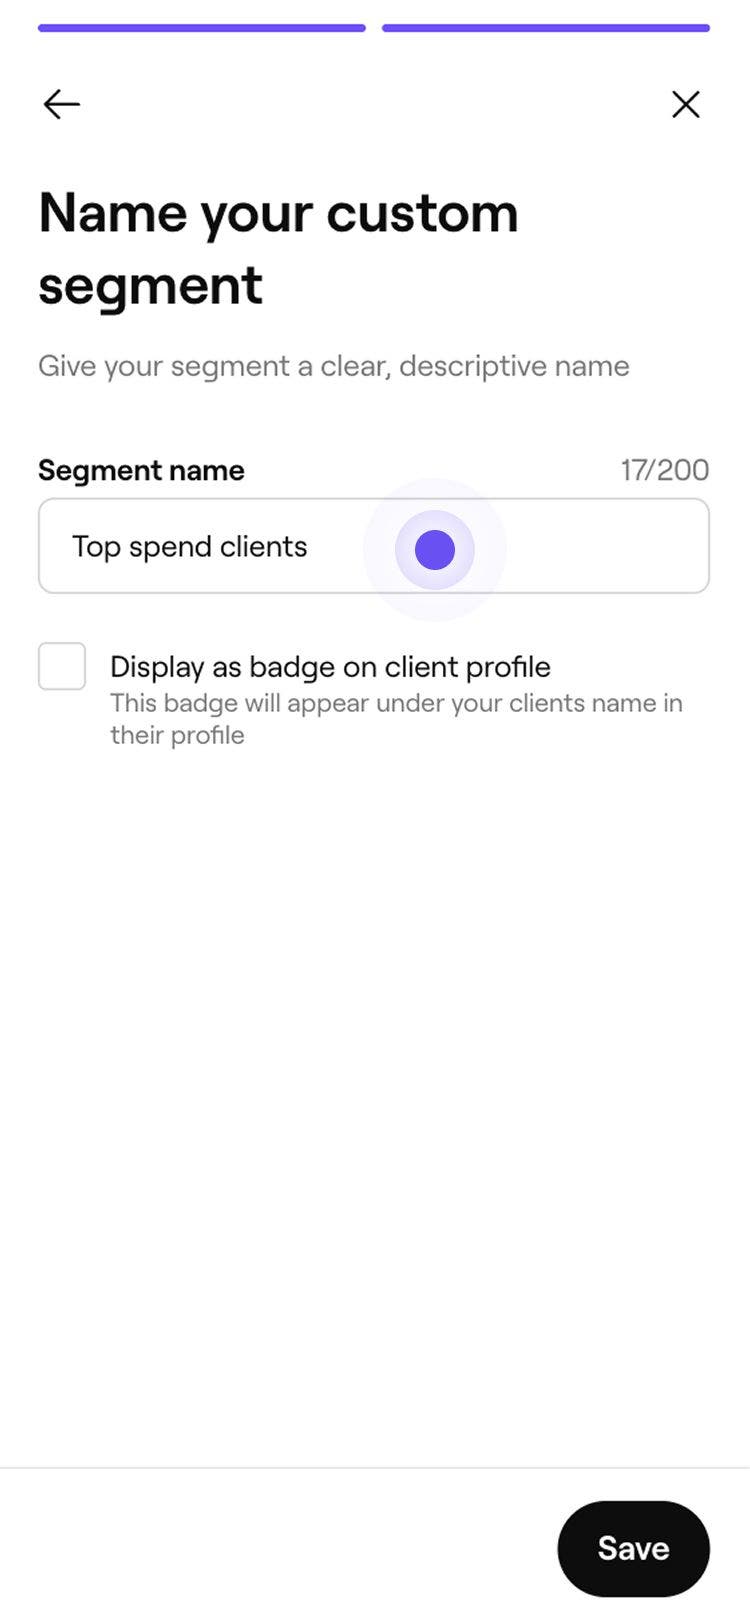
- On the Name your custom segment screen, enter a name for your segment.
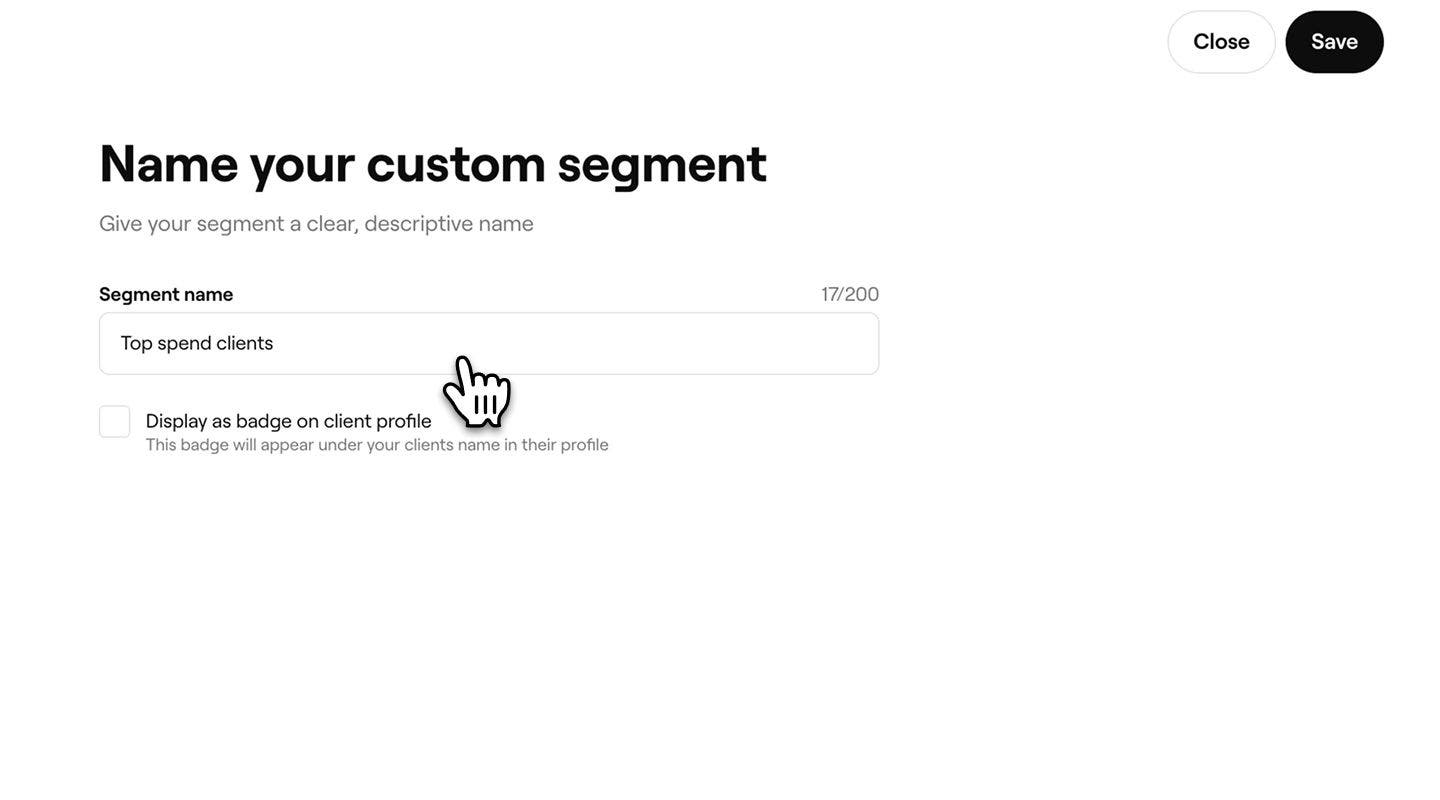
- To show this segment as a badge on matching client profiles, tick the checkbox to display as badge on client profile, then enter a Badge name and choose a color.
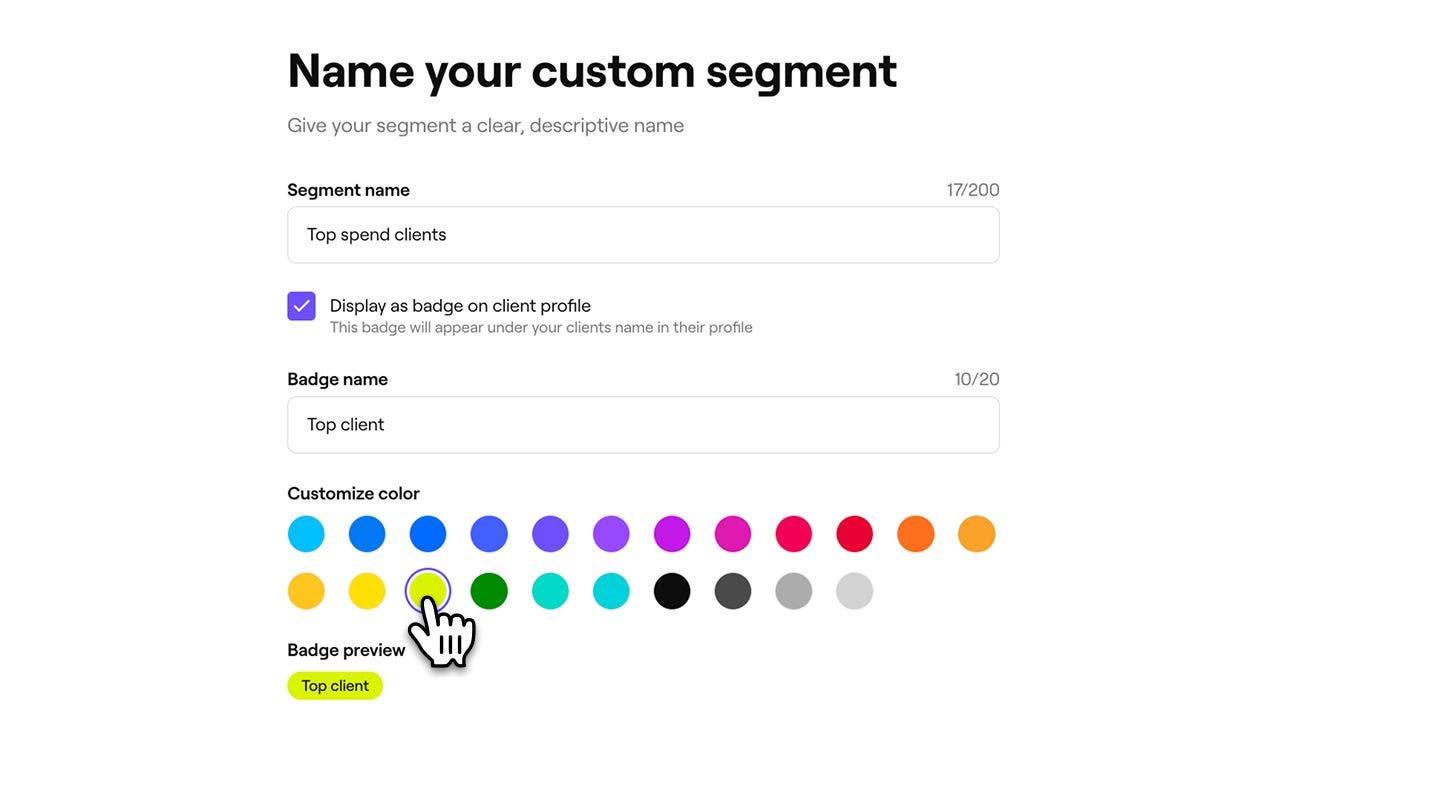
- Click the Save button in the top right to create your segment.
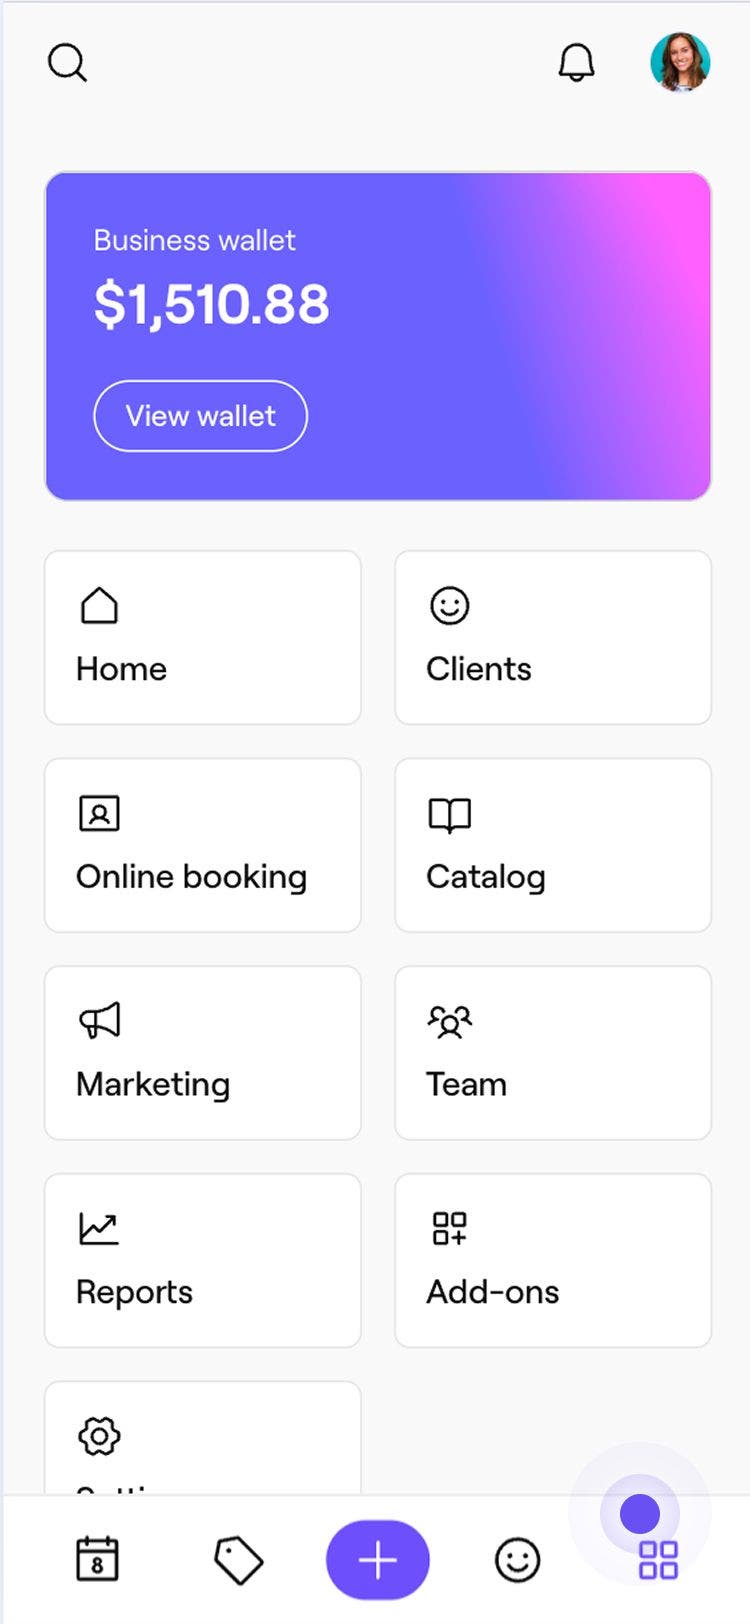
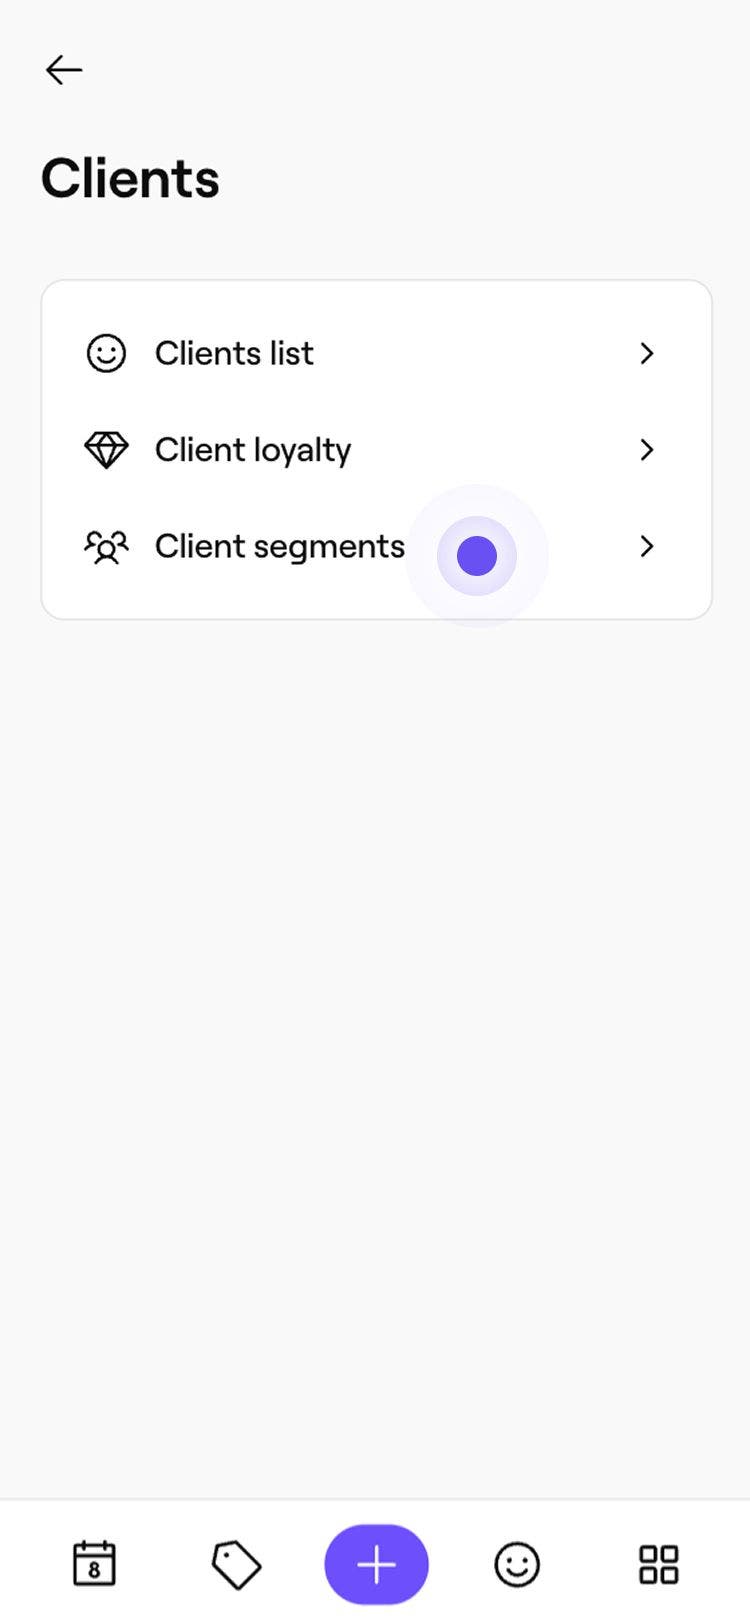
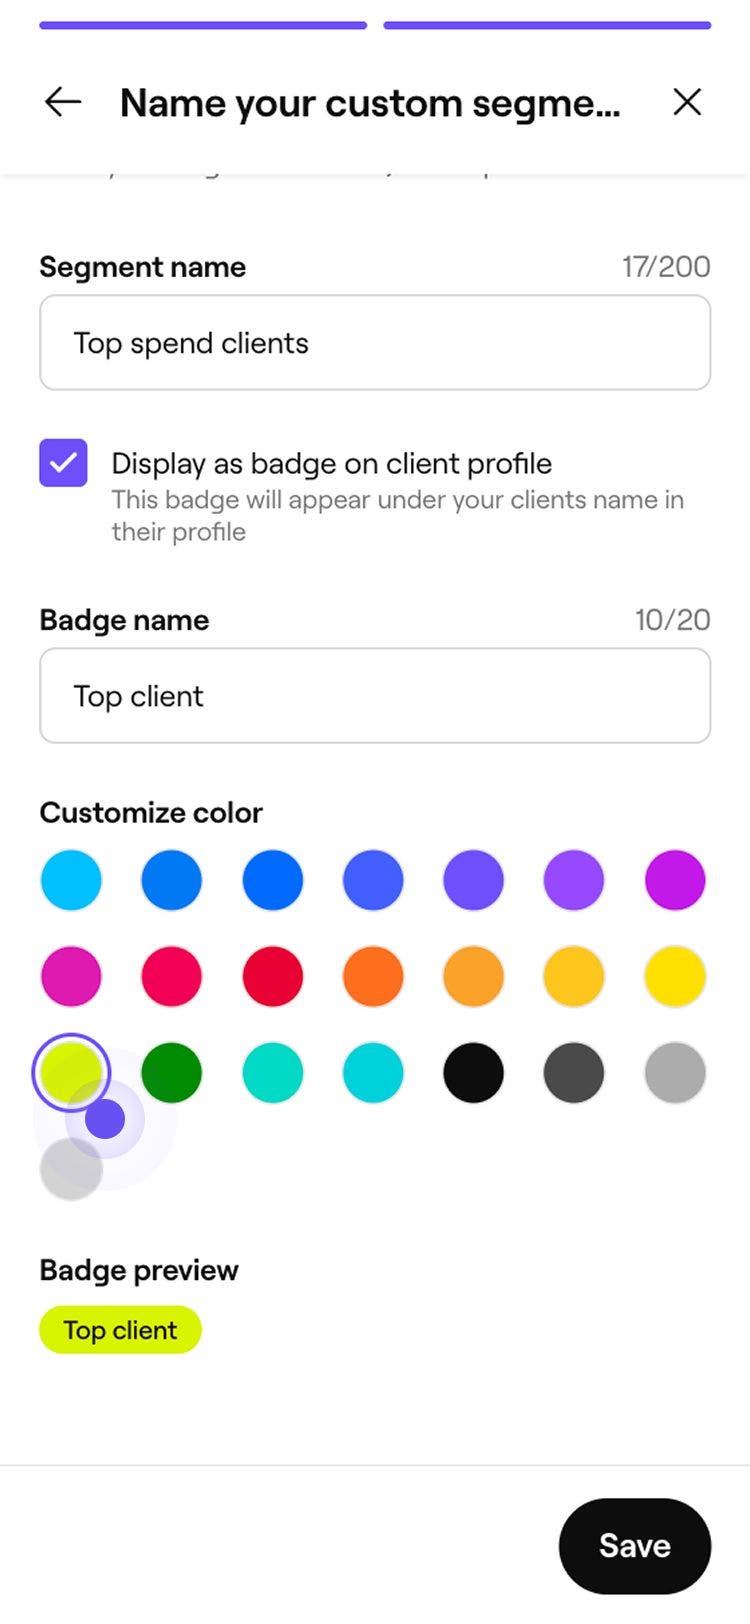
Your new segment is added to your Client segments list and is immediately available to select as an audience when sending a blast campaign.
As you add and adjust conditions, the client count updates in real time so you can see how many clients currently match your rules.
Edit or delete a custom segment
- Open Client segments.

- Click Actions next to the custom segment you want to update, then select one of the following:
- Edit: Update the segment's conditions, name, or color. Click Save in the top right to confirm your changes.
- Delete: Remove the segment permanently. Click Delete in the pop-up to confirm.
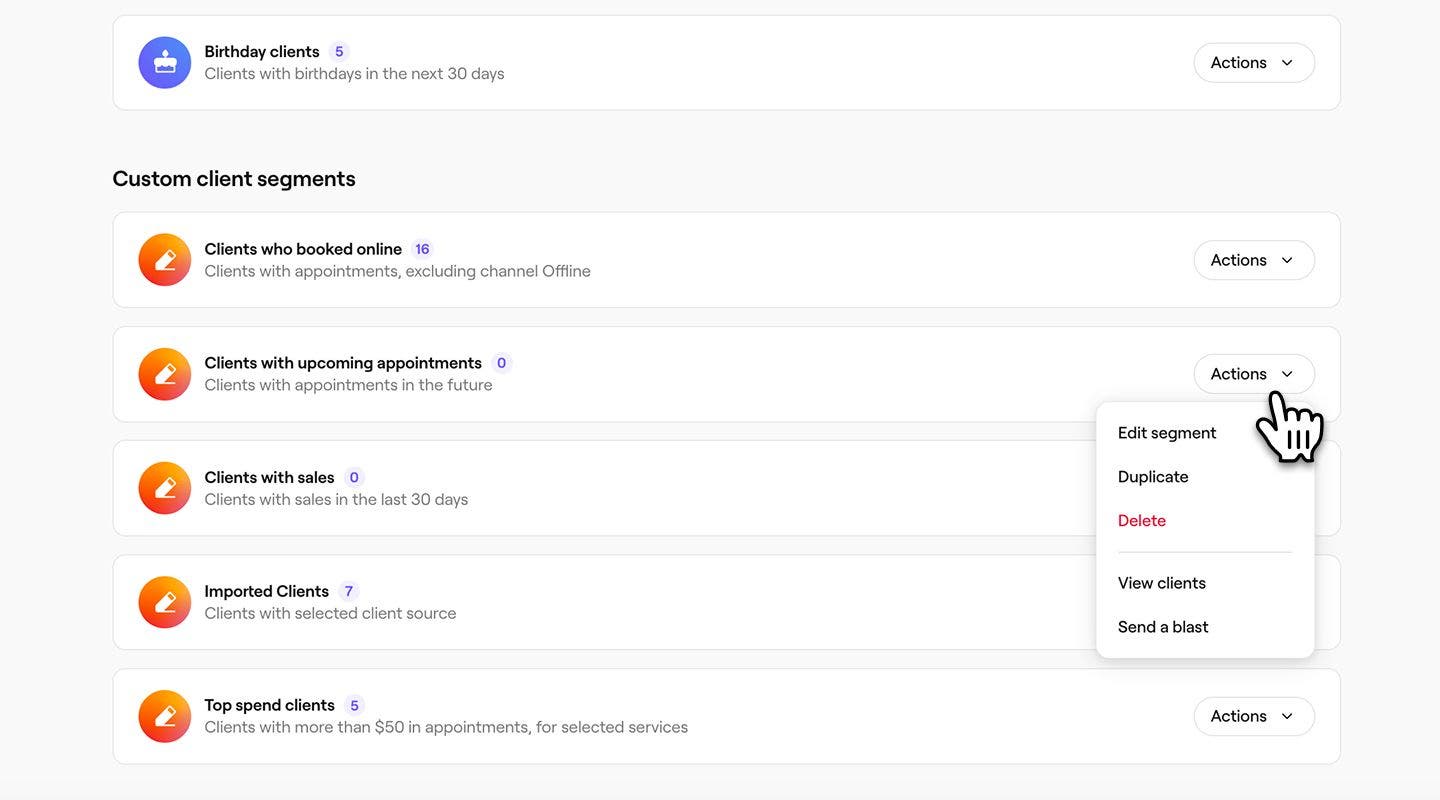
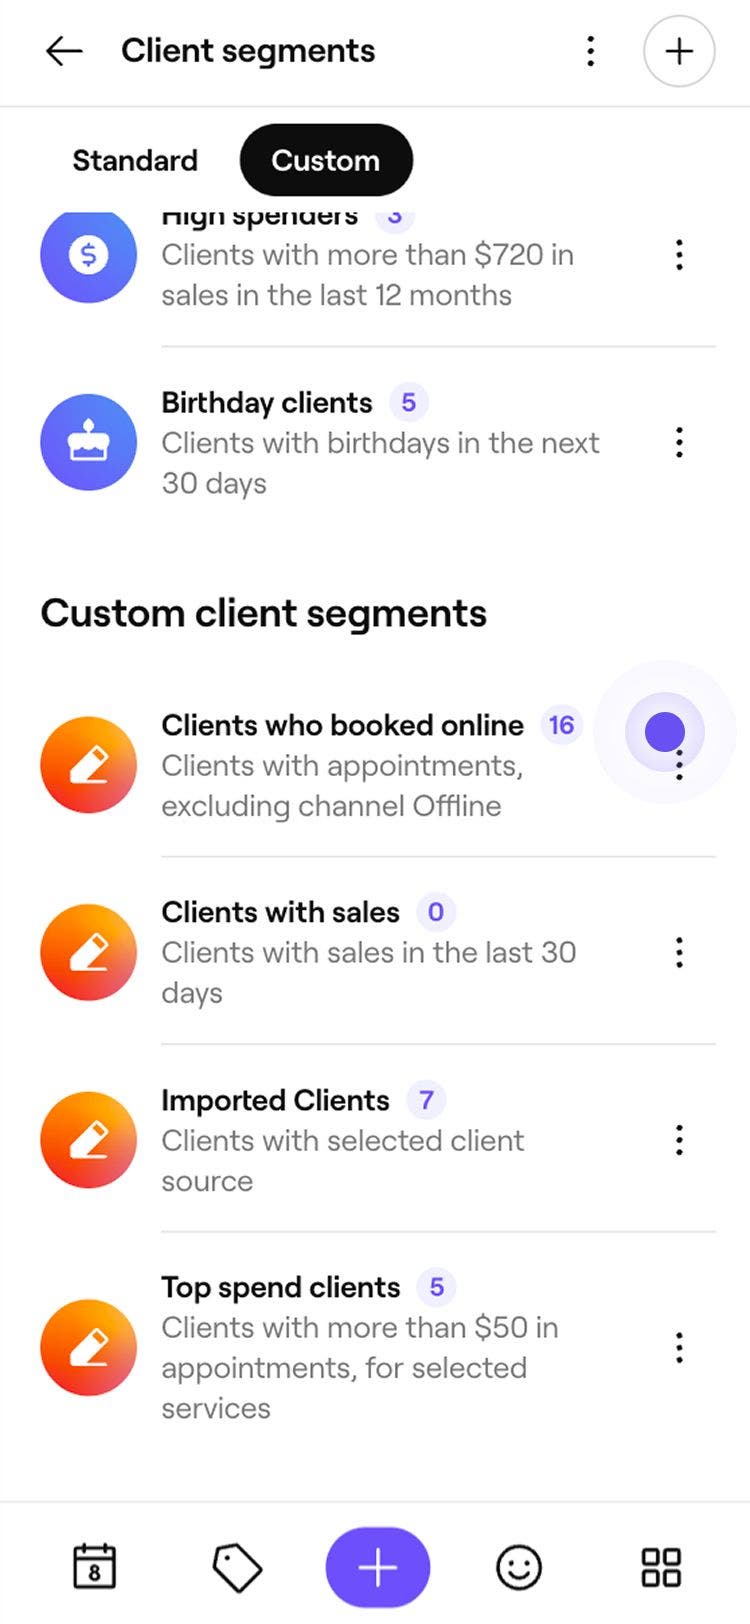
Deleting a segment removes it from your Client segments list, and it will no longer be available to select as an audience in blast campaigns.
FAQs
Client tags can be used as a condition when creating a custom segment. Tags help group clients based on labels you’ve assigned, such as VIP or New client. You can combine tags with other conditions, for example, targeting clients with a VIP tag who haven’t booked in the last 60 days.
A custom segment can be created using the Team member condition under Appointments. This allows you to group clients based on the staff member they’ve booked with, making it easier to track relationships or target follow-ups.
Access to client segments is controlled by team permission roles. Team members with the relevant permissions enabled can view and manage segments.
Clients within a segment can be viewed by applying filters in the Clients list. Go to Clients, open Filters, and select the segment from the Client segments dropdown. The list will update to show all clients who match the selected segment.