Manage waitlist settings
In this guide, you’ll learn how to manage your waitlist settings, customize how clients join, and enable online waitlist requests.
In this article
How waitlist settings work
Waitlist settings control how clients are added, prioritised, and notified when a slot becomes available. You can manage requests manually or let Fresha notify clients automatically. Clients can also join the waitlist online and request times based on your business hours.
You can also manage waitlist entries and automatically send updates to clients when availability opens up.
Update your waitlist settings
-
From the main menu on the left of your screen, go to Settings.
-
Select the Settings tab from the top and click on Scheduling.
-
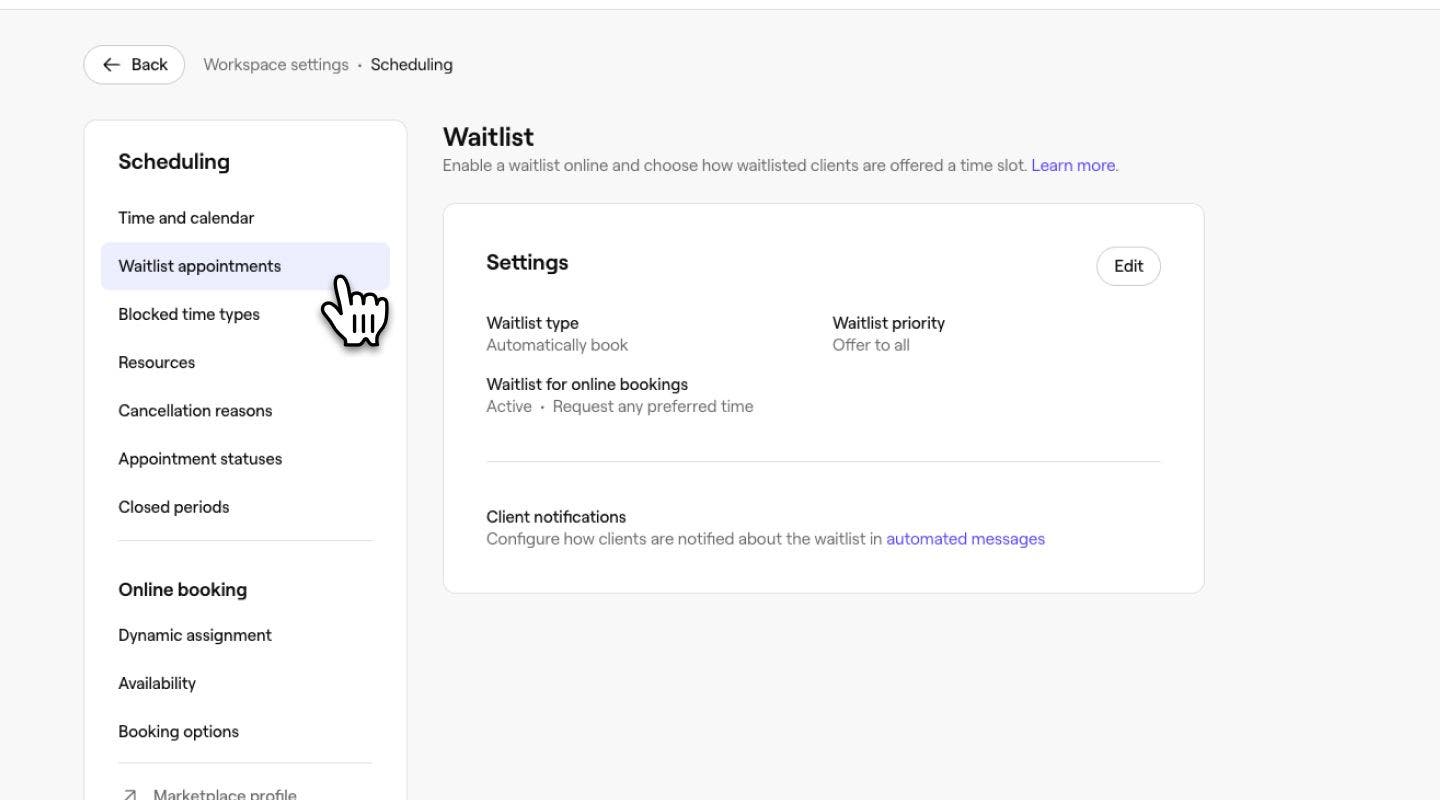
In the left menu panel, select Waitlist appointments to view the waitlist settings.
-
Next to Settings, click on the Edit button to update the settings.
-
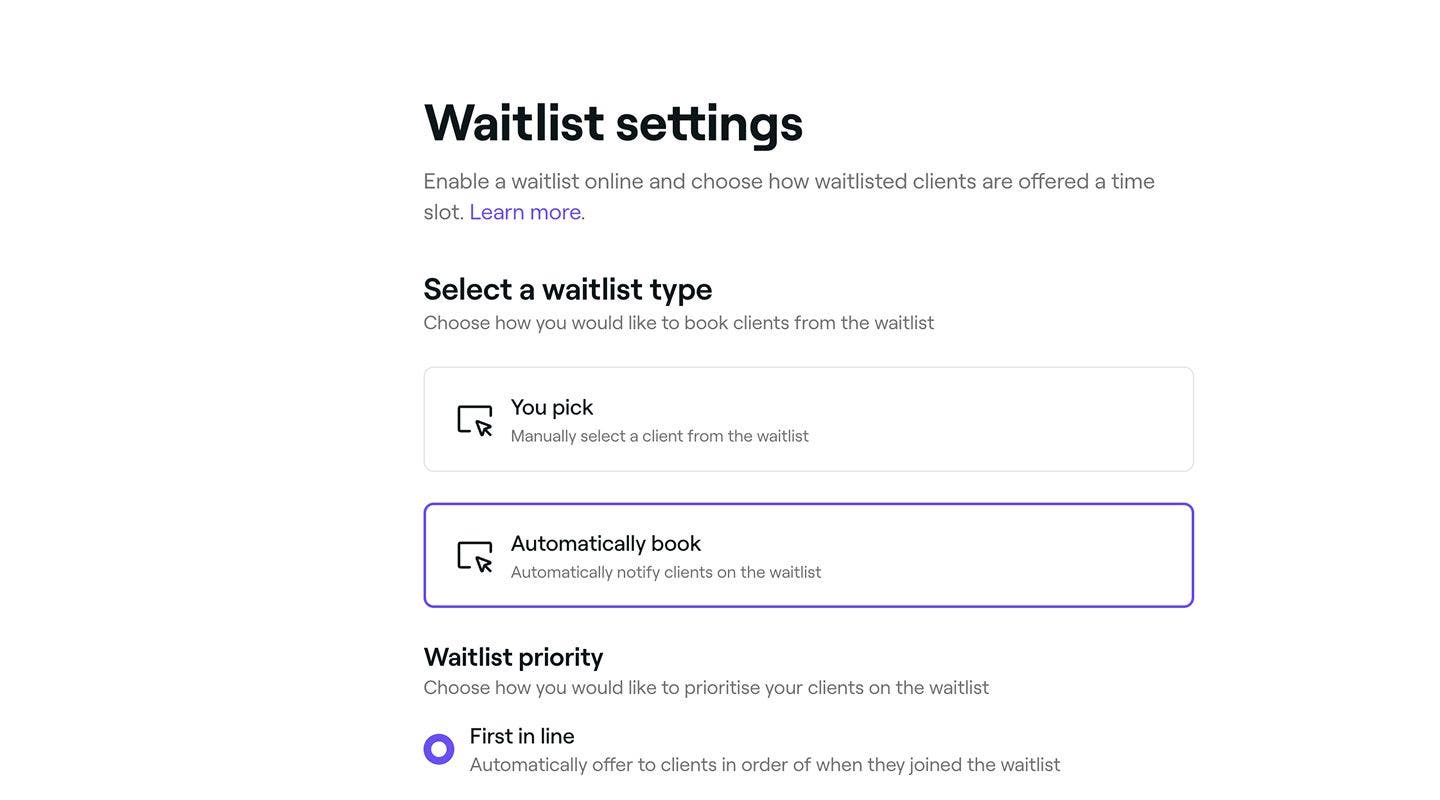
On the waitlist settings page, update the following details:
- Waitlist type: Select You pick if you want to manually review and book clients or select Automatically book to automatically notify clients when a slot becomes available.
- Waitlist priority: Choose how clients are notified. First in line notifies them in order, Highest value prioritizes high-value appointments, and Offer to all notifies everyone, with the first to book securing the slot.
- Client request options: Tick the checkbox to Allow clients to join the waitlist online and enable online waitlist requests. Then, choose whether clients can request any preferred time or limit requests to when your business is open hours.
-
Click on the Save button in the top right to apply the updates to your waitlist.
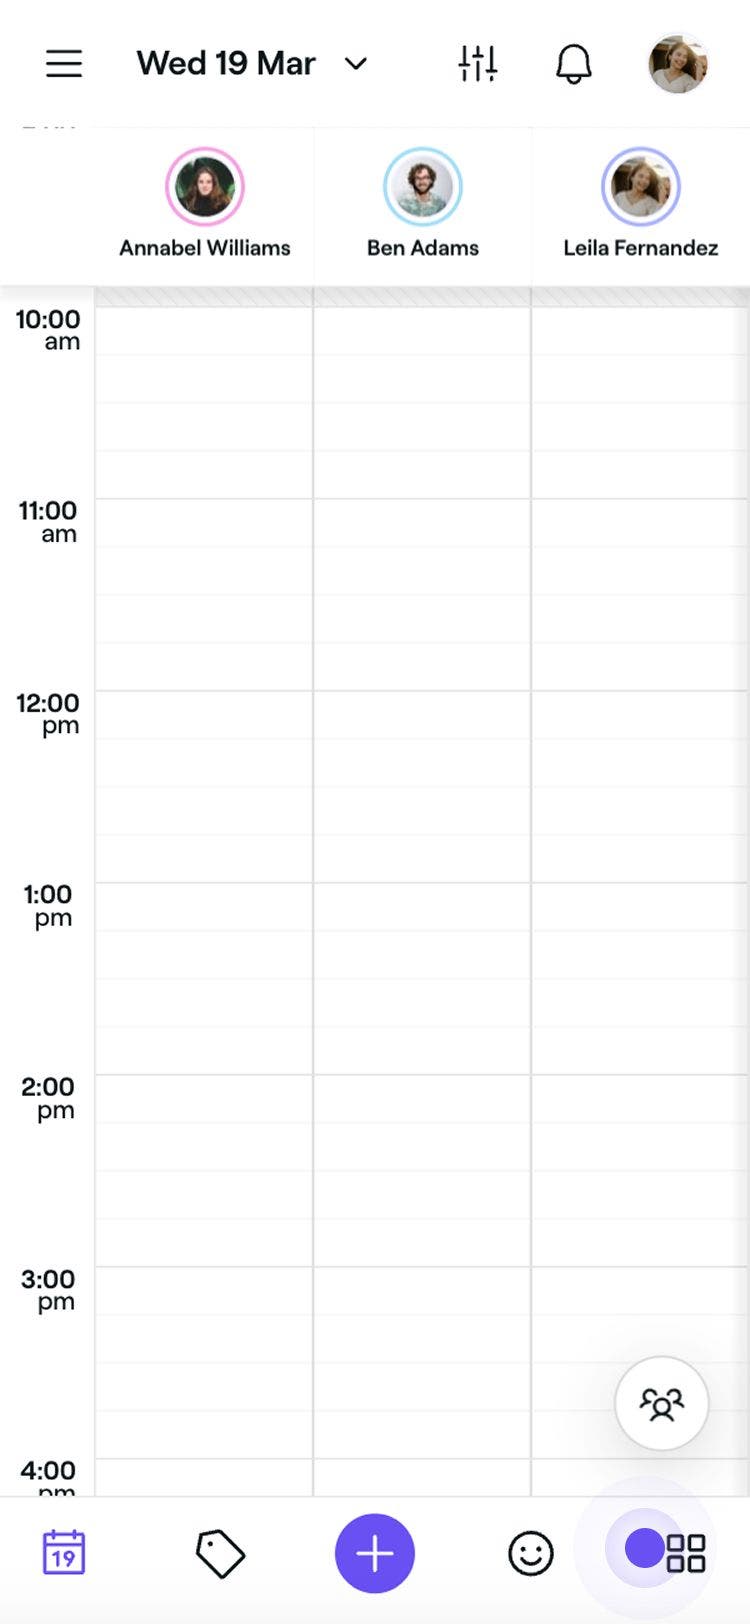

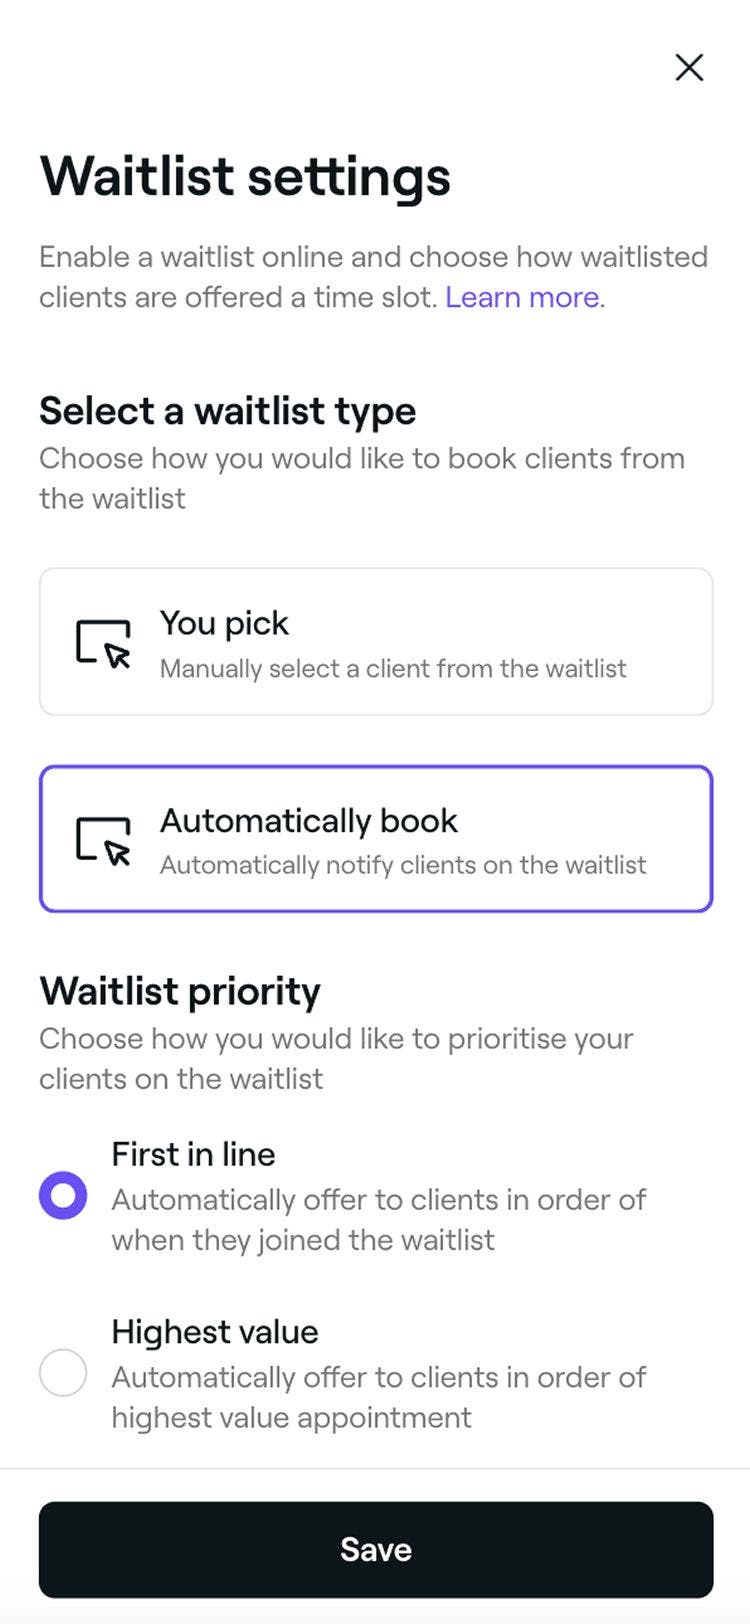
After updating your waitlist settings, the changes will be applied instantly, ensuring clients are notified and managed based on your selected preferences.
FAQs
No, the waitlist feature works whether or not online bookings are enabled. If you have online bookings enabled. Clients can join the waitlist online by default, they will automatically be offered an appointment slot when a suitable time slot becomes available. If you prefer to manage bookings manually, you can easily adjust this in your Waitlist settings.
Yes, you can manually book waitlisted clients into any available appointment slot at any time through your calendar. This gives you full control over your waitlist, allowing you to prioritize certain clients or quickly fill last-minute openings.
Yes, clients can join the waitlist and will be notified if a spot becomes available, provided you've enabled the option to let them request any preferred time in your Waitlist settings.