Manage waitlist entries
In this guide, you’ll learn how your waitlist works and how to manage entries when appointment slots become available.
In this article
How the waitlist works
Your waitlist helps you maximize your availability by allowing clients to join and book their requested appointment slots when they become available. You can add clients to your waitlist and manage all entries through the calendar. To allow clients to join your waitlist when booking online, simply adjust your waitlist settings.
Clients will receive notifications when they join the waitlist and when slots become available. These can be be managed under your messaging automations.
Add clients to your waitlist
-
From the main menu on the left of your screen, go to Calendar.
-
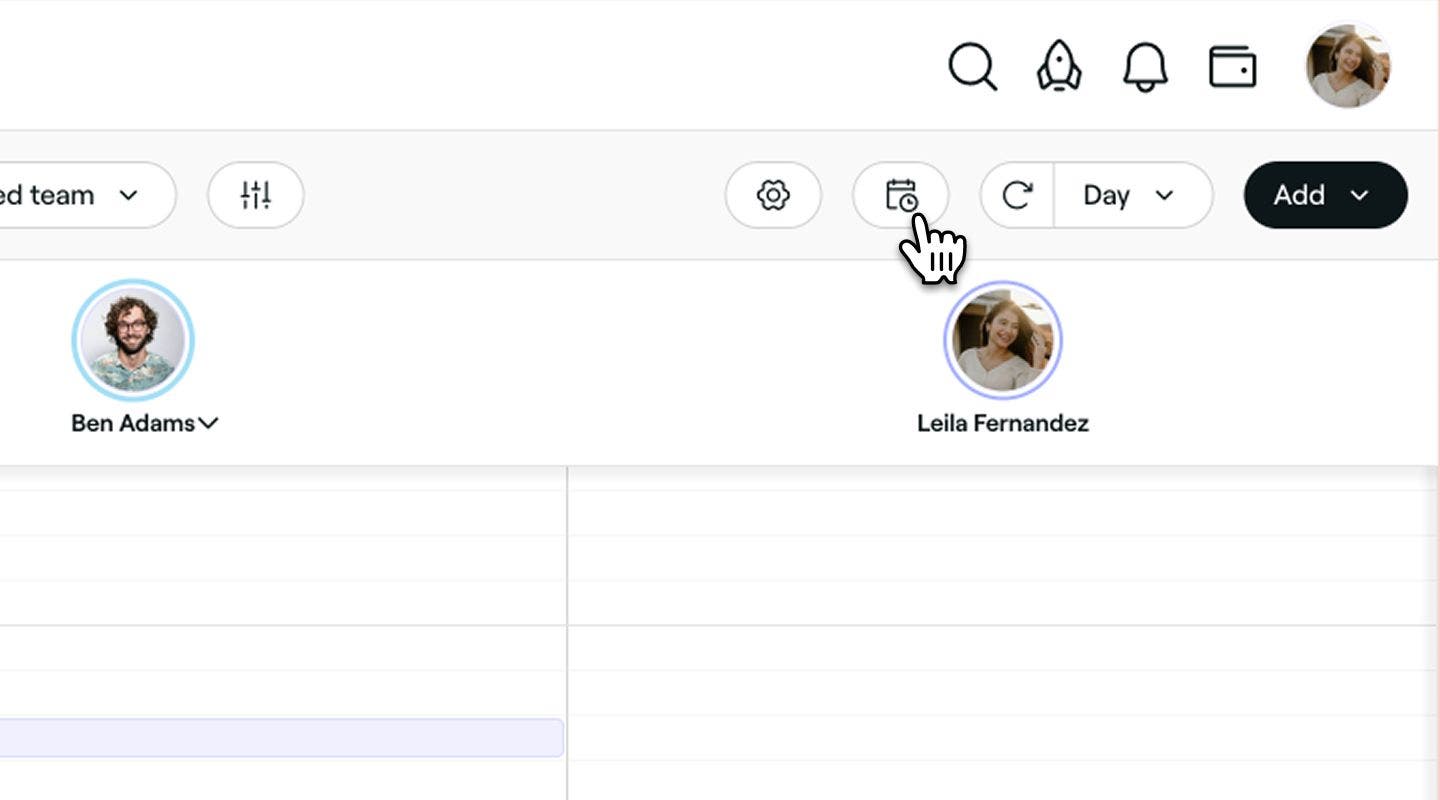
Click on the Waitlist icon in the calendar toolbar to open the waitlist view.
-
Click on the Add button in the top right to start creating a new waitlist entry.
-
In the Select a client step, search for or select an Existing client from the list or choose to add a New client.
-
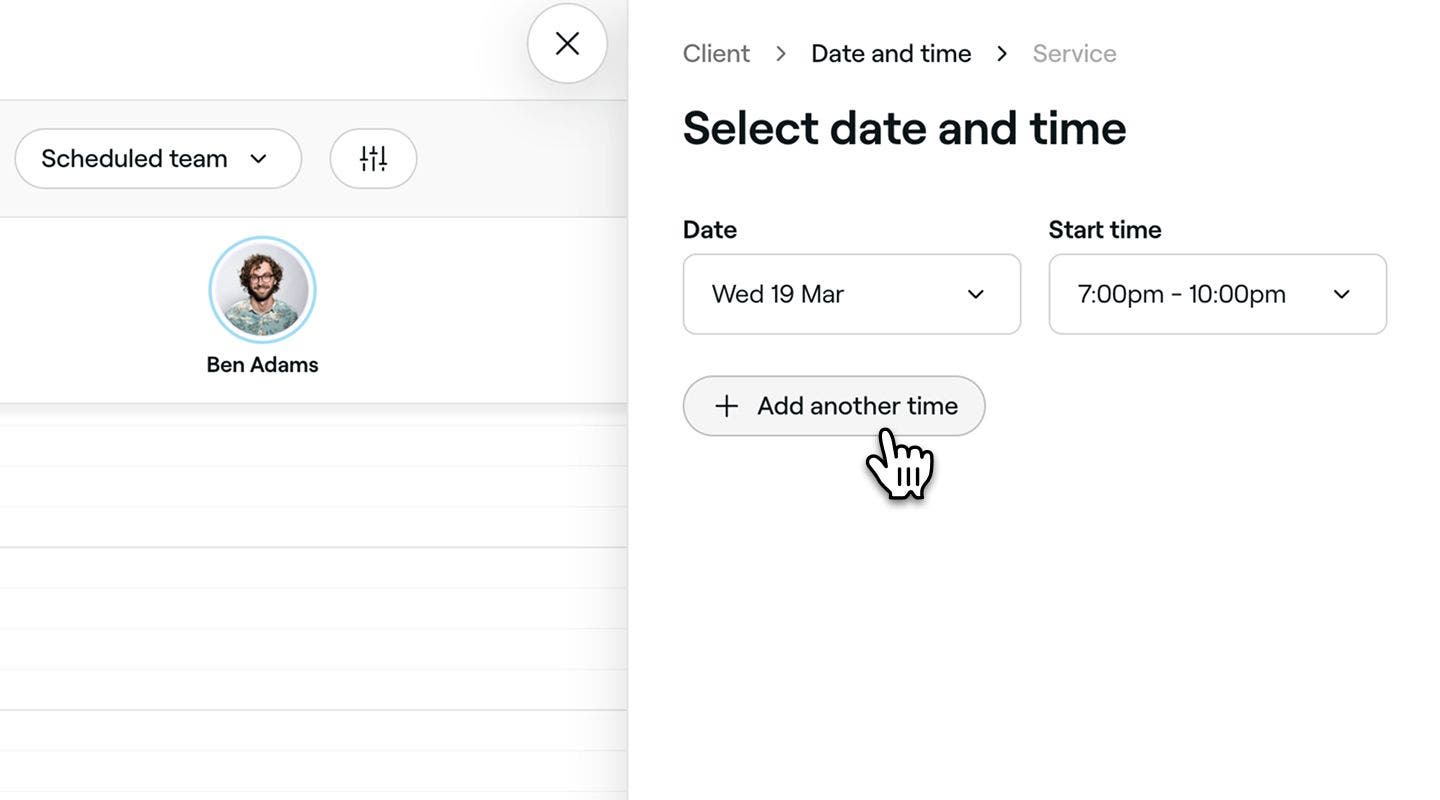
In the Select date and time step, select the client's preferred appointment date and start time, then click on the Next button at the bottom to continue.
- To add more date and time slot options, click Add another time.
-
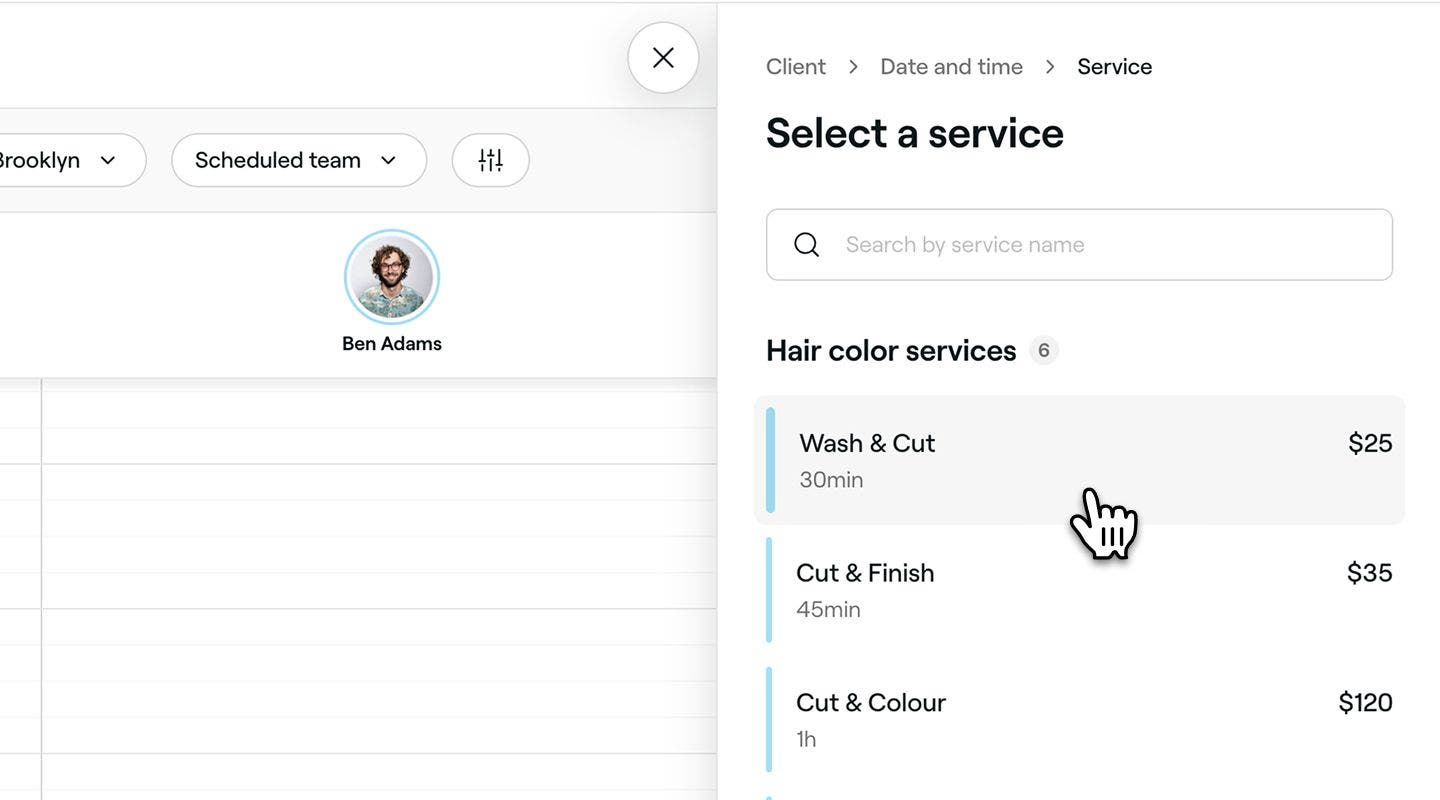
In the Select a service step, search for or select a service from the list to create the new entry.
- To add more services, click on the Add service button.
- To customize service details, simply click on the service.
-
Click on the Save button at the bottom to add the new entry to your waitlist.


Clients who have been added to your waitlist through the calendar will receive a notification that they have been added to the waitlist or if a time slot opens, depending on your settings.
You can add any additional information to waitlist entries under the Notes notes section. These notes are visible only to your team members.
Update appointment slot preferences or remove entries from your waitlist
-
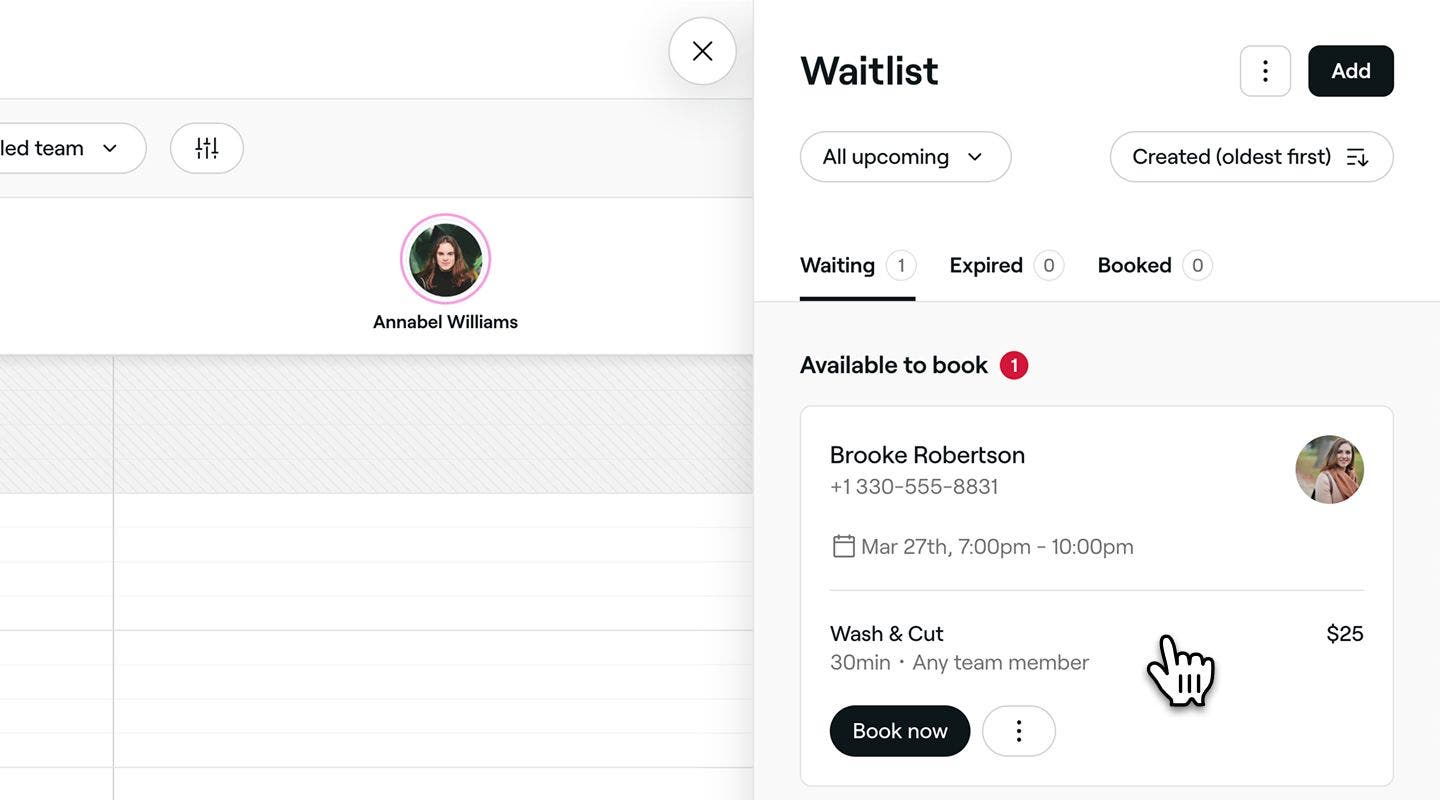
Open a waitlist entry from your waitlist.
-
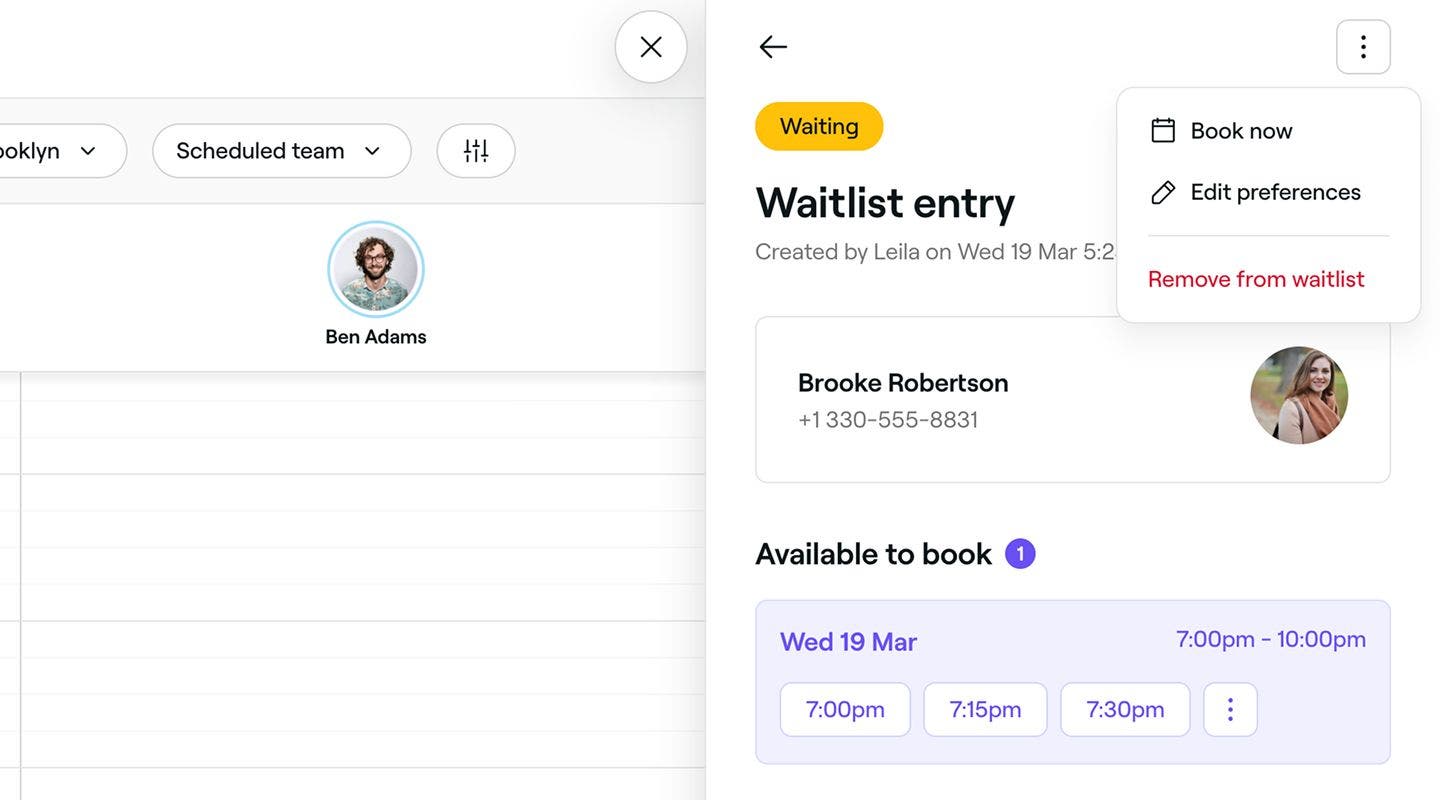
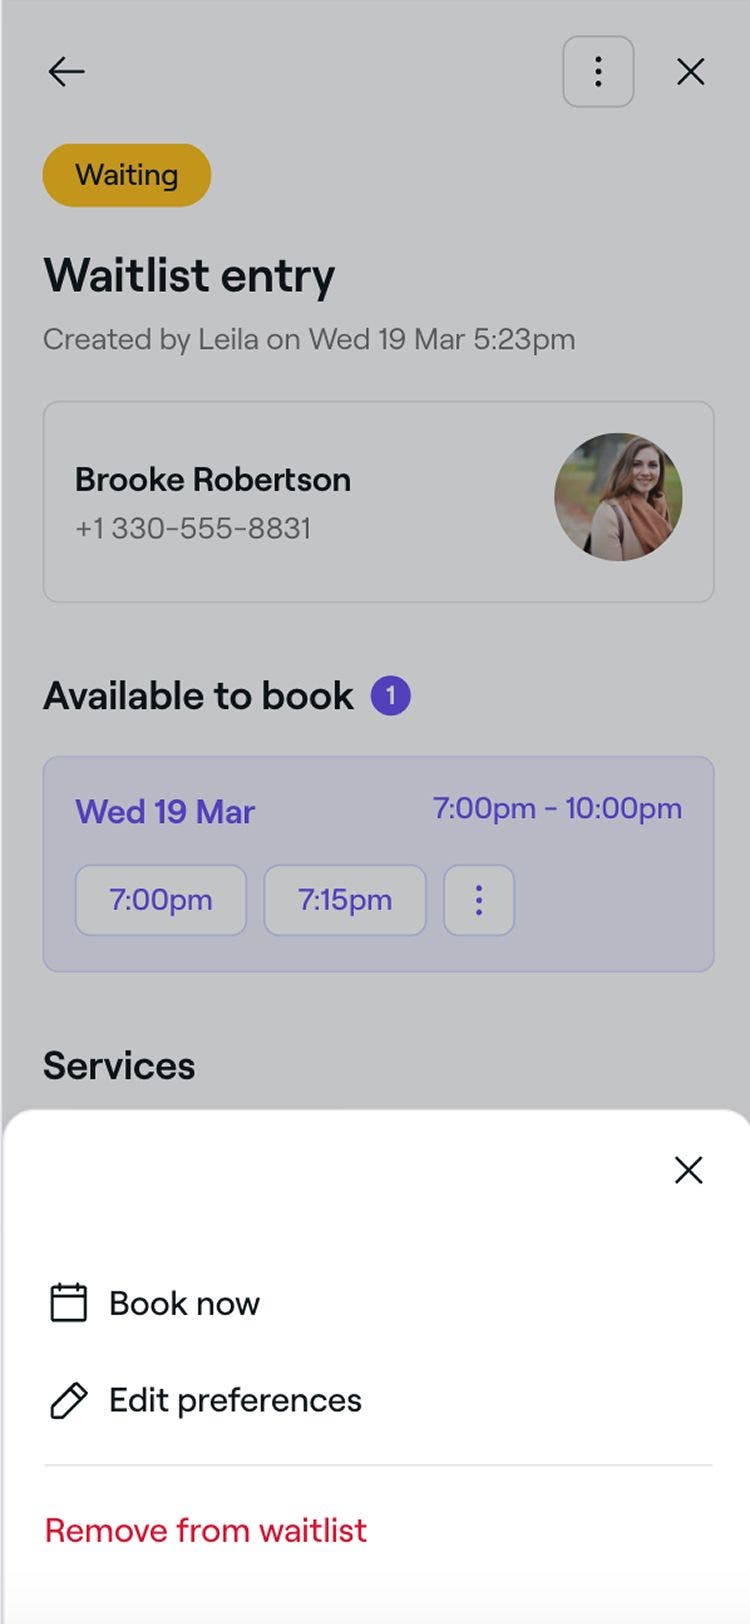
Click on Actions (three dots) in the top right and select one of the following options from the panel:
- Edit preferences: Follow the steps to update the client's preferred services or slot availability. Click on the Save button at the bottom to update their preference.
- Remove from waitlist: Permanently delete the waitlist entry from the waitlist. Click on the Remove button in the pop-up to confirm.
Manually book available time slots from your waitlist
-
Open a waitlist entry from your waitlist.
-
Schedule an appointment in a newly available time slot using one of the following methods:
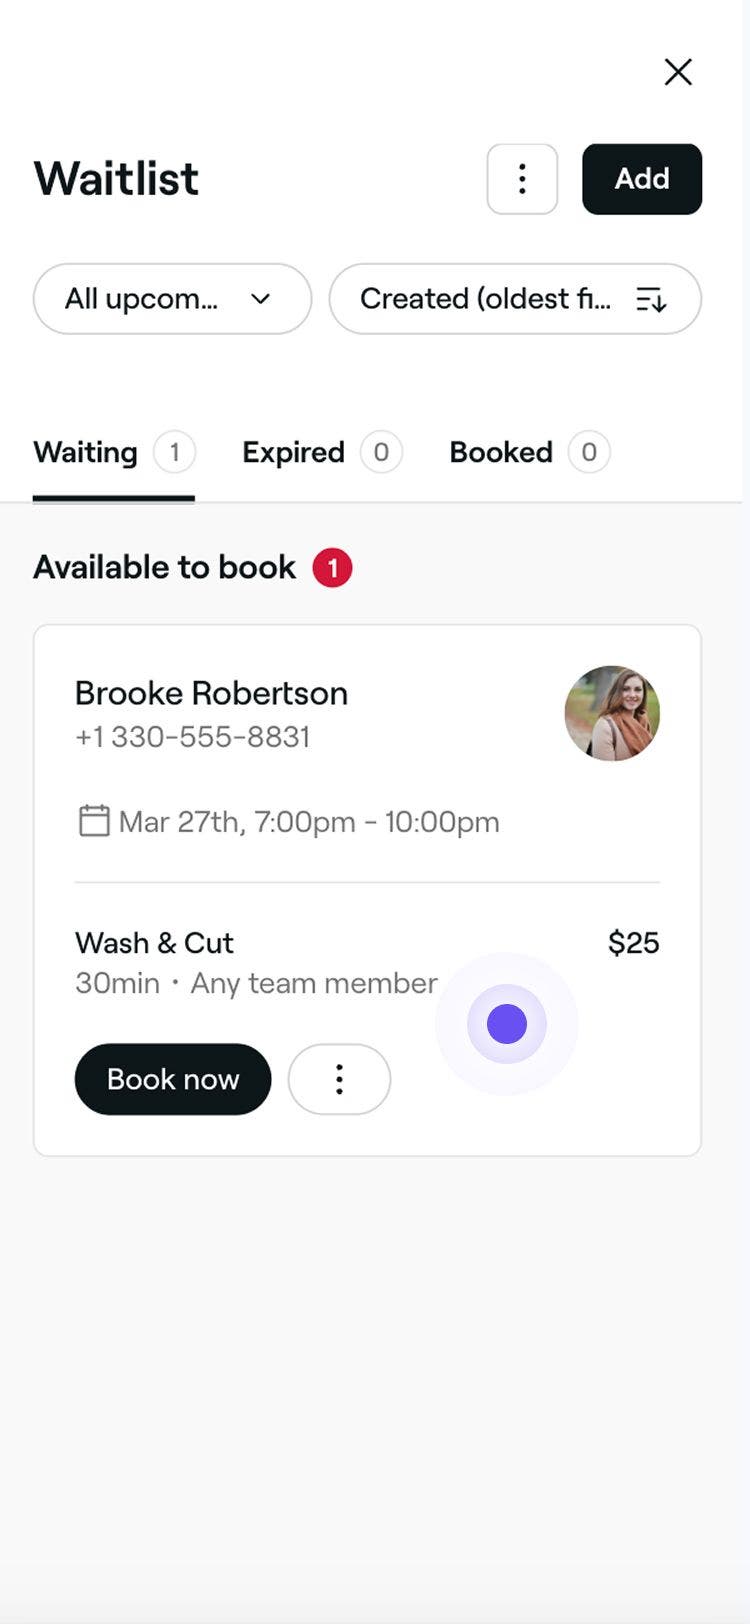
- Book now: If the requested time slot on a waitlist entry becomes available, a Book now button will appear. Click on the Book now button to schedule the appointment.
- Actions: On the waitlist entry, click on Actions (three dots) and select Book now from the panel to select a time slot in your calendar. Update the appointment details and click on the Save button to confirm the appointment.
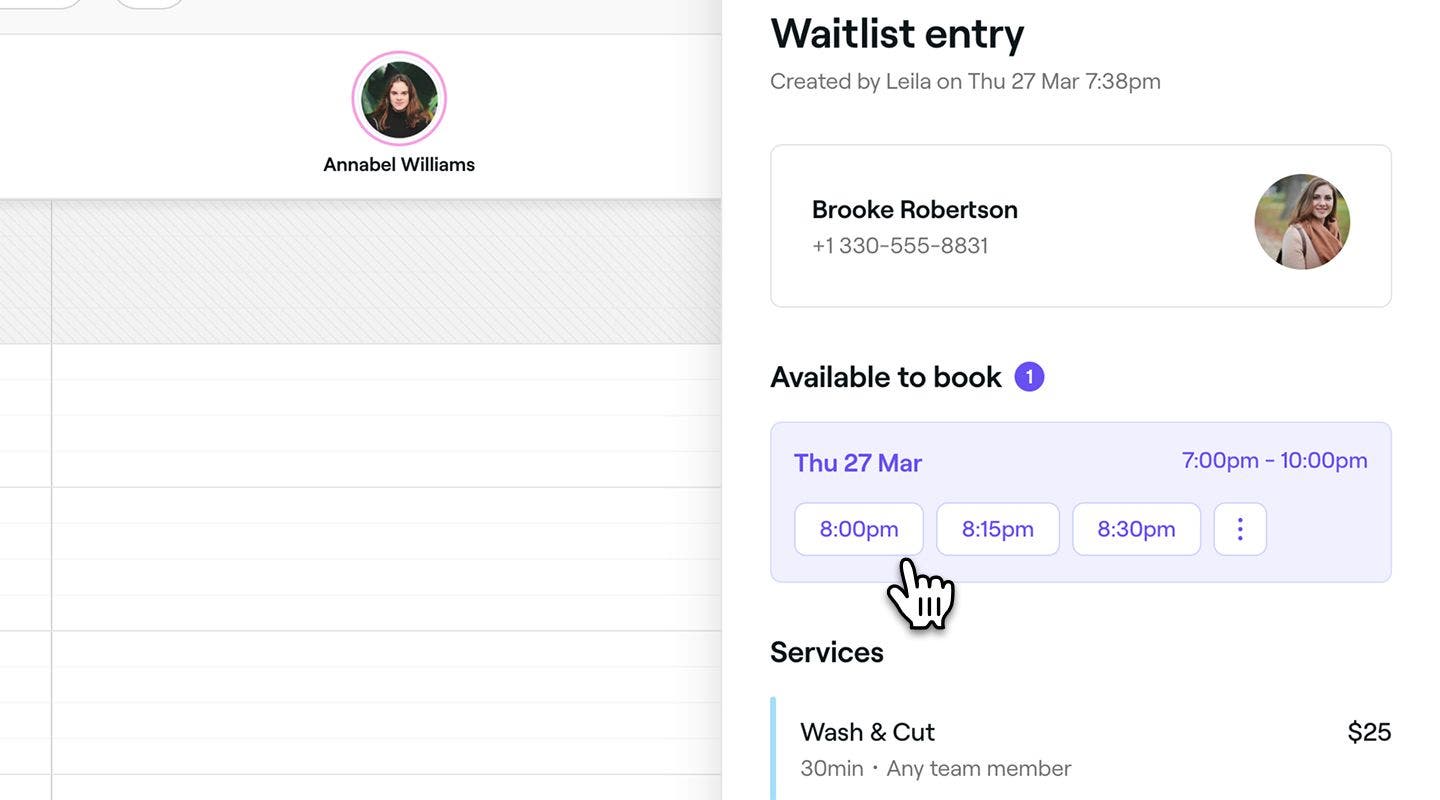
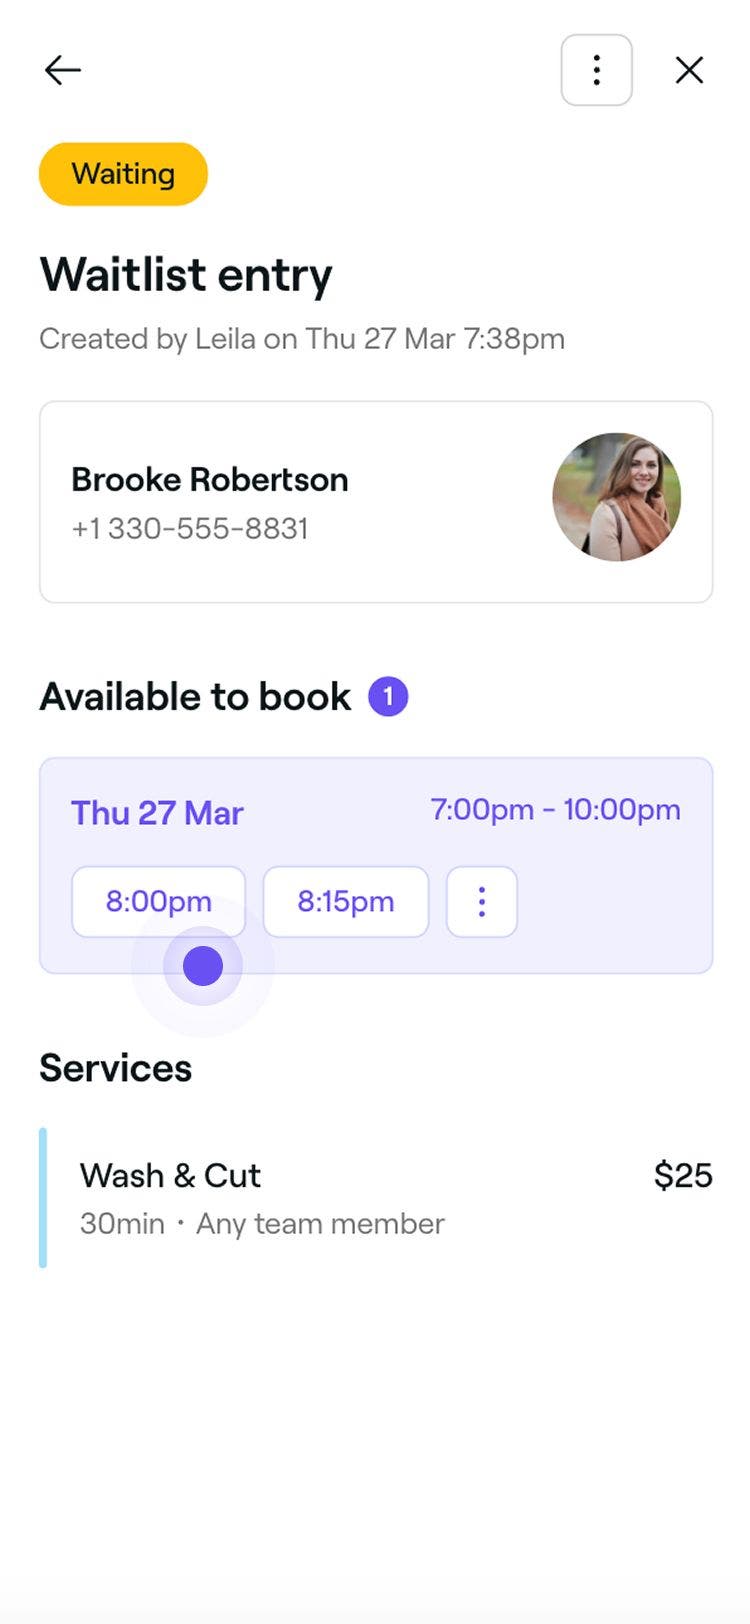
- Select a specific time slot: Click on the waitlist entry to view the full details. Under Available to book, select a time slot and update the appointment details. Click on the Save button to confirm the appointment.
FAQs
- Available slot: If a slot opens up, the client books directly from the waitlist.
- No available slot: The client books separately outside of the waitlist.
Clients aren’t able to update their time slot preferences online after joining the waitlist, but they can choose to leave the list.
If they need to update their preferences, you can easily do it on their behalf by opening their waitlist entry and selecting Edit Preferences. We recommend asking clients to contact you directly if they’d like to make changes, so you can ensure their availability is accurately reflected.
The waitlist feature is completely free for all businesses on Fresha. You can enable and use it at any time with no additional charges.
Yes, clients will be notified when an appointment slot becomes available. We continuously check for available appointment slots and send waitlist updates if they are enabled. If a client does not receive a notification, check that their contact details are correct in their client profile and they have opted in to receive messages in their notification settings.
Yes, if a client doesn’t book within the set timeframe, we will automatically notify the next client on the waitlist. This process continues until the available time slot is filled, helping to reduce gaps in your schedule.
When clients join your waitlist, there are two ways they can book an appointment, depending on slot availability:
In both cases, the Marketplace New Client Fee will apply if the client is verified as a new client who discovered your business through the Fresha marketplace.