Send waitlist updates
In this guide, you’ll learn how to set up and manage automated text, WhatsApp, and email notifications that update clients when they join the waitlist or when a time slot becomes available to book.
In this article
How waitlist updates work
The waitlist helps you keep track of clients who’d like an appointment when your calendar is fully booked, so you can easily fill any last-minute openings. Waitlist updates are automatically enabled and allow you to notify all relevant clients when they join your waitlist and when a time becomes available.
You can manage your waitlist settings to control how clients join the list, and manage client entries as needed.
Edit waitlist updates
-
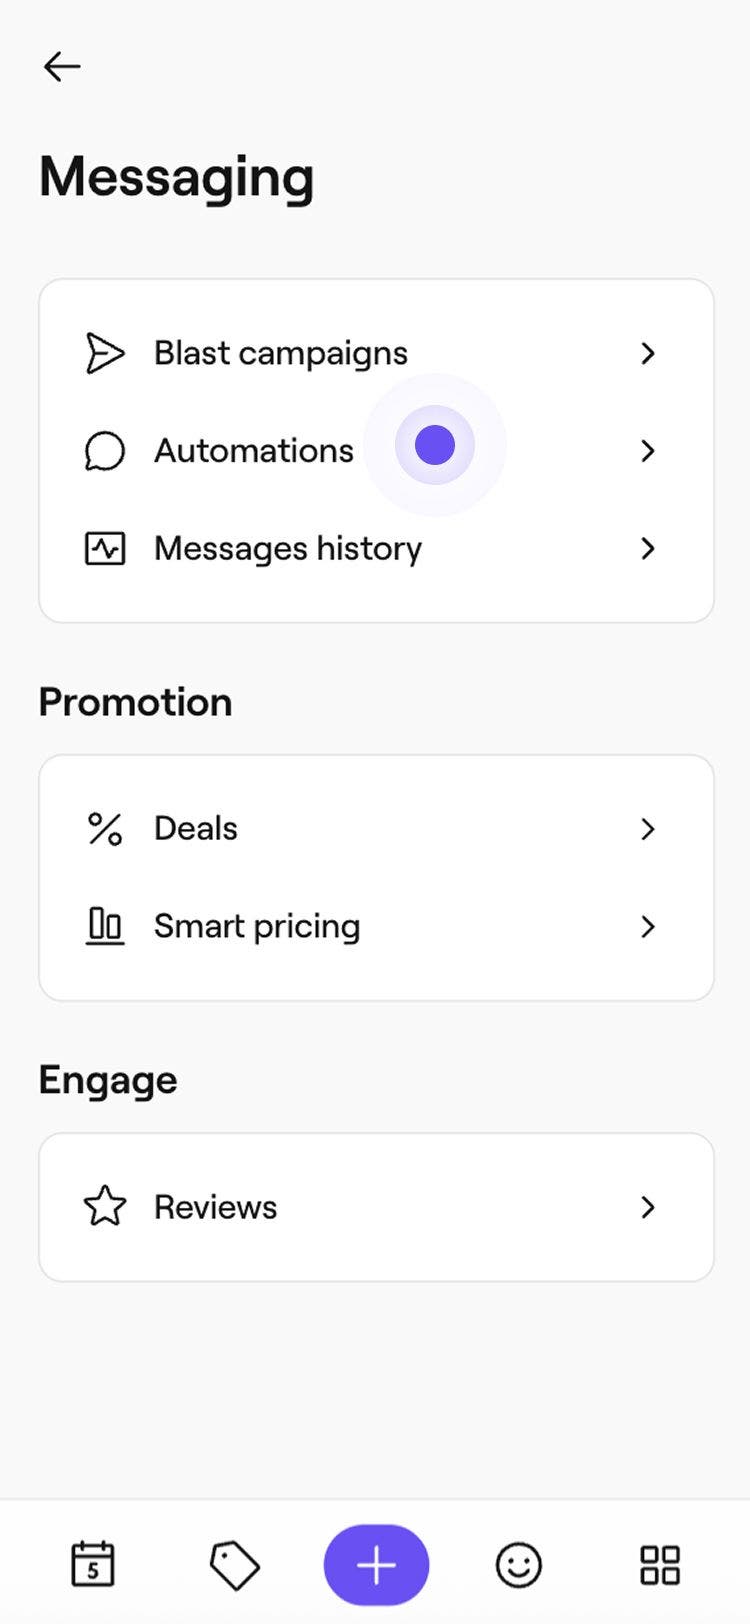
From the main menu on the left of your screen, go to Marketing.
-
In the left menu panel, select Automations.

-
Select the Waitlist updates tab at the top to view and manage waitlist updates.
-
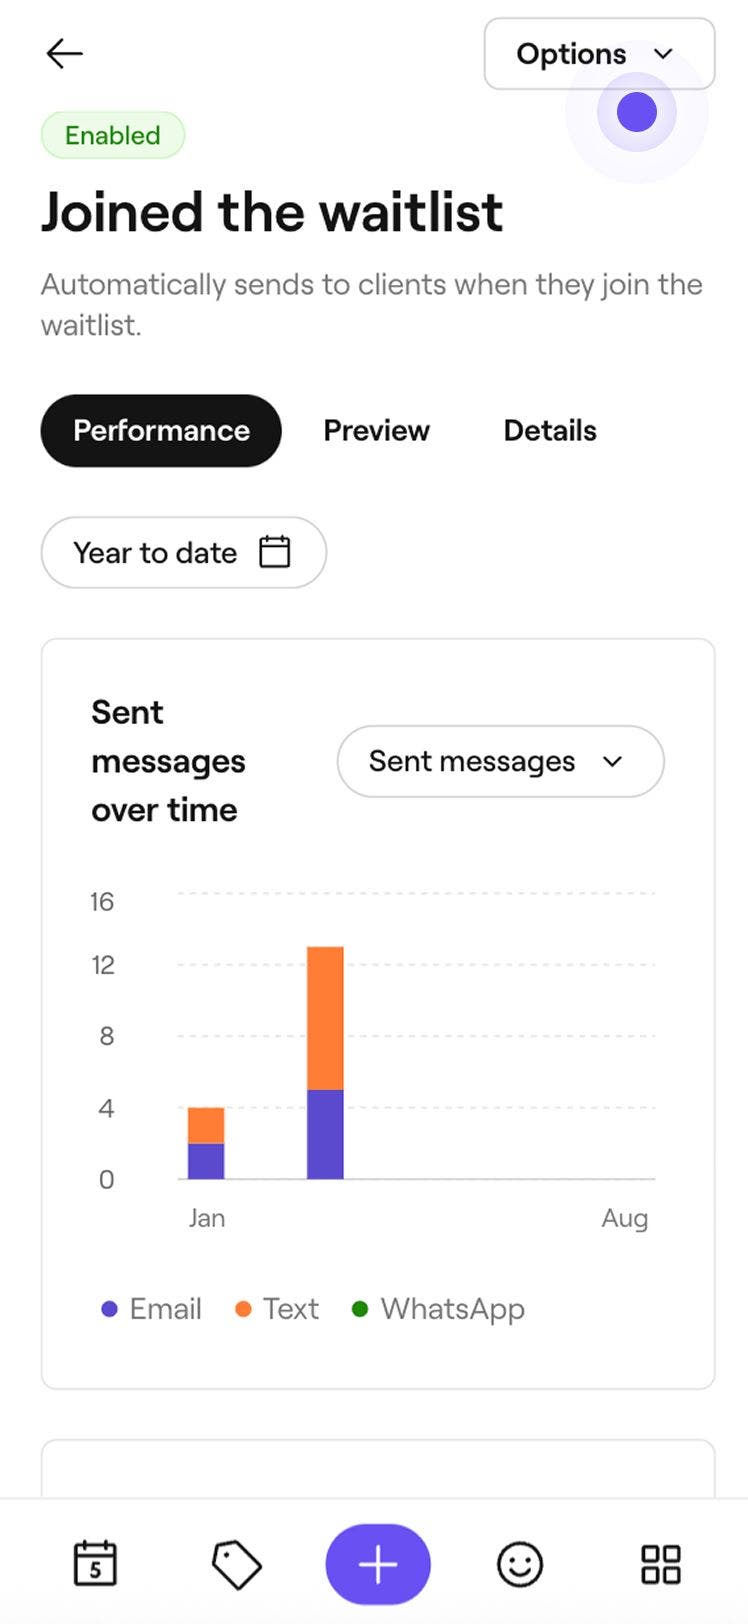
Click on a waitlist update automation to open its overview.

-
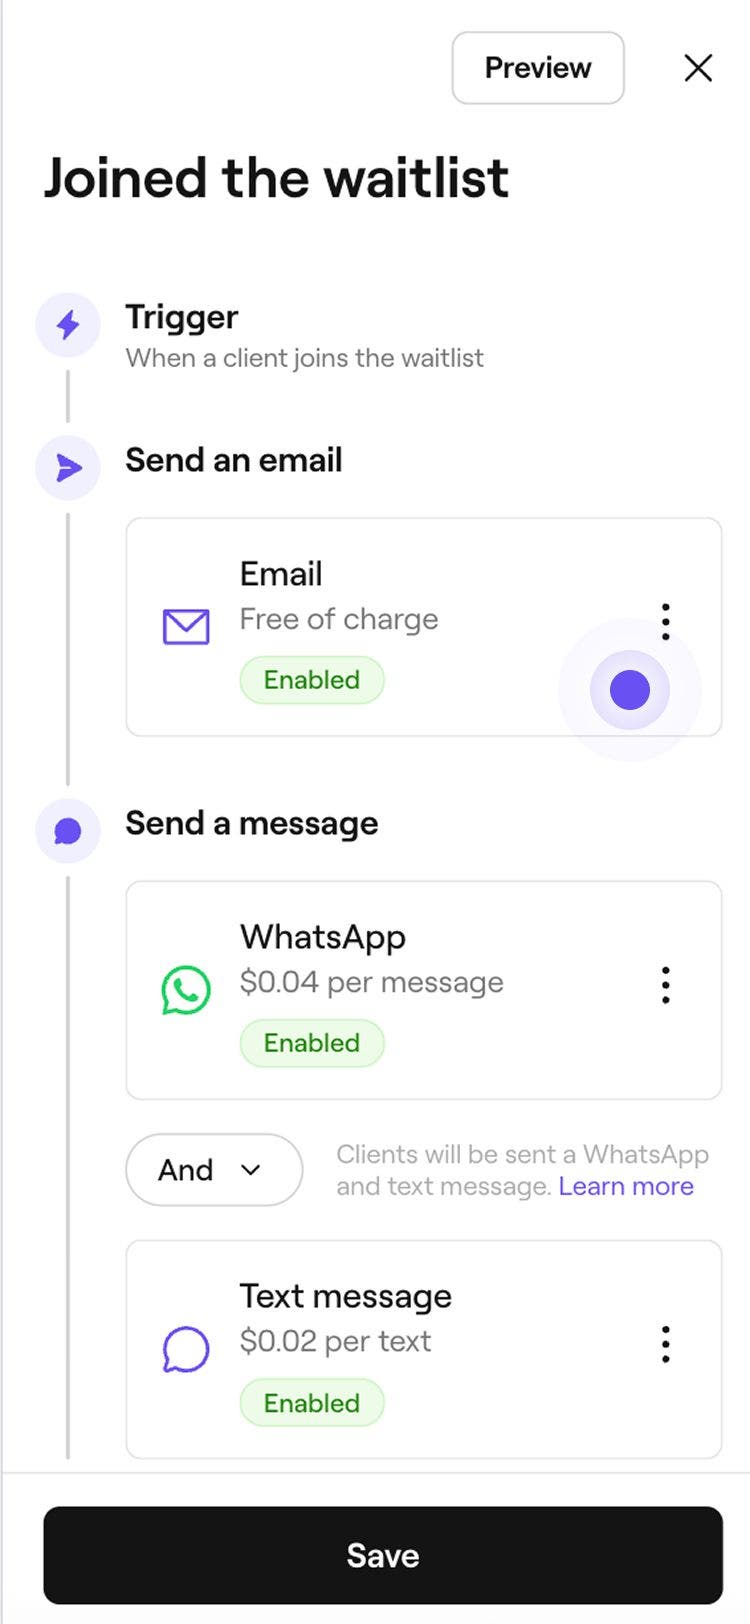
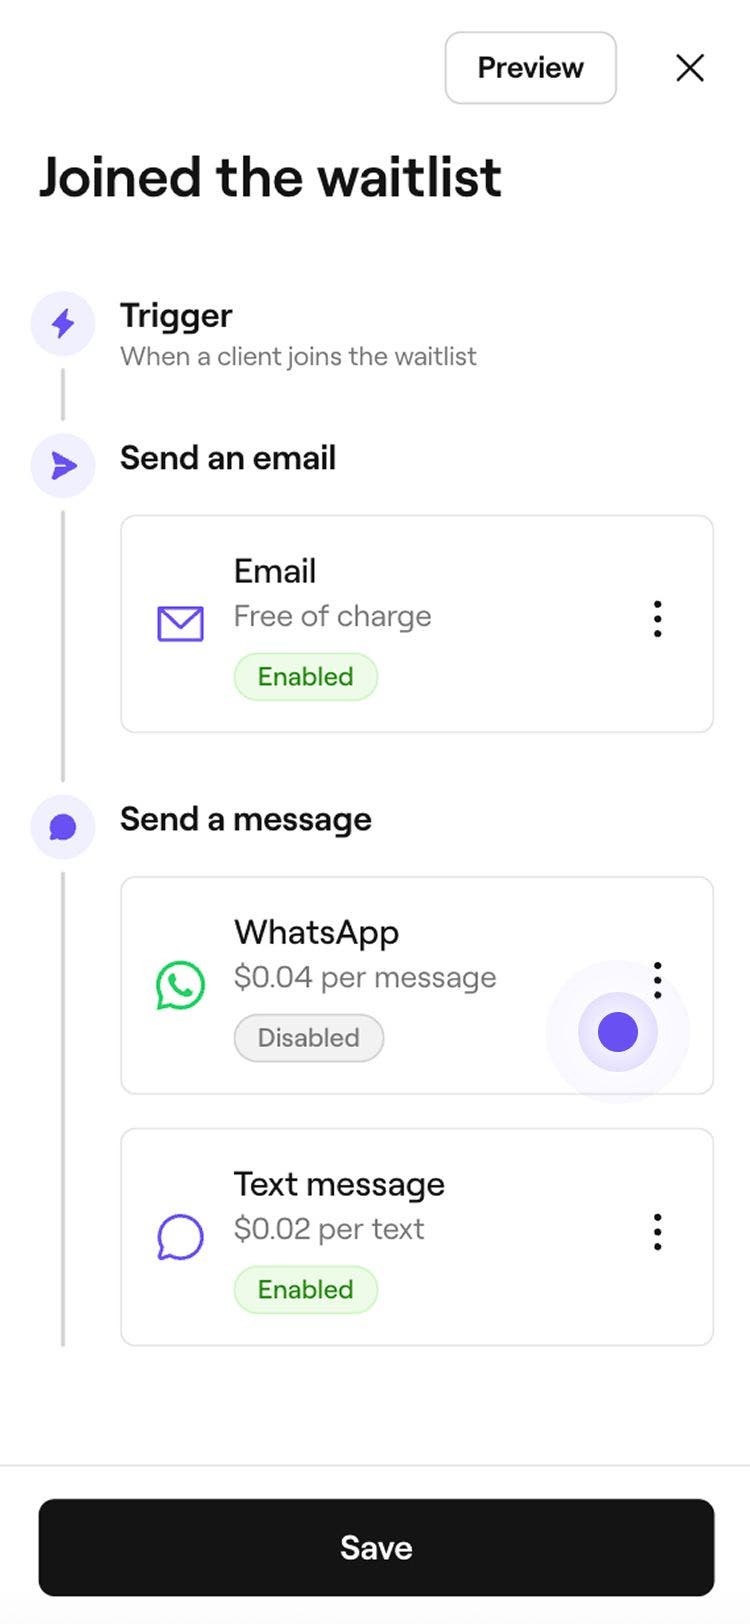
In the waitlist update automation overview, click on the Options button in the top right and select Edit.

-
Under Send an email, click on the Actions button to manage your email reminder settings:
- Edit content: Select Edit content to add important information to the update. You can tick the checkbox to Display the service price, and add any extra details in the Important info field.
- Preview: See what automated email messages your clients will receive by sending yourself a test email.
- Disable: Select Disable if you don't want this update to be sent via email.

-
Under Send a message, choose to send the update via WhatsApp, text message, or both.
- To manage each channel, click on the Actions button next to WhatsApp or text message to Enable the channel, Preview the message or Disable that channel.

- To manage each channel, click on the Actions button next to WhatsApp or text message to Enable the channel, Preview the message or Disable that channel.
-
Use the And/Or toggle between WhatsApp and text to control how the message is sent:
- And: The waitlist update will be sent via both WhatsApp and text message, ensuring the client receives it through both channels.
- Or: The waitlist update will first try to send via WhatsApp. If the client doesn’t have WhatsApp or the message cannot be delivered, it will automatically be sent as a text message. You’ll only be charged for the message that’s successfully sent. If the WhatsApp message fails and a text message is sent instead, you’ll only be charged for the text message.

-
Click on the Save button in the top right to apply your settings.


Once edited, the automated waitlist update will be sent to clients based on your new settings. If the automatic waitlist setting is enabled, clients will continue receiving automatic updates even if the feature is disabled. To stop updates, switch the setting to manual (You pick) before disabling updates.
Waitlist updates are automatically enabled by default when you first set up your workspace, so clients are notified when they join a waitlist or when a time slot opens.
Enable, disable, or reset waitlist updates
-
Open an existing waitlist update from your Automations.

-
In the waitlist update overview, click on the Options in the top right and select one of the following options:
- Enable: Follow the steps to enable the waitlist update, including the channels it is sent through. Click on the Save button at the top to enable the waitlist update.
- Disable: Stop the waitlist update from being triggered by clicking on the Disable button in the pop-up to confirm.
- Reset: Restore the waitlist update to its default settings by clicking on the Reset button in the pop-up to confirm.


Preview waitlist updates
Before sending automated waitlist updates, you can preview how each message will appear to your clients.
- Open an existing waitlist update from your Automations.
- In the waitlist update automation overview, click on the Options button in the top right and select Edit from the panel.
- Click on the Preview button in the top-right.
- In the preview, click on each channel type to check how your message will appear across Email, Text message, and WhatsApp.
- In the top right, click on one of the following options:
- Send test email: In the pop-up, enter an email address and click on Send to see exactly how it will appear to clients before enabling the automation.
- Done: Close the message preview.
FAQs
If your waitlist settings are set to automatically notify clients, the next client in line will be notified if the first client doesn’t book within the set timeframe. This ensures open slots are continuously offered until they are filled.
No, clients won’t receive a notification when you update their waitlist preferences, but they can view their updated preferences anytime by logging into their Fresha account under their waitlist entry.
No, clients won’t be notified when they’re removed from your waitlist, but their request will no longer appear in your waitlist view, and they’ll no longer be considered for available appointment slots.