Create and manage blocked time in your calendar
In this guide, you’ll learn how to block out time in your calendar for breaks, personal time, or admin tasks.
In this article
How blocked time works
Blocked time lets you block out parts of the calendar when team members aren’t available for appointments. For example, you can block time in a team member's calendar for lunch breaks, training sessions, or preparation time before your venue opens, ensuring they are unavailable for appointments during these periods.
Add blocked time to your calendar for team members
-
From the main menu on the left of your screen, go to Calendar.
-
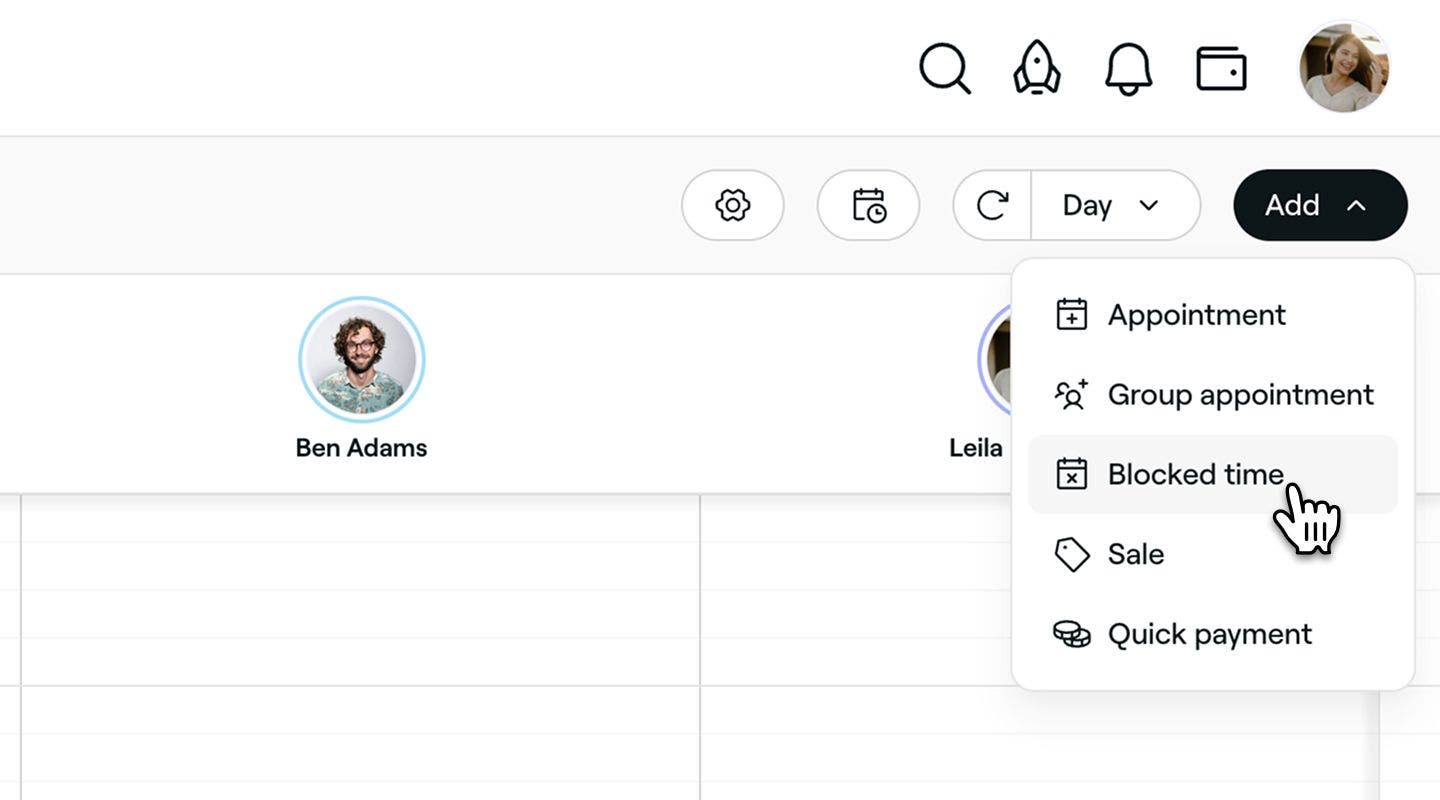
Click on the Add button in the calendar tool bar and select Blocked time from the panel.
-
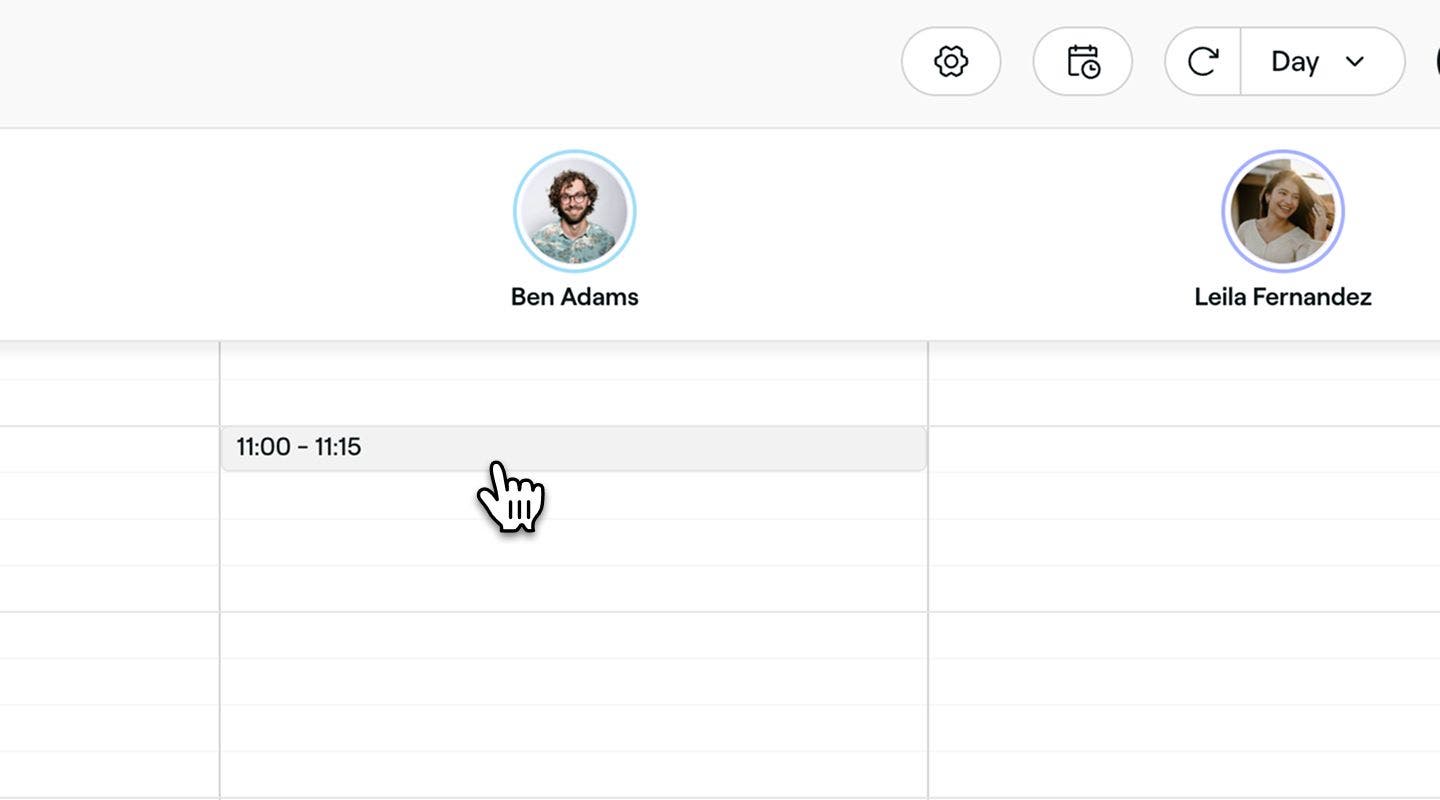
Select a time slot in the calendar to open a new blocked time view.
-
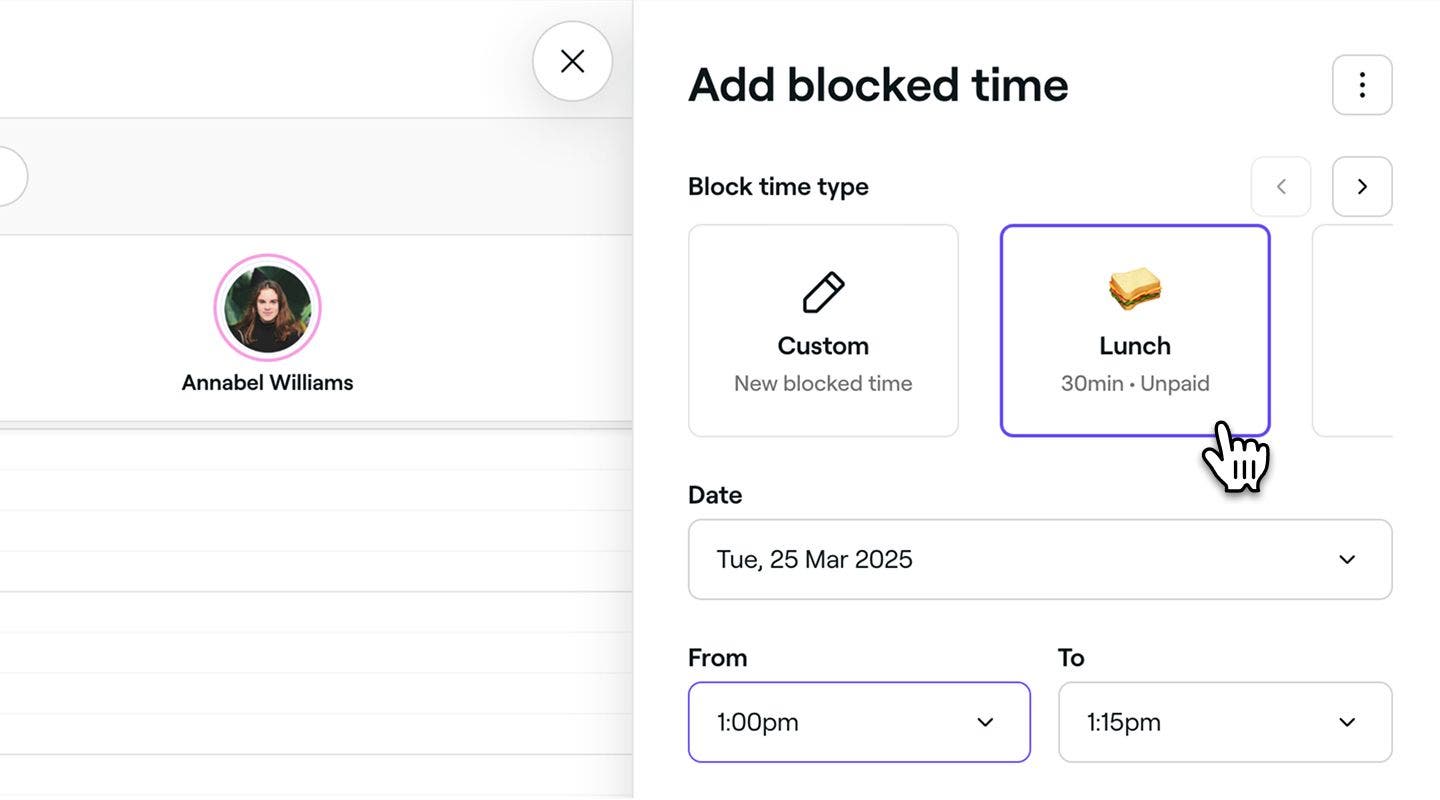
Under Block time type, select a pre-set reason for the blocked time.
-
You can customize your selection with the following options:
- Click the arrow in the top-right corner of the page to select New Type. This allows you to create a custom blocked time label and add it to your available Blocked time types. You can also create new blocked time types from your settings.
- Click the Custom icon to create a one-time blocked time entry for a specific reason (for example a doctor's appointment).
-
If needed, adjust the Date, Duration, and Team members the blocked time is scheduled for.
- To add blocked time for multiple team members, open Team members menu and tick the checkboxes next to their names or select All team members to include everyone.

-
Under Frequency select how often the blocked time should repeat from the panel. You can choose from Every day, Every week, Every month or Doesn't repeat.
- You can set a custom schedule with specific days and intervals.
-
Use the Description section to add any additional information for your team.
-
Click on the Save button at the bottom to schedule the blocked time.
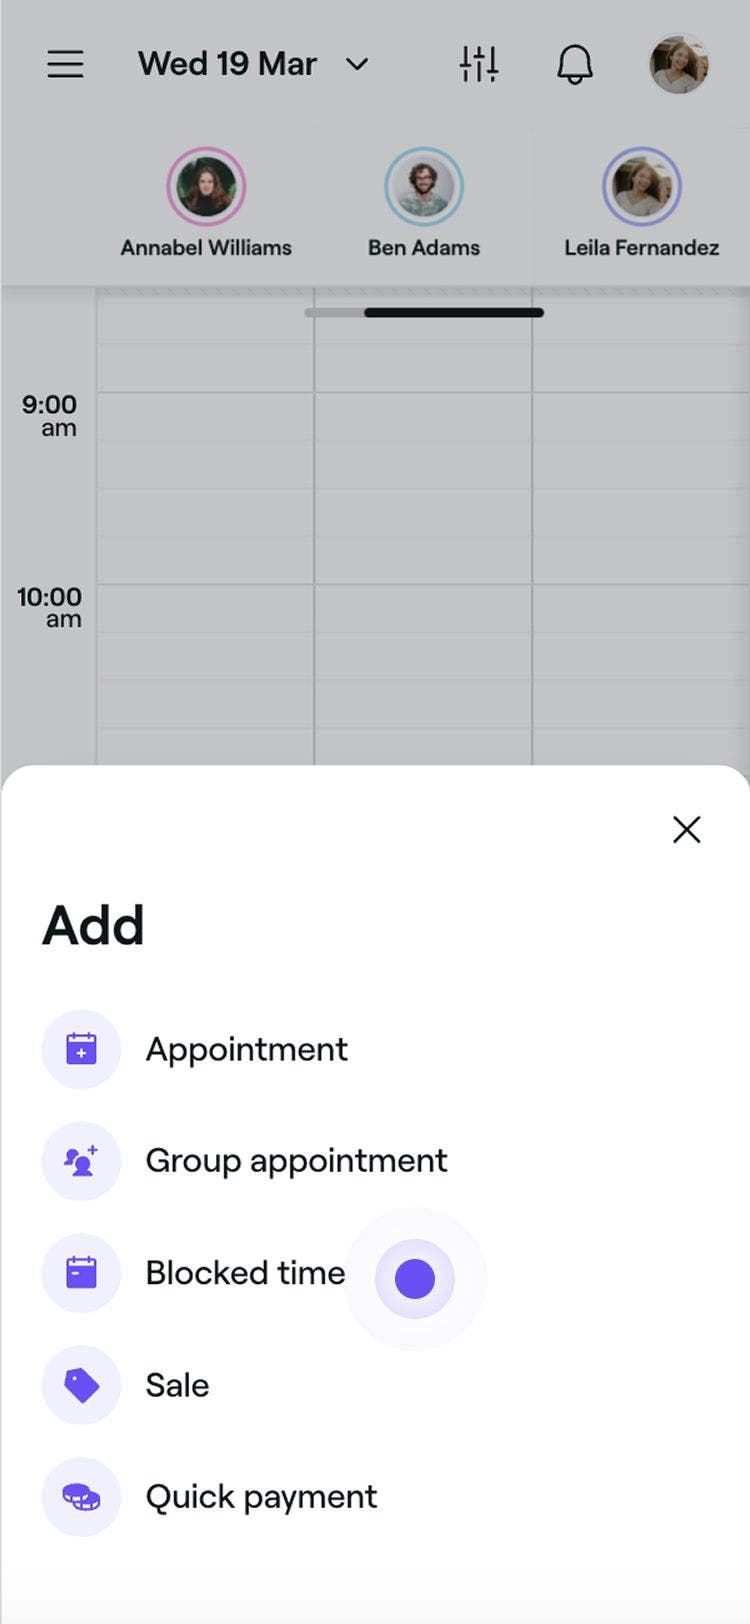


Once you've added a blocked time, the slot will no longer be available for clients to book online. However, you can still schedule appointments during that time in the calendar and update or remove the blocked time whenever you need, using the same steps.
If you’re adding a Custom blocked time, you can add a title and tick the checkbox next to "Online booking allowed during blocked time" to let clients book during that time.
Edit a blocked time in your calendar
- In your Calendar, click on the blocked time you want to edit.
- In the Edit Blocked time panel, update the blocked time details and click Save to apply your changes.
- If you’re editing the first block of a recurring blocked time, choose whether to update this block only, this and future blocks, or all blocks, then click Confirm.
Once you’ve updated a blocked time, the slot will reflect the new timing and duration in your calendar. Clients won’t be able to book during that time, but you can still schedule appointments manually if needed.
To quickly reschedule a blocked time, drag and drop it to a new time slot. To adjust its duration, drag the bottom edge of the blocked time to your new end time.
Delete a blocked time from your calendar
- Open an existing blocked time from the Calendar.
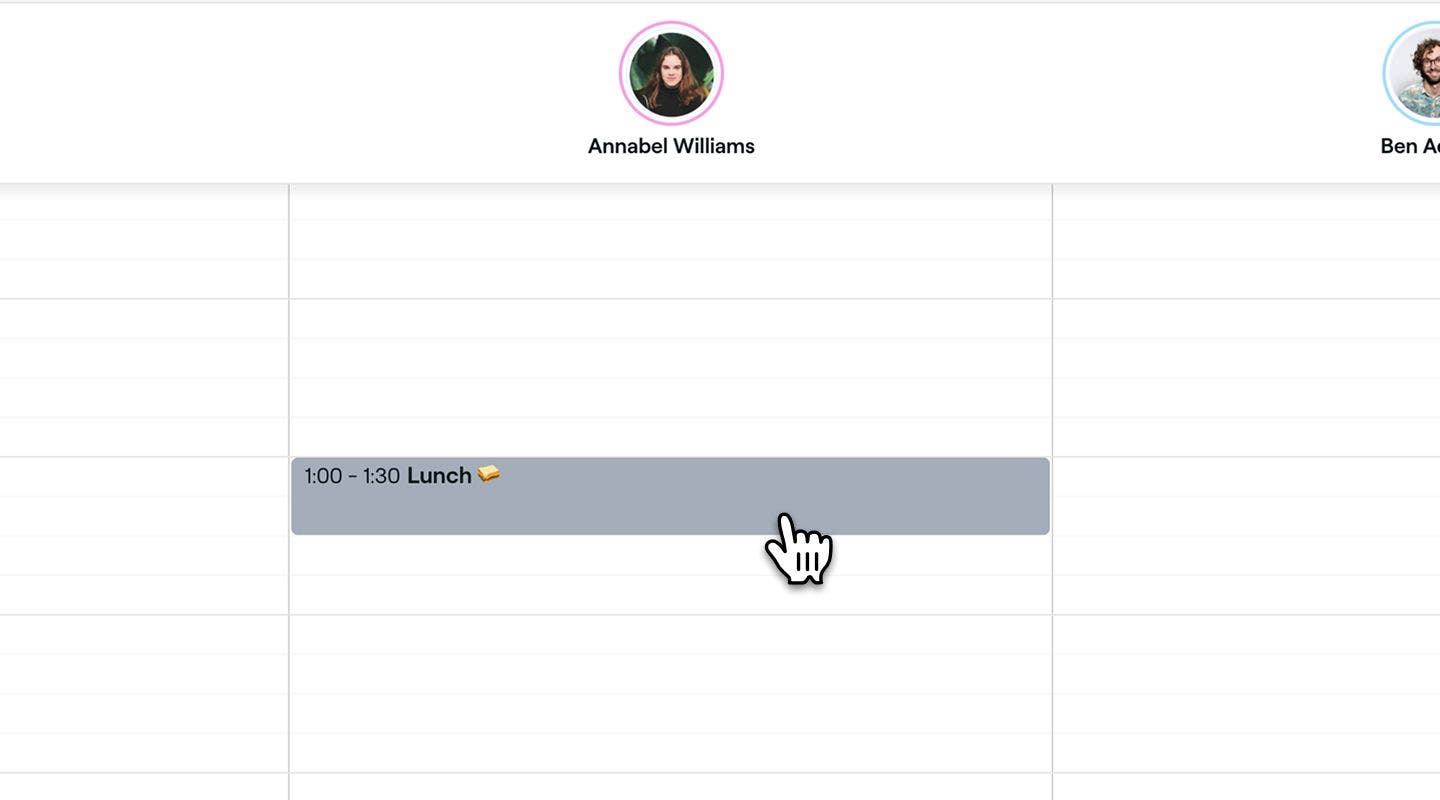
- In the block time view, click on the Trash icon at the bottom to delete the blocked time.
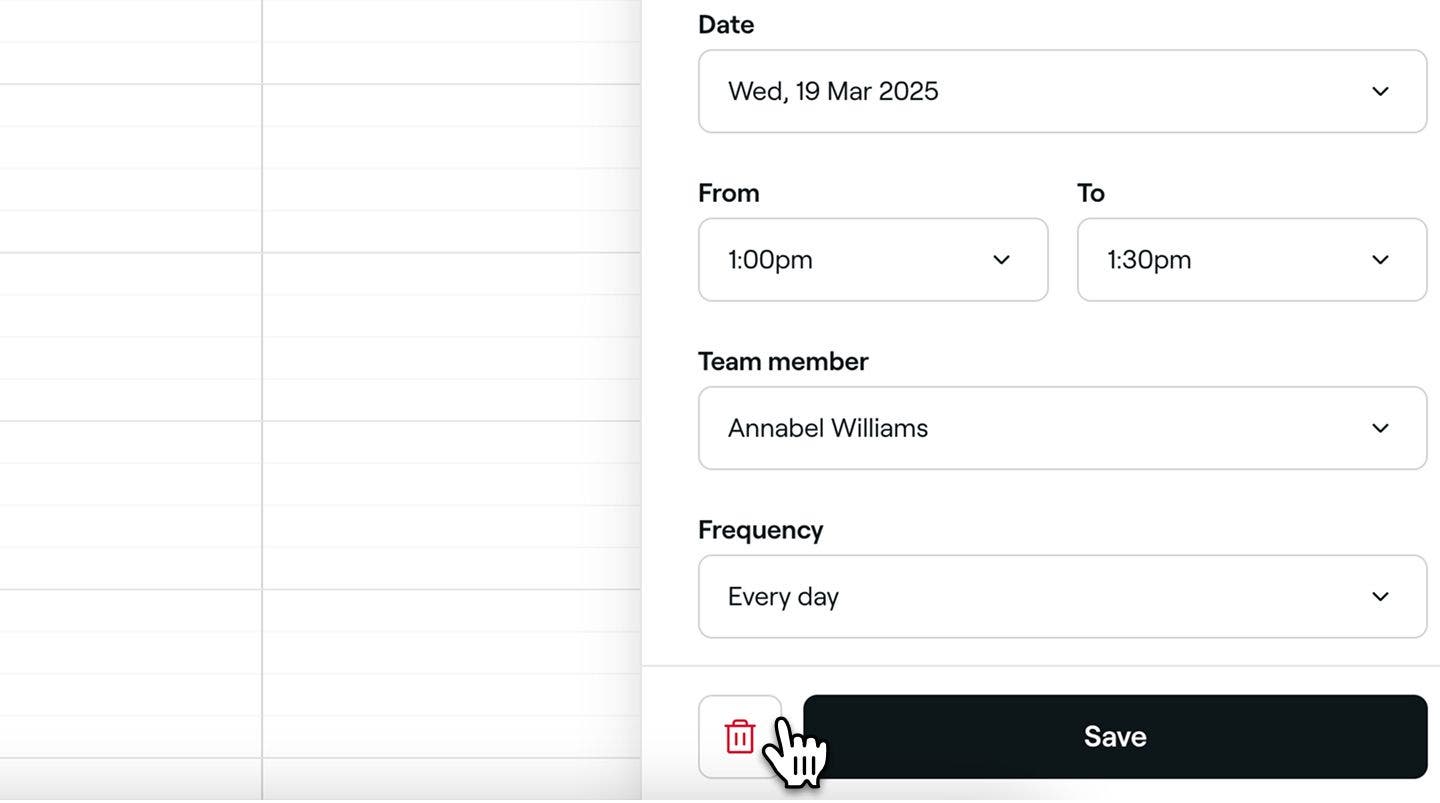
- Click on the Delete button in the confirmation pop-up to reconfirm.

Once deleted, the blocked time will no longer appear in your calendar, keeping your schedule open.
When you delete a blocked time thats's set to repeat, a pop-up will appear where you can choose to Delete only this blocked time, Delete this and all future occurrences, or Delete all blocked times.
Add blocked time to your calendar for your resources
- From the main menu on the left of your screen, go to Calendar.
- If your calendar is not already in the All resources view, select All resources from the toolbar menu at the top.
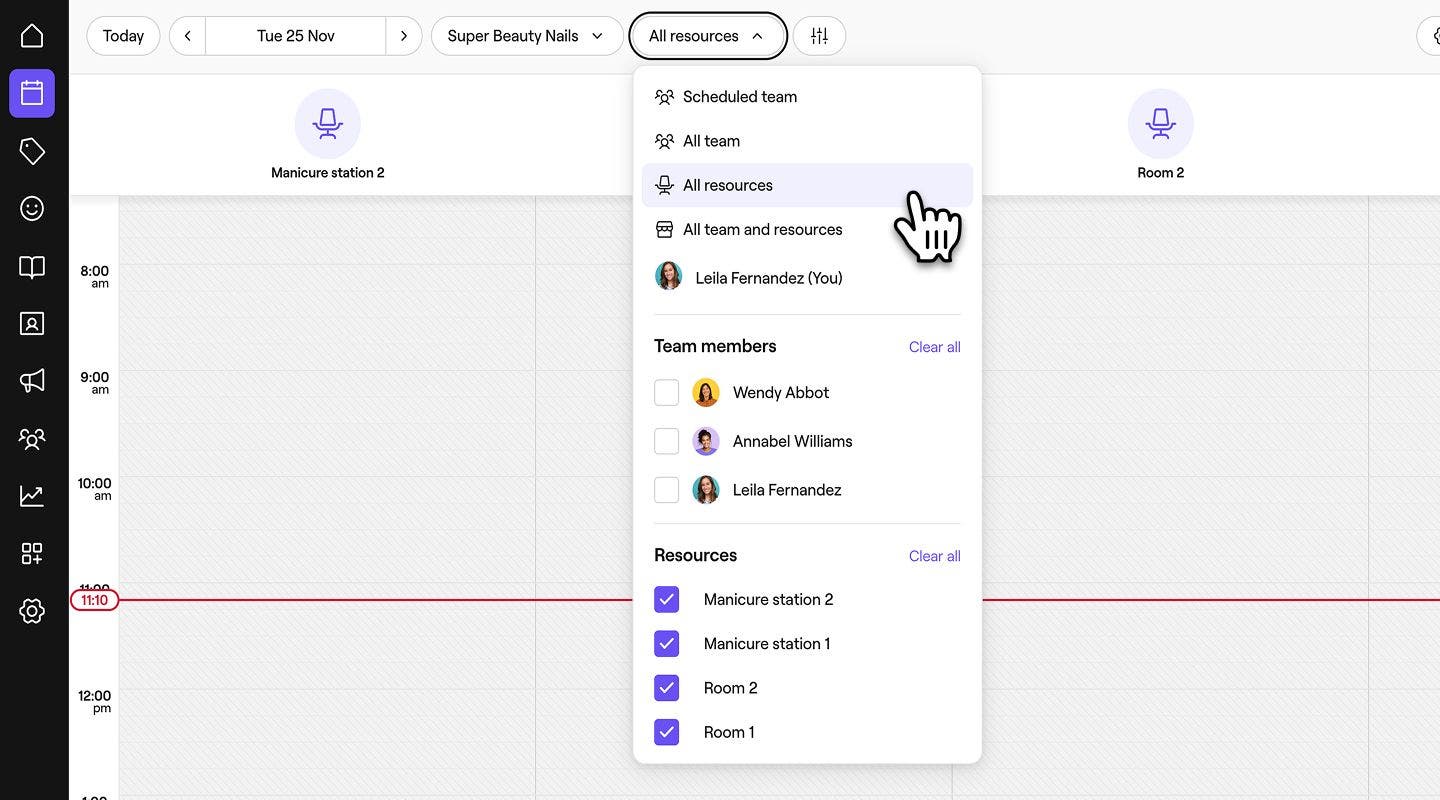
- Click on the Add button in the calendar tool bar and select Blocked time.

- From the Add blocked time panel, add a Title for the blocked time if needed.

- If needed, adjust the Date, Start and End time, and Resources that the blocked time is scheduled for.
- To add blocked time for multiple resources, open the Resources drop-down and check the boxes next to the resource names, or select All resources to include all your resources.

- To add blocked time for multiple resources, open the Resources drop-down and check the boxes next to the resource names, or select All resources to include all your resources.
- Under Frequency, select how often the blocked time should repeat from the panel. You can choose from Every day, Every week, Every month or Doesn't repeat.
- You can also set a custom schedule with specific days and intervals.
- Use the Description field to add any additional information that you want to make visible to your team.
- Click on the Save button at the bottom to schedule the blocked time.
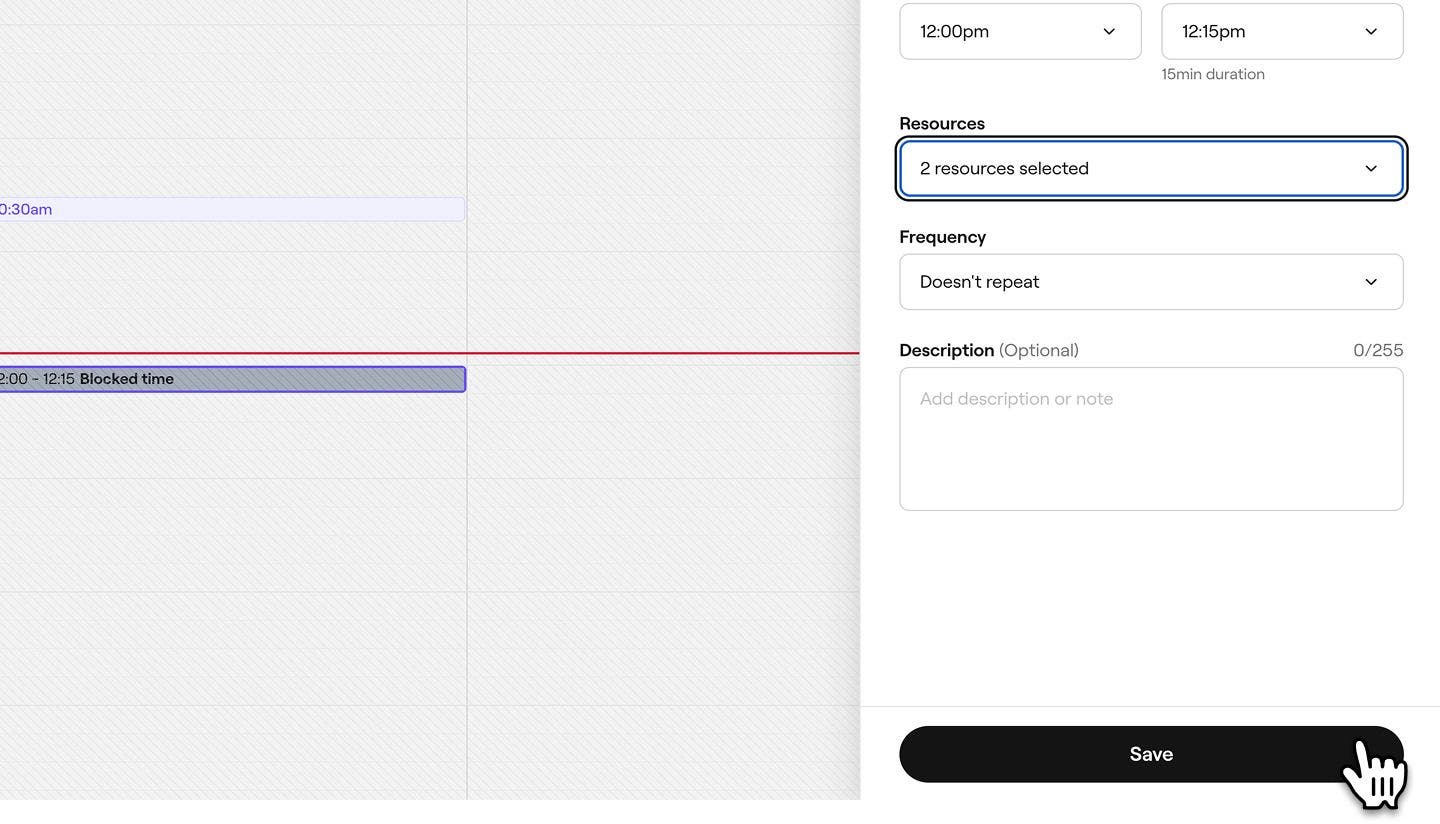


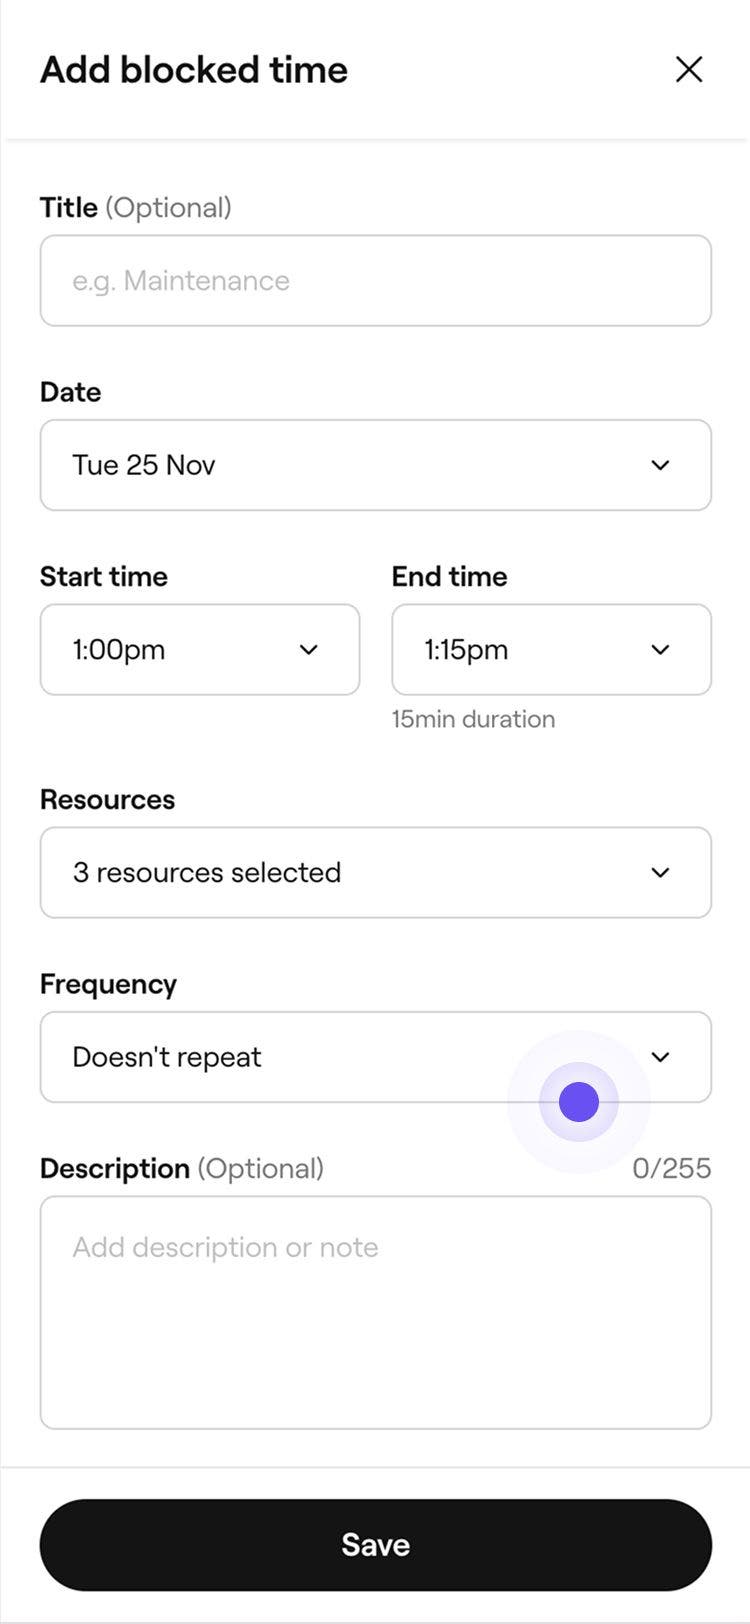
Once you've added a blocked time for a resource, the slot will no longer be available for clients to book online. However, you can still schedule appointments during that time in the calendar and update or remove the blocked time whenever you need, using the same steps.
FAQs
If you attempt to schedule an appointment during a blocked time, a prompt will appear on screen, letting you know the team member is unavailable. You'll still be able to continue with scheduling the blocked time.
If you schedule series of a repeat appointment, the appointments may be scheduled on future time slots with blocked time, without showing a schedule conflict prompt.
Clients will only see appointment slots that are available based on your team’s scheduled shifts and availability settings. Blocked time won’t appear in your online booking calendar, which helps keep your availability clear and accurate.
If you’d like to allow bookings during a blocked period, you can create a custom blocked time and simply enable the option to let clients book within that timeframe.
If you’d like to prevent all bookings for your entire business for an entire day, then you can set a business closed period.