Manage your paid add-ons
In this guide, you’ll learn how to enable and manage optional paid features for your workspace.
Available add-ons
Payments:
Get paid by clients online and in-store with secure payments integrated into your workspace.
Insights:
Unlock additional reports and create unique ones for deeper insights into how well your business is performing.
Google Rating Boost:
Automatically prompt clients to leave a Google review after they post a positive review on Fresha.
Data Connector:
Automatically sync your Fresha data with external spreadsheets, systems, and other software.
Client Loyalty:
Reward clients with points and tiers to encourage repeat bookings and increase loyalty.
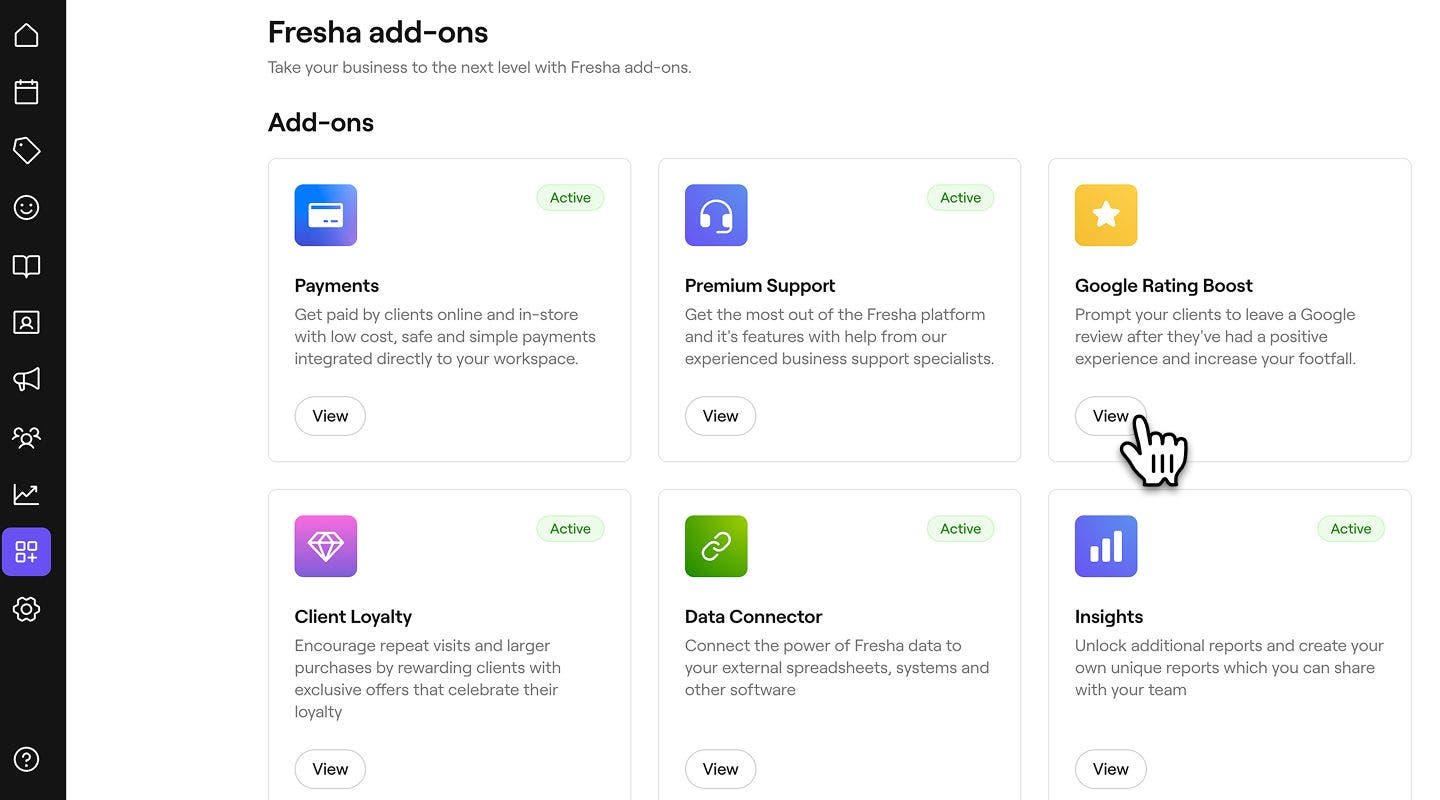
Enable a paid add-on
- From the main menu on the left, go to Add-ons.
- Under your chosen add-on, click on the View button.
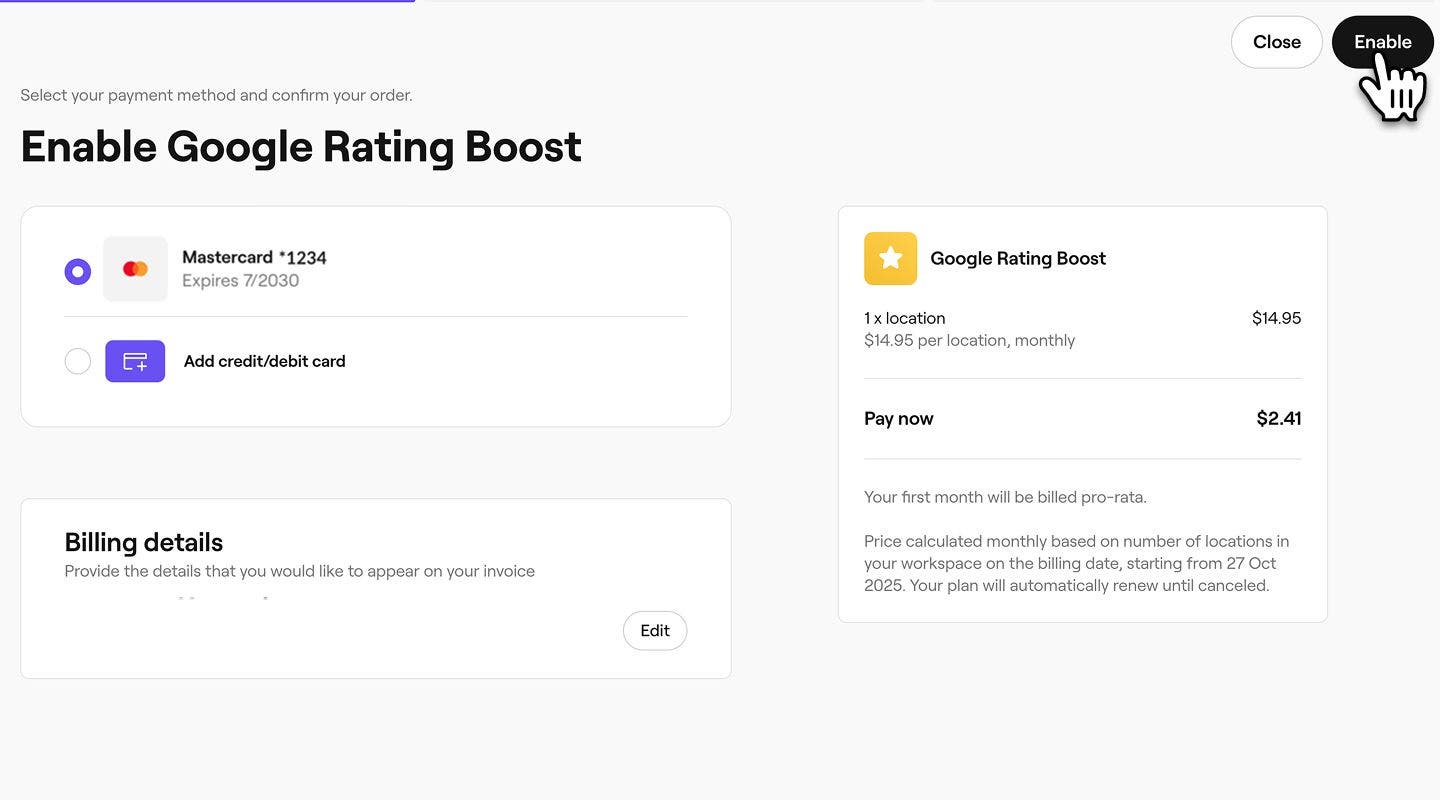
- On the sign-up page, click Continue to open the summary.

- Review your payment method and monthly billing details. To activate the add-on click on the Enable button in the top-right.
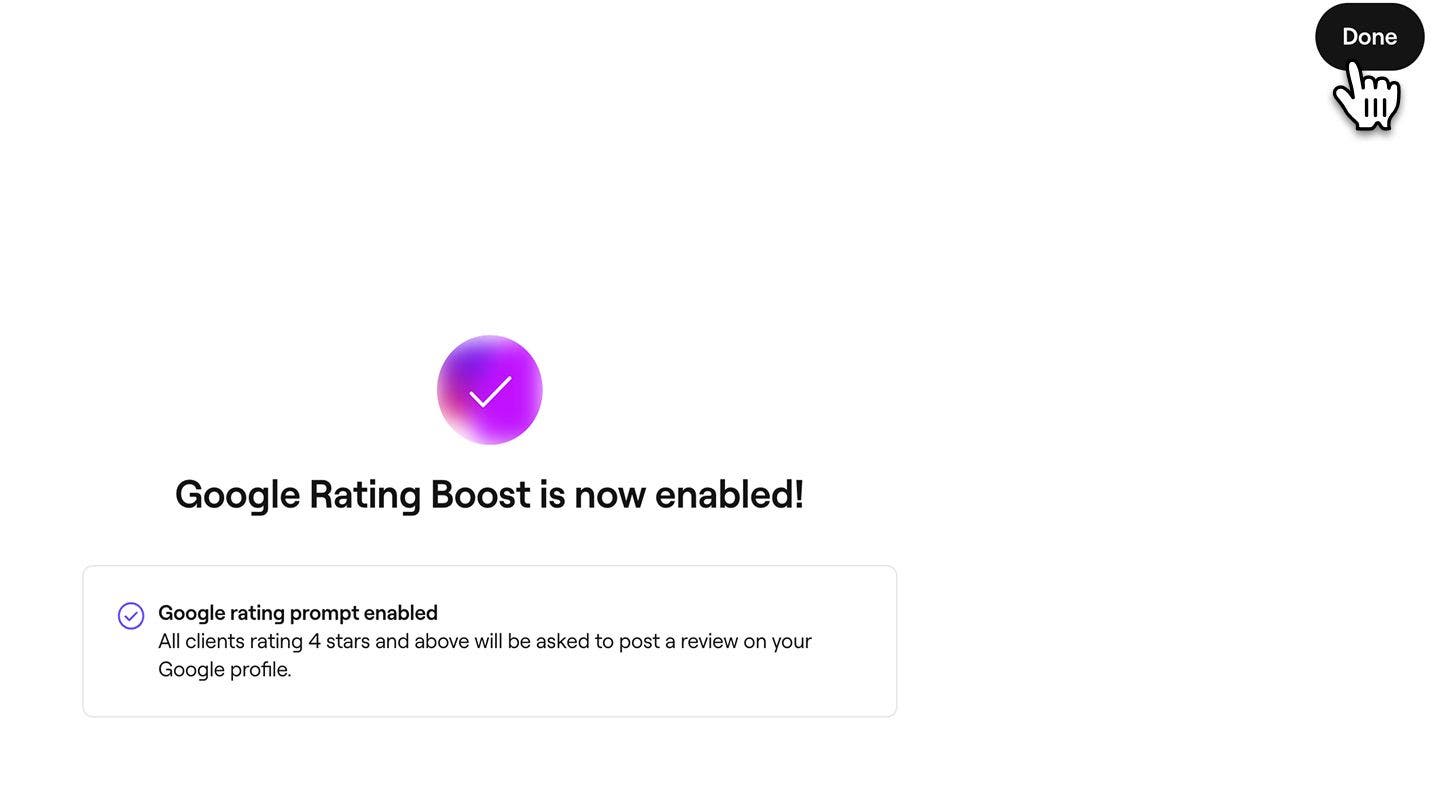
- Once activated, click on the Done button in the top-right. You’ll will receive a confirmation email.
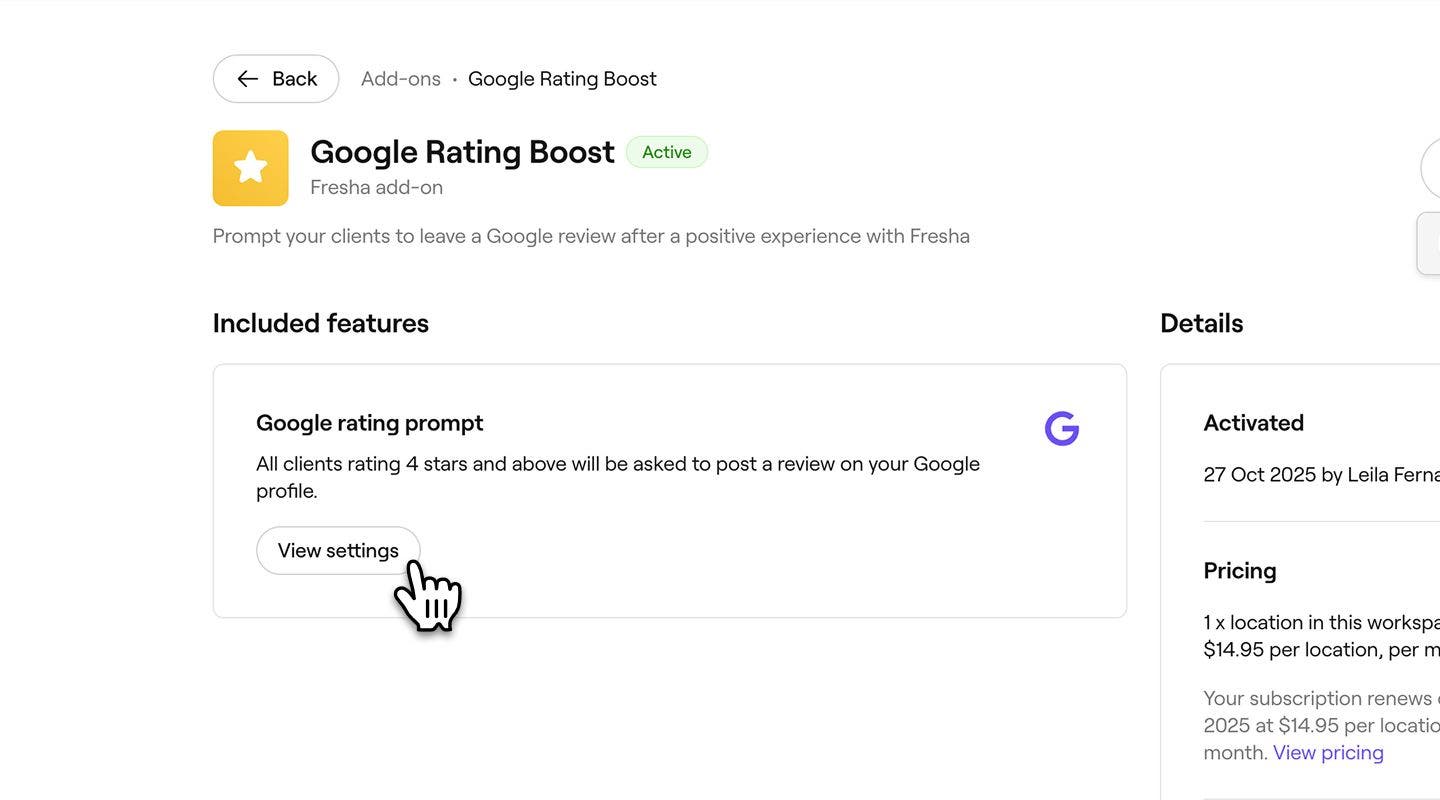
View a paid add-on summary
- From the main menu on the left, go to Add-ons.
- On the relevant add-on click on the View button.
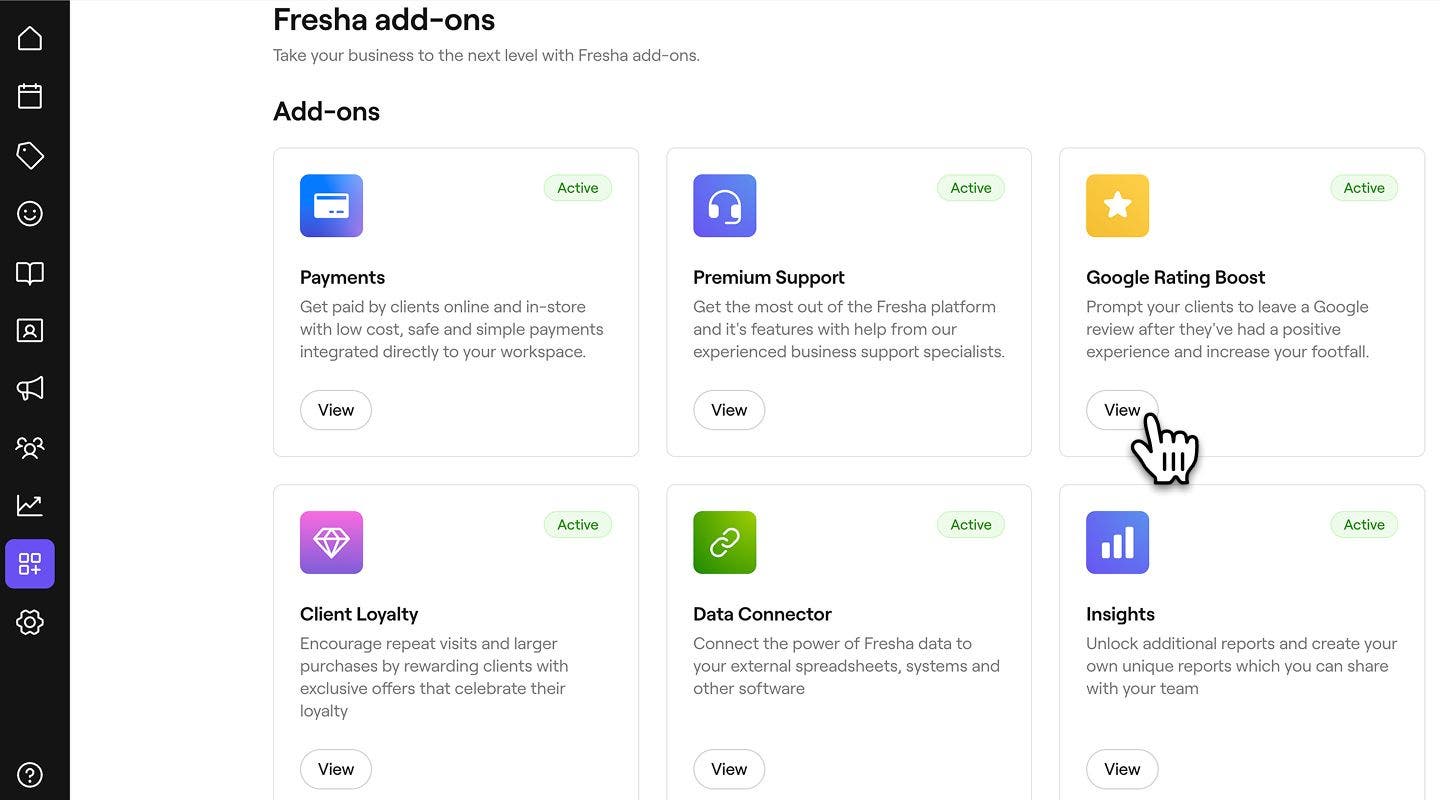
- Under Included features, you can review everything covered in your add-on.
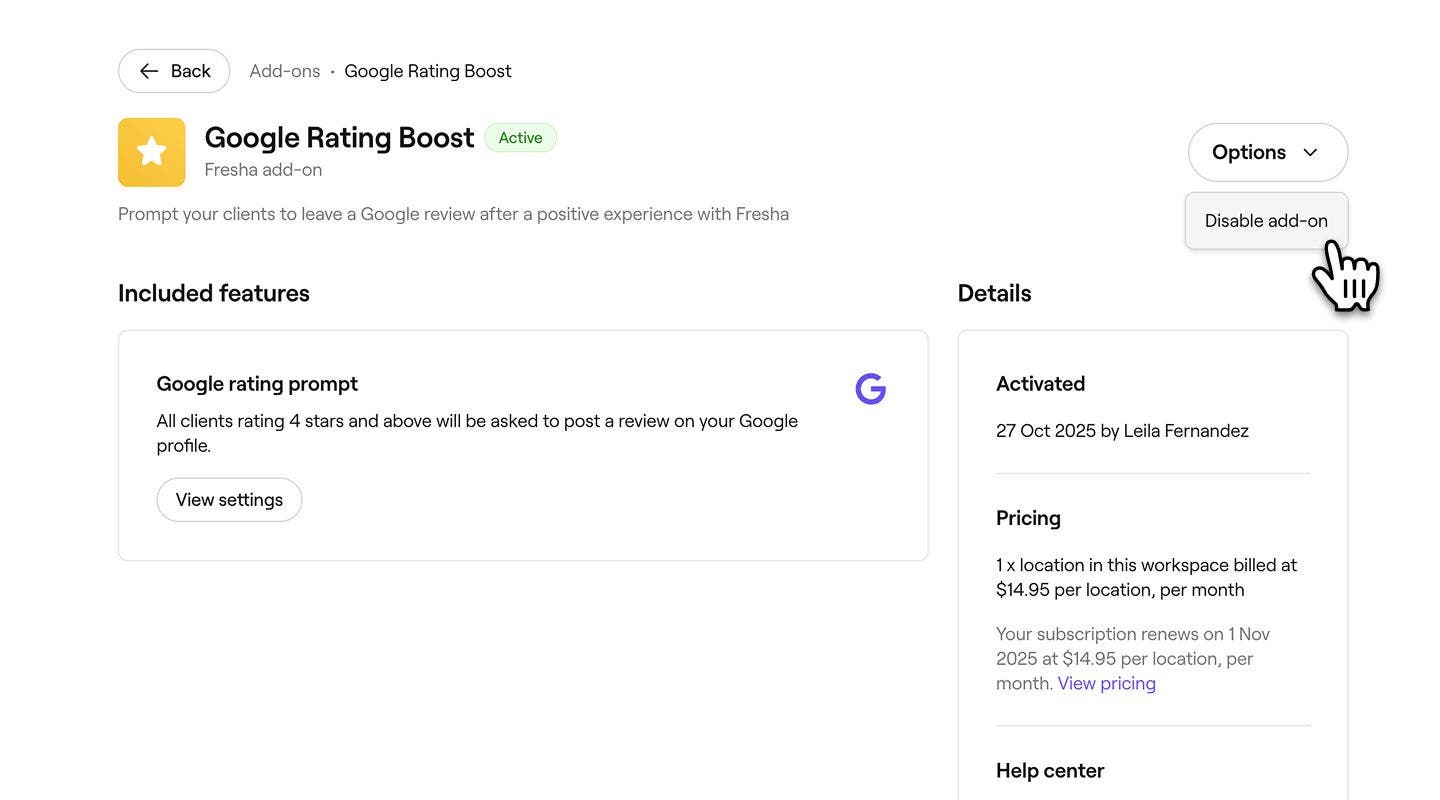
Disable a paid add-on
- From the main menu on the left, go to Add-ons.
- On the relevant add-on click on the View button.
- In the top left, click on the Options button and click Disable add-on.
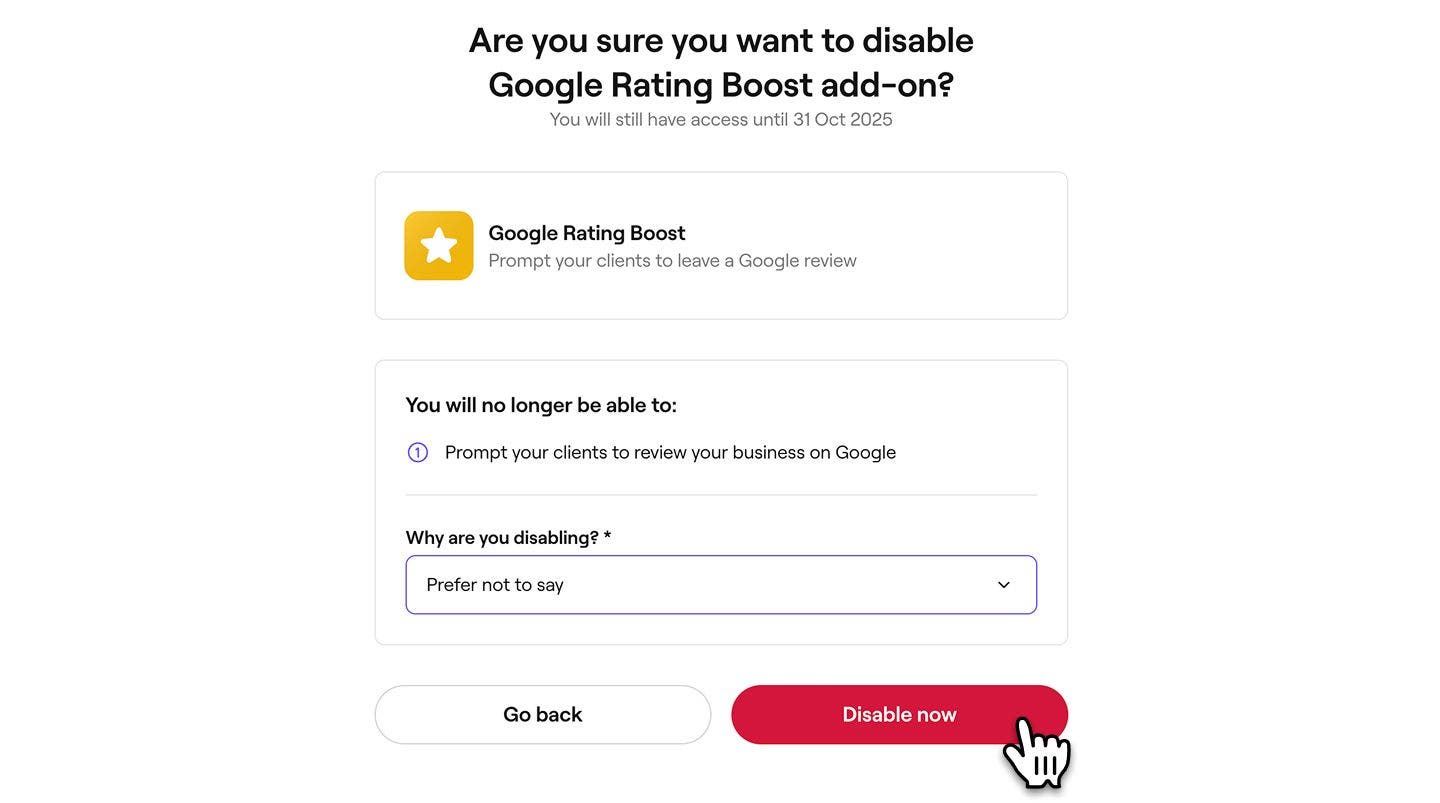
- Use the drop-down menu to select your reason for disabling the add-on.
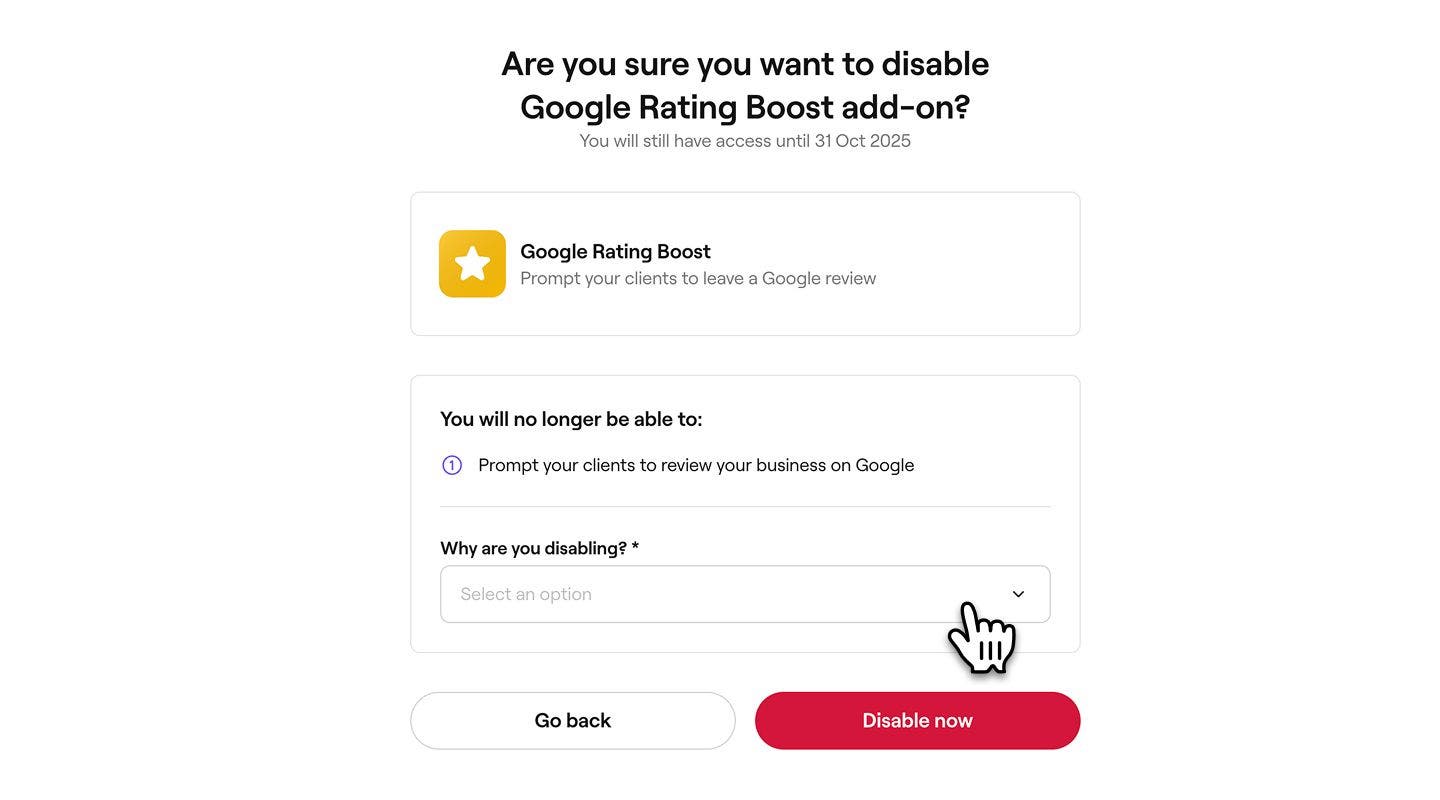
- Click on the Disable now button to proceed. You will have access to the add-on until the end of the current payment period. After that, no further payments will be taken.
Re-enable a paid add-on
- From the main menu on the left, go to Add-ons.
- On the relevant add-on click on the View button.
- In the top left, click on the Options button and click Re-enable add-on.
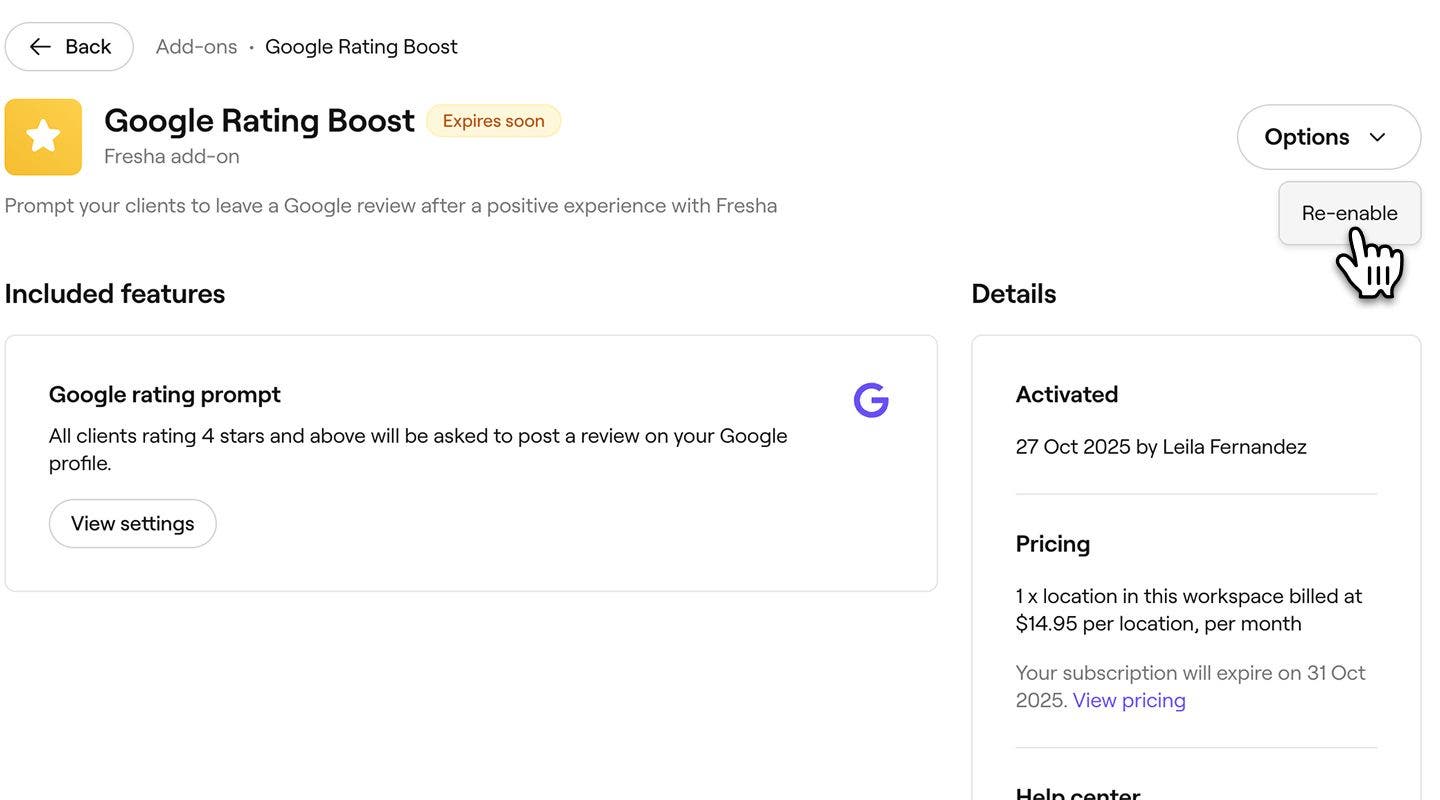
- Review your payment method and monthly billing details.
- To activate the add-on click on the Enable button in the top-right.
- Once activated, click on the Done button in the top right. You will receive a confirmation email.
FAQs
Pricing varies between each paid add-on. View our pricing page to see the cost and more details for all Fresha add-ons.
The cost of add-ons is based on the total number of bookable team members or locations in your workspace. Any added team members or locations will be included in the next billing cycle.
Yes, you can choose to enable and use multiple add-ons at the same time for your workspace. Each add-on will be charged separately based on its individual monthly cost.
You can disable an add-on for free at any time. If you disable an add-on before the end of the current billing period you will have access to the add-on. After that, no further charges will apply.
Yes, when enabling an add-on you can choose to use a different payment card by selecting Change next to your current payment method on the add-on summary page. If you wish to change the payment method used for an existing add-on, update your payment method under workspace settings.
Disabling an add-on will not delete the data associated with it. However, access to the features and any related data will be restricted until you re-enable the subscription.
Only team members with permission for ‘Account set up’ access can enable, disable, or manage add-ons.
Refunds aren't available for the remaining period of the month where an add-on has been disabled before the next billing period.
Renewals for add-ons are automatic, but you can choose to disable the add-on at any time.