Update your billing details
In this guide, you’ll learn how to add and manage your billing details to keep your account information and payment records accurate. Your billing details appear on your monthly invoices from Fresha, and you can update them at any time to ensure accurate reporting and invoicing.
In this article
Update your billing details
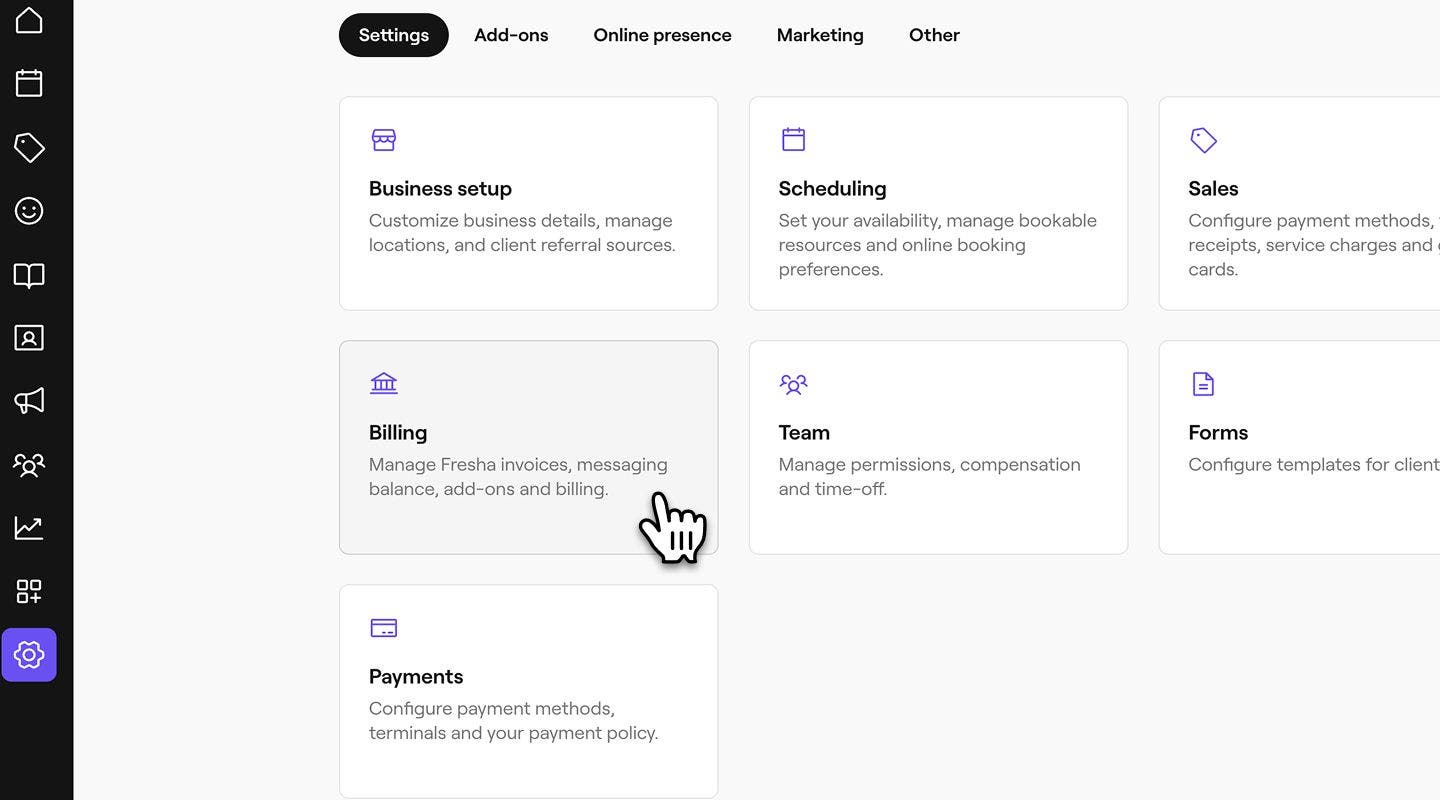
- From the main menu on the left of your screen, go to Settings.
- Under the Settings tab, select Billing.
- From the left menu panel, select Billing details to view your billing information.

- Next to Billing address, click on Edit to update your information.

- Under Account type, use the dropdown to select either Individual/ Self-employed or Company.
- Then, enter your billing details, including:
- Name: Your full name, or if you are using company billing details, enter your Business name.
- Address: Your full business address.
- Tax/VAT: Your Tax/VAT number.

- Click on the Save button in the top right of your screen to update your details.


It's important to make sure your billing details are always up to date as we’ll use these when processing your monthly invoices.
What are billing profiles?
Billing profiles are designed for businesses that manage multiple locations operating under different legal entities, (for example, Trendy Studio Manhattan and Trendy Studio Brooklyn).
Create separate billing profiles for each business to generate dedicated invoices and manage communication balances independently. Billing Profiles also ensure team member subscription fees and workspace subscriptions, such as your Fresha plan and AI Concierge, are charged to the correct legal entity.
If you have a single location with one set of billing details, you can continue managing your billing through Billing details.
Add a billing profile
If a location in your workspace operates under a different legal entity, create a separate billing profile in Billing to keep invoices, communication balances, and fees separate for each business.
-
From the main menu on the left of your screen, go to Settings.
-
Under the Settings tab, select Billing.
-
From the left menu panel, select Billing profiles to view your profiles.
-
To add a new billing profile, click Actions in the top right of your screen and select Create new billing profile.
-
Continue through and select your Business type.
-
Click Continue through, and select Start next to each of the following:
- Company details (depending on your Business type)
- Bank account: Enter details of the bank account you wish to pay out to. Choose between automatically connecting to your bank, or manually adding banking details.
- Payment method: Add your preferred way to pay your Fresha fees, by entering your card details. Fees will be charged to this card.
- Assign locations: Select locations that will use this billing profile, and choose when this change will come into effect.
-
Lastly, review your billing profile details and click Confirm to save your changes.
-
The profile will be displayed under Billing profiles and awaiting Payment verification to be complete.
Once you've saved your billing profile, it will appear in your Billing profiles list. Open the profile at any time to manage its billing details, payment methods, bank accounts, communication balance, linked locations, and invoices.
After your billing profile has been verified, you can assign locations to it by clicking Actions next to the profile and selecting Assign locations.
Update your billing profile details
Each billing profile can be managed independently, allowing you to update its billing details, payment methods, bank accounts, linked locations, and more.
-
From the main menu on the left of your screen, go to Settings.
-
Under the Settings tab, select Billing.
-
From the left menu panel, select Billing profiles to view your profiles.
-
Click on a billing profile to see more details.
-
From the left menu panel, click on the following and update them accordingly:
- Billing: Update your business details used for invoices and payment collection, including your business type, address, Tax/VAT number, and personal details.
- Bank accounts: Update the bank account used to receive client payments.
- Payment methods: Update Payment methods used to pay Fresha fees and purchases.
- Linked locations: Update the Locations that are assigned to this profile.
-
Click on the Save button in the top right of your screen to update your details.
Once you’ve updated your billing profile details, the next monthly invoice will reflect these changes.
You can view your dedicated Communication balance and Invoices and fees allocated to each billing profile.
FAQs
- Fresha Payment fees
- Subscriptions
- SMS/messaging usage
- Add-on subscriptions/usage such as AI concierge
Changes to billing details will only apply to future invoices from Fresha. Past invoices will retain the information that was on file at the time of issue.
Your billing details are shown at the top of each monthly invoice, ensuring accurate records for your business or accounting purposes.
You can direct each of the following fees to its dedicated billing profile:
If your workspace uses multiple billing profiles, Payment methods and Bank accounts are managed within each billing profile instead of the Wallet. Go to Billing and open Billing profiles, then open the relevant profile to manage its payment methods and bank accounts.
A single billing profile can be linked to multiple locations. All locations assigned to that profile share the same bank accounts, payment method, and communication balance.
Each location can only be assigned to one billing profile at a time.
You can change your primary billing profile at any time. Go to Billing profiles, find the profile you want to make primary, then click Actions and select Set as primary.
Your primary billing profile is used for account-level charges, such as purchases and subscriptions. Once updated, all future charges will be billed to the new primary profile.