Manage your Fresha plan

In this guide, you’ll learn how to manage your account access through your Fresha plan.
How the Fresha plan works
Your Fresha plan bundles all the essential features you need to run your business into one simple subscription.
There are two plan types determined by the number of bookable team members in your workspace:
- Independent: One bookable team member.
- Team: Multiple bookable team members.
For a detailed breakdown of what’s included in each plan, check out our pricing page.
Update your bookable team members
Bookable team members are those who have calendar bookings enabled in their profiles. Your Fresha plan is based on the total number of bookable team members, so ensure that each team member is accurately set up.
- From the main menu on the left of your screen, go to Team.
- Open a team member's profile from your Team members list.

- Click on Actions in the left panel and select Edit to update their profile.

- In the Edit screen, select Settings from the left menu to update their appointment settings.
- Under Appointment settings, tick the checkbox to Allow calendar bookings, or untick if you do not want the team member to be bookable.

- Click on the Save button in the top right to apply your changes.

At the start of your next billing period, your Fresha plan will automatically update to reflect the current number of bookable team members.
Cancel your Fresha plan subscription
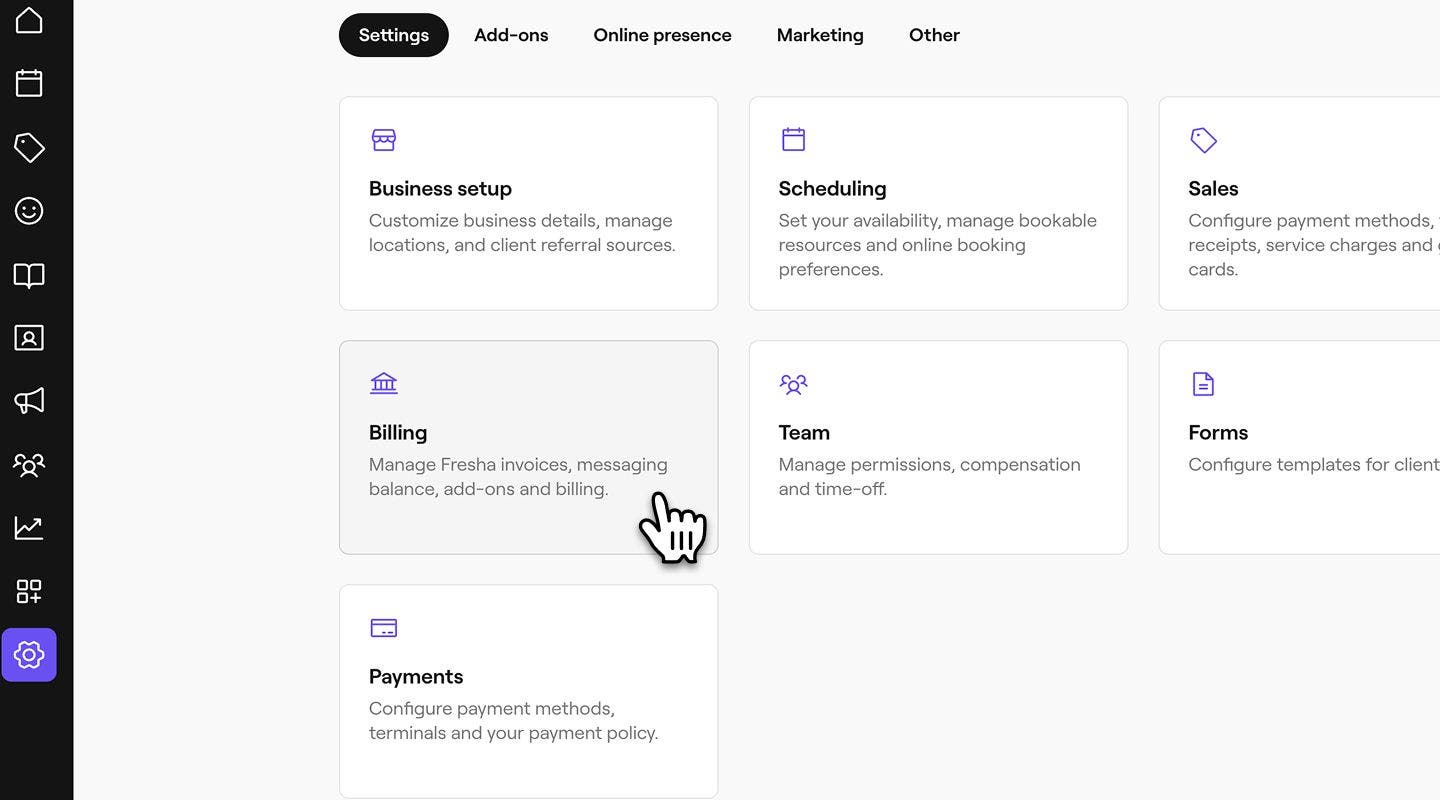
- From the main menu on the left of your screen, go to Settings.
- Click on the Billing category to manage your billing details.
- In the left menu panel, select Subscriptions to view your list of subscriptions.
- Under Plan, click on the Actions button and select Cancel plan to begin the cancellation process.

- In the next step, click the Continue button to begin canceling your plan.

- Continue through the steps to cancel your Fresha plan, and click on the Cancel plan button in the top right to finalize the cancellation

After cancelling, your subscription will not renew for the next billing cycle. Access to your workspace will be removed, and your marketplace profile will be unlisted. You can reactivate your plan at any time to restore full access to your workspace.
Re-activate your Fresha plan subscription
- Open the Fresha login page and sign in with your email address and password.
- On the Activate screen, click on the Activate plan button to start reactivating your subscription.

- On the billing details screen, review your payment method, billing, and plan details.

- Click on the Activate button in the top right to confirm and restore your subscription.

Once reactivated, you’ll regain full access to your workspace and information, including reviews. You can then re-list your marketplace profile and re-enable appointment notifications.
FAQs
You can easily update your payment card. Go to Settings in the main menu on the left, then select Billing. Under Billing details, update your card information as needed. Learn more about updating your payment card.
If you cancel your Fresha plan, access to your workspace and your online profile is removed from the marketplace at the end of your current billing cycle. Due to this, reviews are no longer visible to clients; however, they are not deleted. When you reactivate your account, your reviews are restored. Individual team members can still view their own reviews and ratings under Reviews in their profile.
Fresha plan renewals are automatic, and you can view or cancel your plan at any time in your workspace settings.
If the payment card used for the Fresha plan is declined, you receive an email notification prompting you to update your payment method to continue with your subscription. If the payment method is not updated and continues to fail, your Fresha plan is disabled, and access to your account is paused until payment can be taken.
The price of your Fresha plan subscription is calculated based on the number of bookable team members in your workspace. You can choose to have as many bookable team members as you like. There must always be one bookable team member in your workspace. If you have multiple team members, the workspace owner can be non-bookable.
You are charged for your Fresha plan subscription on the first day of each calendar month.
There are two separate monthly allowances for messaging, one for automated messages and one for marketing messages. You can check your current allowances and pricing rates on the Fresha pricing page.