Set up Facebook and Instagram bookings
In this guide, you'll learn how to integrate Fresha with your business’s social media profiles to attract new clients and allow existing ones to book services easily.
In this article
Book now buttons for Facebook and Instagram
Adding Book now buttons to your Facebook and Instagram profiles is a powerful way to turn social media engagement into confirmed appointments. Facebook’s official integration with Fresha allows booking buttons to sync seamlessly with your Fresha calendar, ensuring real-time availability and a smooth scheduling experience for clients.
Before you can start accepting online bookings through your social media, make sure to:
- Set up and list your business on the Fresha Marketplace.
- Have a Meta business account.
Create a Book now button for Facebook and Instagram
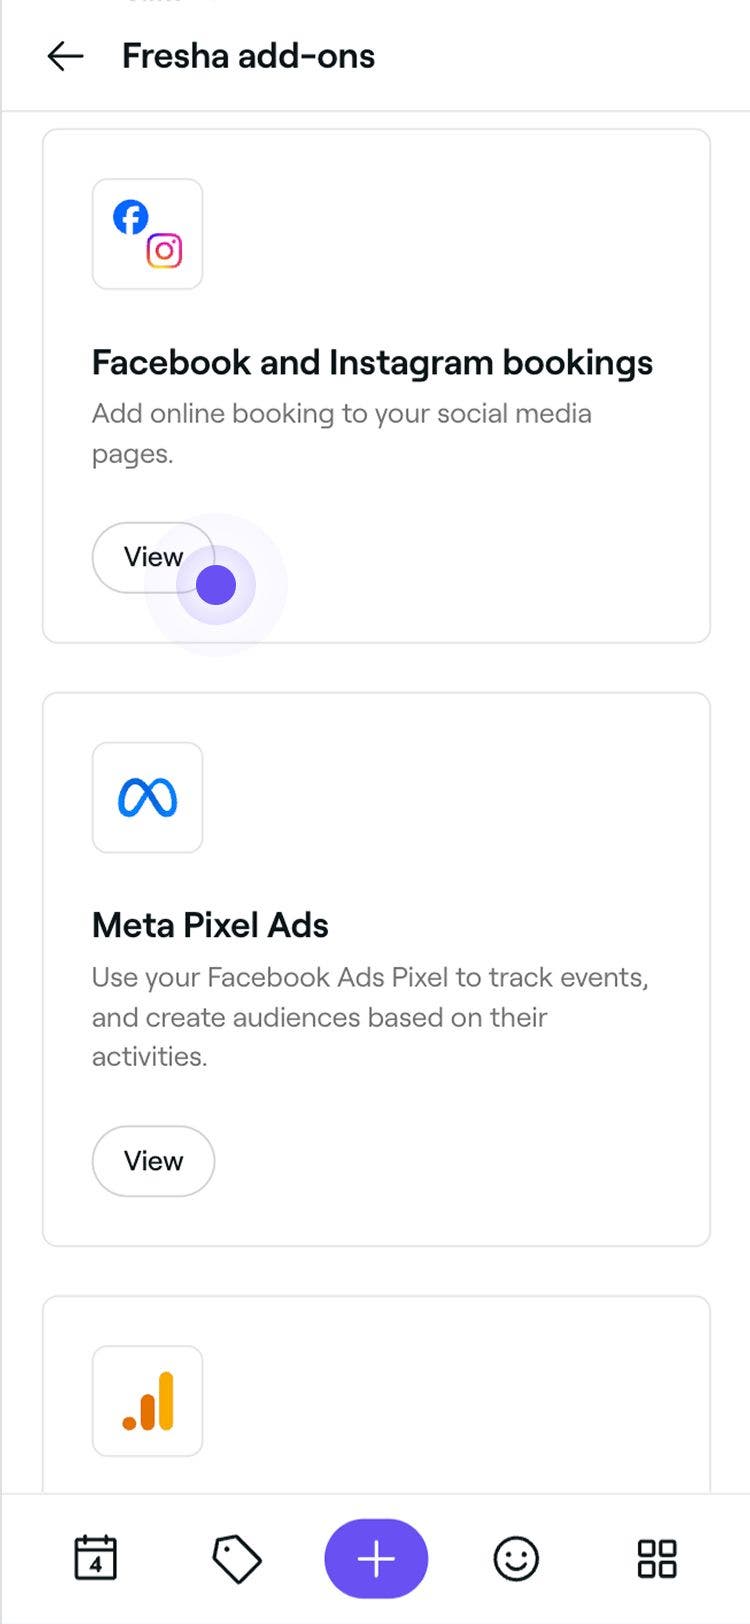
- From the main menu on the left of your screen, go to Add-ons.
- Under Facebook and Instagram bookings, click on the View button.

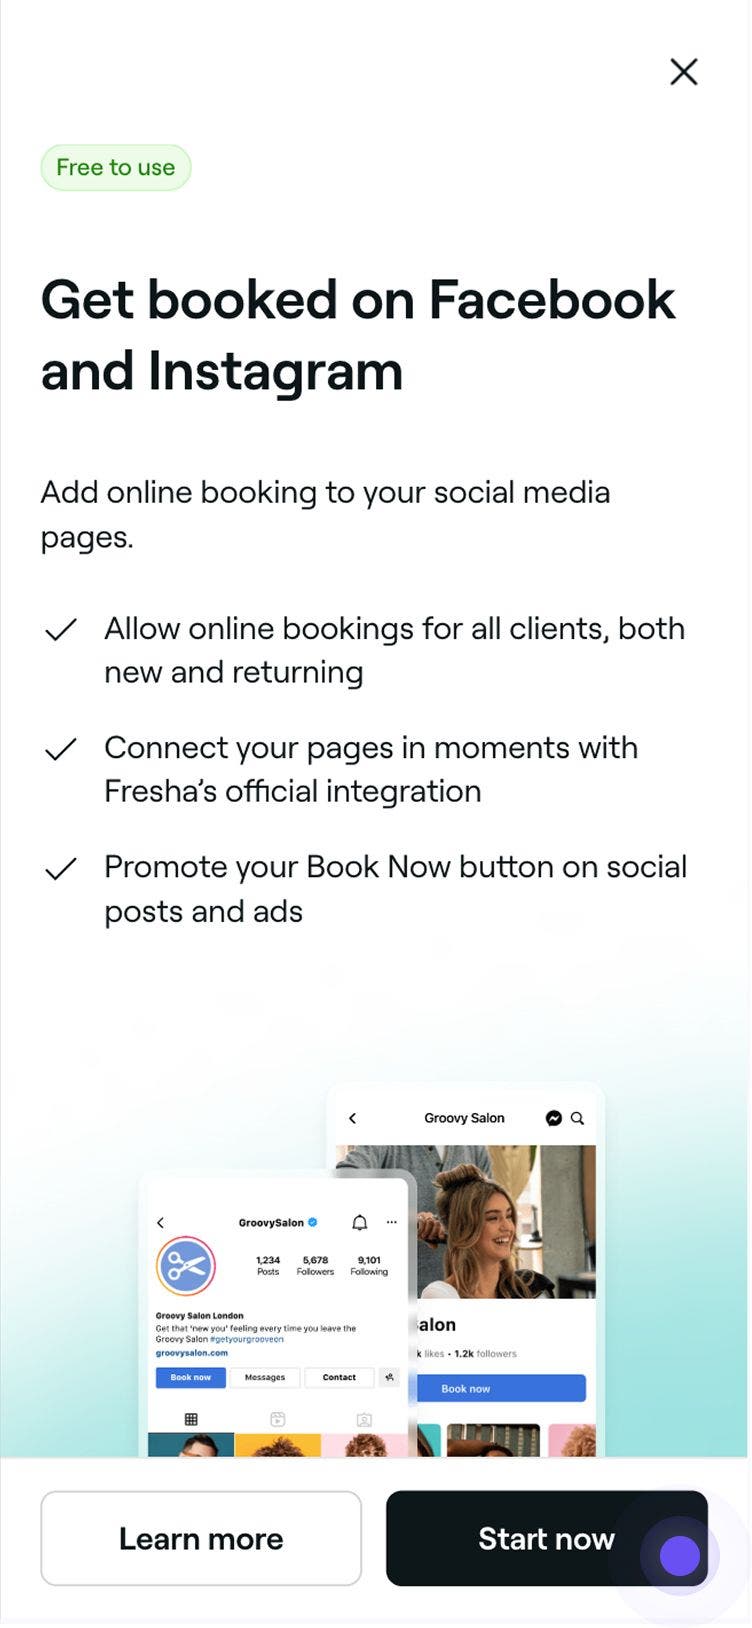
- From the summary page, click on the Start now button to enable this add-on.

- After reviewing the setup requirements for this add on, click on the Enable button in the top right corner.

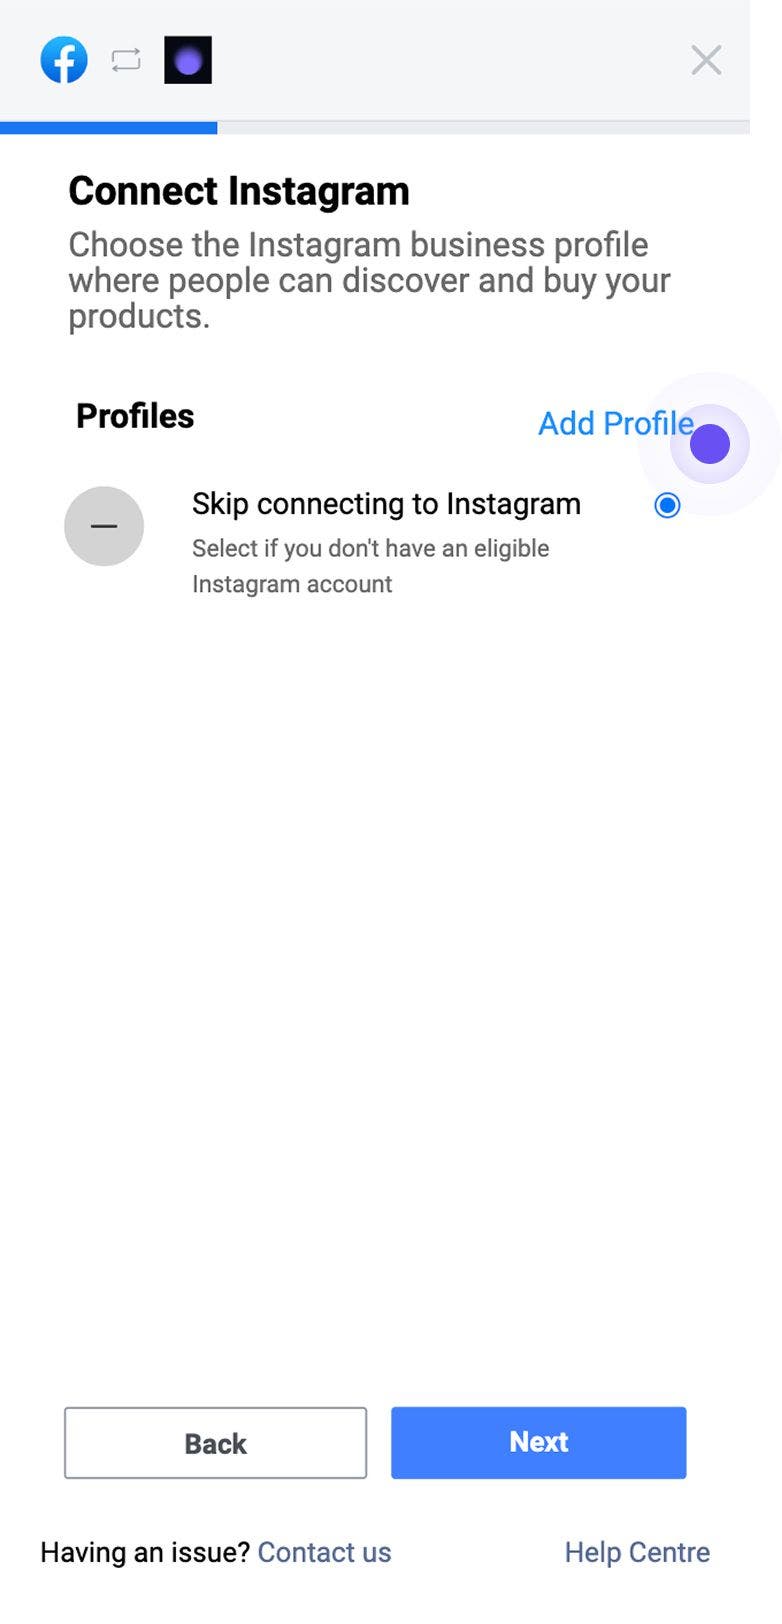
- You will then be directed to your Facebook account, where you must log in or select your Facebook account to connect.
- Once logged in, you'll need to approve the connection between Fresha and your Facebook business account. Click on the Next button to proceed.

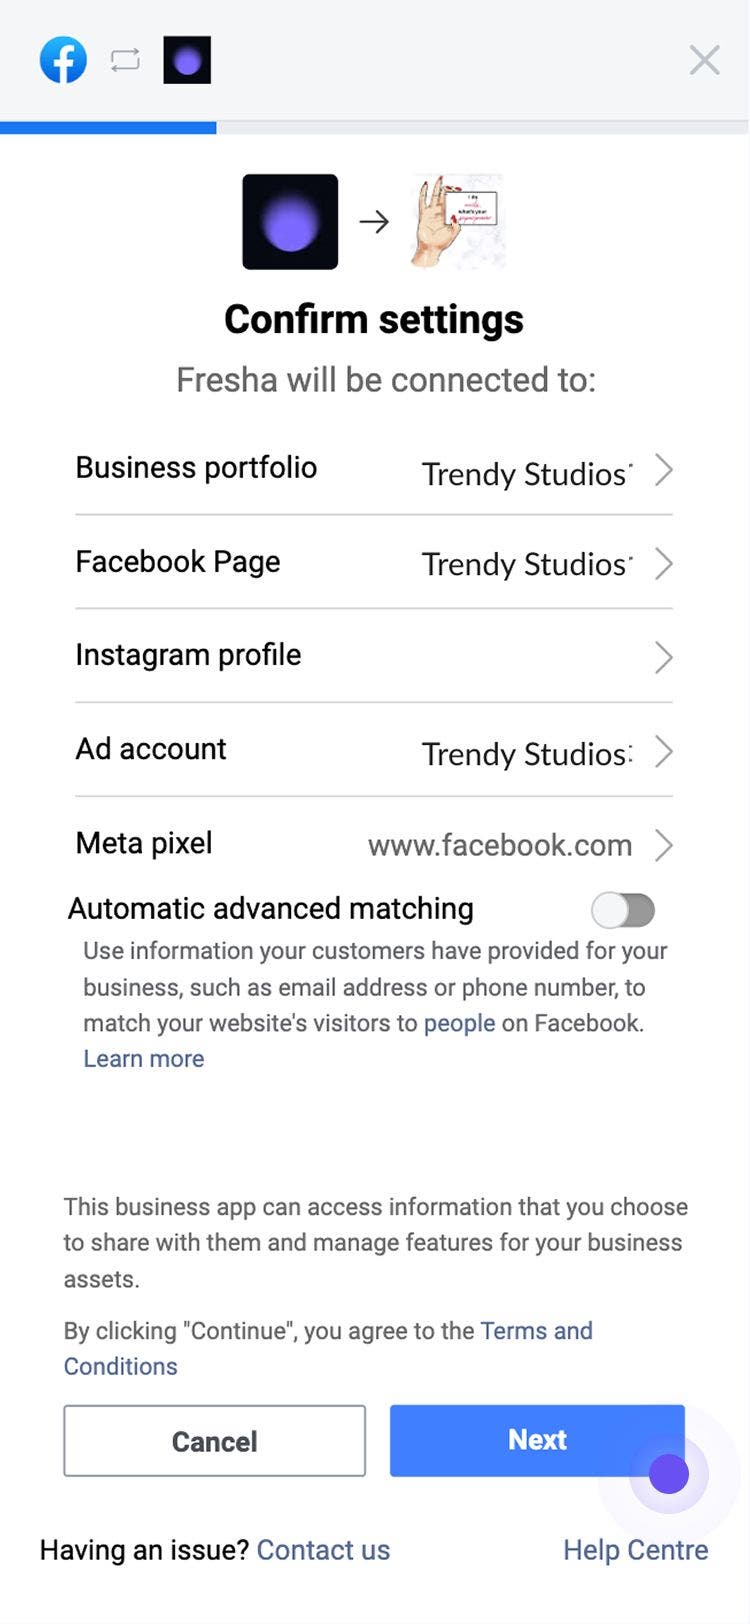
- From the Confirm settings page, select the existing ad account associated with the page and then click on the Continue button.

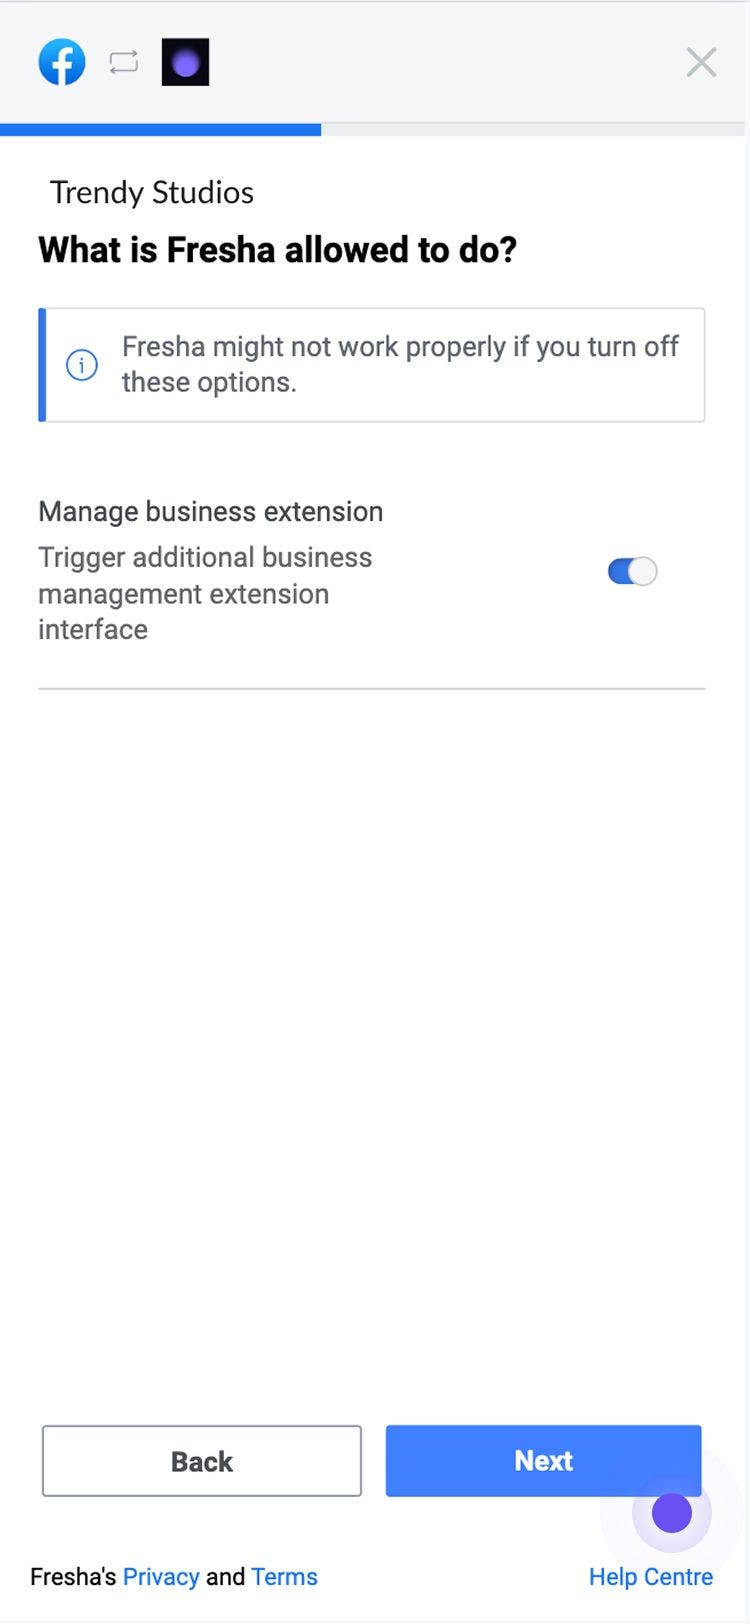
- In the next step, to allow a business extension between your Fresha and Facebook account, click on the Next button.

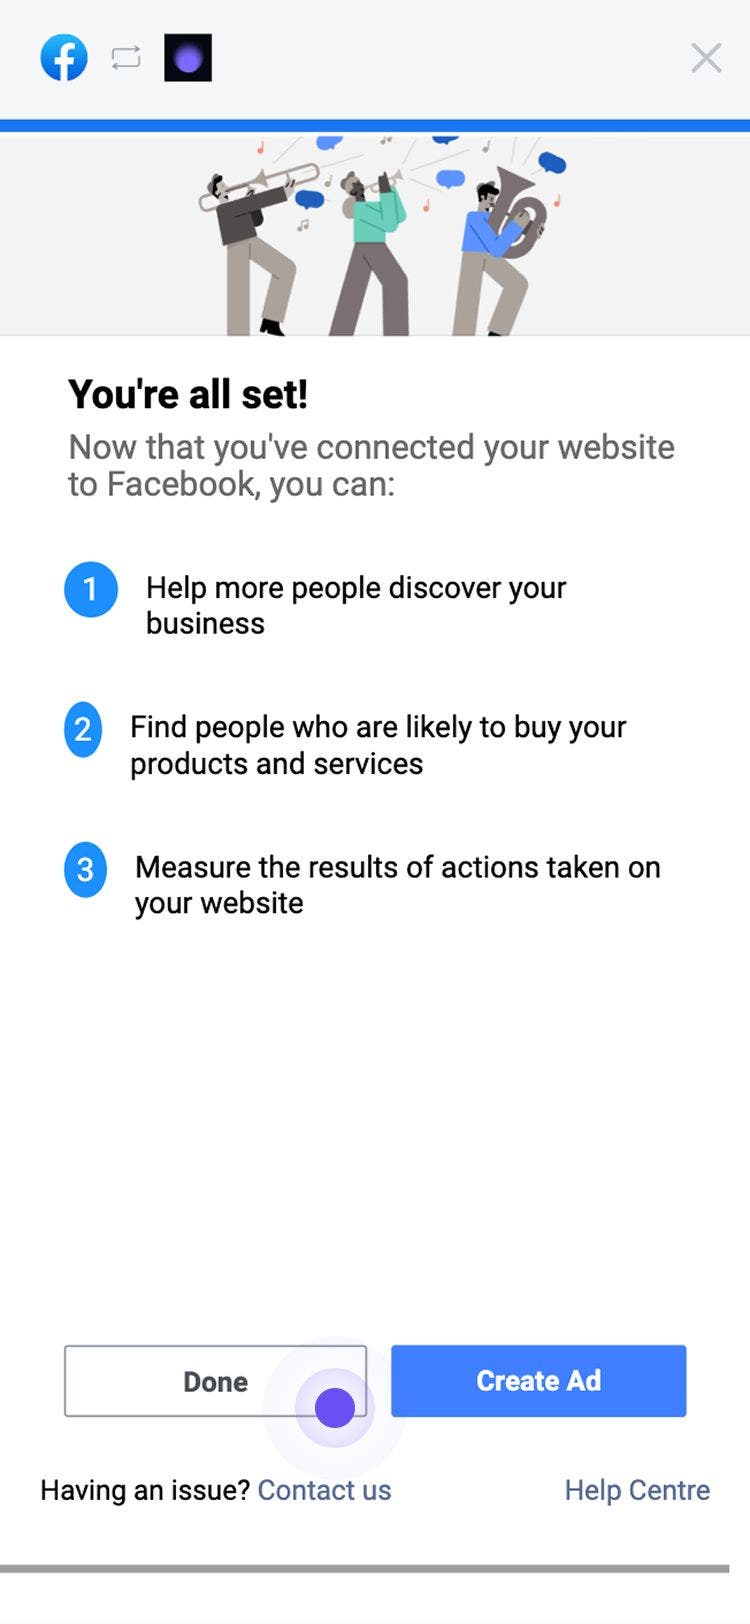
- Once the connection between your Fresha account and linked Facebook and Instagram accounts has been made, you will see a confirmation. To exit the page, click on the Done button.


We recommend reviewing both Facebook's Help Centre guide and Instagram's Help Centre guide for direct support regarding your Book now buttons.
Ensure your Facebook and Instagram accounts are set up as business accounts. Relevant Facebook access is needed to add or remove a Book Now button.
Disable your Book now button in Fresha
- From the main menu on the left of your screen, go to Add-ons.
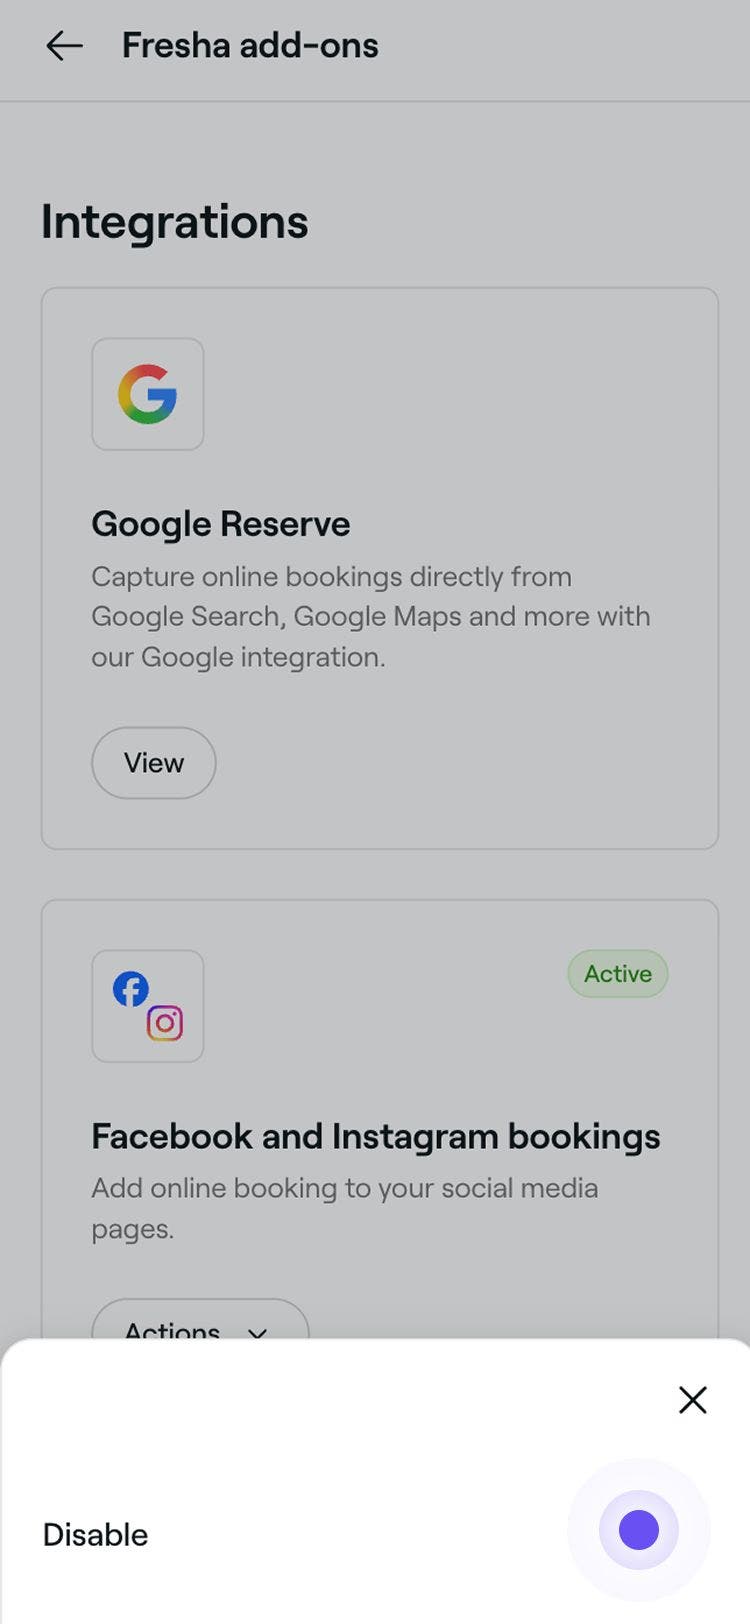
- In the Integrations section, under Facebook and Instagram bookings, click on the Actions button and select Disable.

- Click on the Disable now button to confirm your choice.
Once you’ve disabled your Facebook and Instagram “Book now” buttons from your Integrations, go to your Facebook and Instagram business pages (or use Meta Business Suite) to continue disabling and manually removing the button from your pages as these won’t disappear automatically.
A booking button added to your website is separate and won’t be affected.
FAQs
- Account type: make sure your Instagram or Facebook account is set as a Business account.
- Profile status: confirm your Fresha marketplace profile is published and online booking is enabled.
- Connection method: try linking via Facebook Business Suite instead of directly through Instagram.
- App updates: ensure both the Facebook and Instagram apps are updated to the latest version.
- The client is not an existing client on your Clients list at the time of booking.
- The client first discovers your business on the Fresha marketplace and goes on to make an online booking.
- When booking, the client confirms they haven't previously visited your business before.
- Before listing your business on the Fresha marketplace, make sure all contact details for your existing clients are imported into your business account.
- Send a Blast campaign to introduce your newly imported clients to your new booking system, providing them with the correct link for future appointments.
- Maintain an updated and organized client list by merging duplicate client profiles.
- Generate a QR code from your Link builder tab and print it as a sticker for your entrance door or desk, allowing clients to scan and instantly book when encountering your business.
Fresha’s integration with Meta platforms lets you add Book now buttons to your social media pages at no cost. This free feature is part of Fresha’s powerful, unlimited online booking tools, making it easier than ever for clients to book with you.
For each online booking, you can see which channel the client used to book their appointment, by opening the Appointments tab in the platform and filtering the Channel column for Facebook or Instagram.
To gain a broader view of where your clients are booking from, use the Client Insights report report to track booking sources across your business.
When enabling your Book now buttons for Facebook and Instagram, if Fresha doesn’t appear as a partner to connect to, you may have missed a step in the setup process. We recommend checking the following:
Please refer to both Facebook's Help Centre guide and Instagram's Help Centre guide for direct support.
The Fresha marketplace new client fee only applies when a client discovers your business through the Fresha Marketplace. If a client finds you through any other channel, such as your website, social media, or direct referral, no fee will be charged.
The 20% New client fee only applies when:
To prevent being charged the fee for your existing clients, we recommend taking the following steps before encouraging them to book online with you:
