HomeKnowledge baseFresha academy
Add products to your inventory
Back
  1. Knowledge base•
  2. Inventory and products•
  3. Add products to your inventory

Add products to your inventory

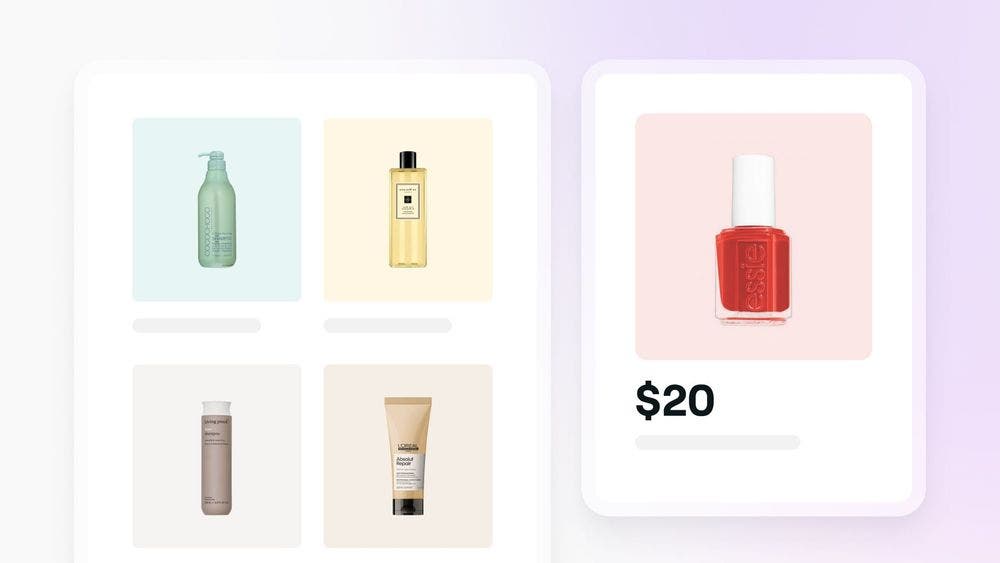
Streamline your product sales and efficiently manage inventory by creating a product list. Learn how to add products, making sure you always have the right ones available for your clients.
In this article

  • Getting started
  • Adding new products

Getting started

Manually adding products to your account keeps your inventory up-to-date and well-organized. Before setting up:

  • make sure you have the required permissions to Manage products. If you’re a team member, request access from the workspace owner.

Adding new products

To add a new product to your inventory:

  1. Open the Catalog and select Products.
  2. Click Add to create a new product.
  3. Under Product photos, select Add a photo to upload images.
  4. Fill in the Basic Info:
    1. Product name:
      Enter the product's name.
    2. Product barcode: 
      Optionally, provide a barcode for easy identification and tracking.
    3. Brand:
      Choose an existing brand or create a new one.
    4. Measure and amount: 
      Select the unit of measure and add the amount.
    5. Short description:
      Add an internal description of the product.
    6. Product description: 
      Provide more details for clients.
    7. Product category: 
      Select or create a category for your product.
  5. Under Pricing, add the supply price as the net cost.
  6. Enable the toggle to set retail sales details:
    1. Retail price: 
      Enter the sale price or the markup percentage from the supply price.
    2. Tax: 
      Default tax rate is applied but can be edited.
    3. Team Member commission: 
      Enable automatic commission calculation on sales.
  7. Enter the Inventory information:
    1. SKU:
      Add a unique product code for you and your staff to track products within your business or select Generate SKU automatically.
    2. Supplier: 
      Select an existing supplier or create one.
  8. Enable the Track stock quantity toggle to monitor stock levels. 
  9. For Low stock and reordering, enter the:
    1. Low stock level:
      Minimum stock before receiving a reorder notification.
    2. Reorder quantity:
      Amount to order on your next stock order.
  10. Enable the toggle to receive Low stock notifications.
  11. Click Save.

To add a new product to your inventory:

  1. Open the Catalog and select Products.
  2. Tap Add (+) to create a new product.
  3. Under Product photos, select Add a photo and a selection of images.  
  4. Fill in the Basic info for the product:
    1. Product name:
      Enter the name of the product.
    2. Product barcode:
      Provide an optional barcode for easy identification and tracking.
    3. Brand:
      Choose an existing brand or create a new one.
    4. Measure and amount:
      Select the product measure and add the amount.
    5. Short description:
      Add an internal description of the product.
    6. Product description:
      Provide more details about the product for your clients.
    7. Product category:
      Select a category for your product or create a new one.
  5. Under Pricing add the supply price as the net cost of the product.
  6. Use the toggle to enable and set the retail sales details:
    1. Retail price: 
      Enter either the value you want to sell the product or the percentage you want to mark up the product from your supply price. 
    2. Tax:
      Your tax rate will be set to default but can be updated by tapping Edit. 
    3. Team member commission:
      Choose to enable team member commissions to be automatically calculated when a product is sold.
  7. Enter Inventory information:
    1. SKU (Stock keeping unit):
      Add a unique product code (SKU) for you and your staff to track products within your business or select Generate SKU automatically. 
    2. Supplier: 
      Tap Select a supplier and add an existing supplier or create a new one.
  8. Enable the Track stock quantity toggle to monitor stock levels. 
  9. For Low stock and reordering enter the relevant values for:
    1. Low stock level: 
      This is the minimum amount of stock you would like to have before receiving a notification to place a new order.
    2. Reorder quantity: 
      This is the amount you would like to order on your next stock order.
  10. Use the toggle to enable you to receive low stock notifications. 
  11. Tap Save.

Regularly conduct stocktakes to maintain accurate inventory levels and identify any discrepancies.

FAQs

    • If you have multiple products to add, you can easily import your product list.

      When uploading product images to your account, we recommend using square JPEG files, up to 1920 x 1920 px.


Product list


Related articles

Was this guide helpful?

Product list

Add products to your inventory

Set up a detailed product list, ensuring your stock levels are always accurate and ready for client sales.

Importing an existing product list

Keep your stock levels up-to-date by using a product template or CSV file to upload in bulk.

Update and delete products

Keep your inventory accurate and up-to-date by updating and removing items from your inventory.

Manage product suppliers, brands and categories

Organize your inventory by setting up and managing product suppliers, brands, and categories.

Bulk edit retail and supplier prices

Streamline pricing updates by bulk editing retail and supplier prices for multiple products at once.

Related articles

Update and delete products

Keep your inventory accurate and up-to-date by updating and removing items from your inventory.

Complete stocktakes

Regularly perform stocktakes to identify discrepancies and track your stock’s value.

Sell products in-store

Offer clients immediate access to your products by selling in-store.

Fresha
Get the app

About Fresha

Careers

Help and support

Blog

Sitemap

For business

For partners

Pricing

Features

Scheduling

Point of sale

Payments

Capital

Marketplace

Support

Status

Legal

Privacy Policy

Terms of service

Terms of use

Find us on social

Facebook
Linkedin
Instagram

© 2026 Fresha.com SV Ltd