Filter your calendar
Learn how to filter your calendar by team members, resources and appointment details, and save your preferred filters for easy access
In this article
About filtering your calendar
Find the appointments and information that matter by using filters to focus on specific bookings, team members or resources in your calendar. Choose which team members and resources appear, or highlight appointments based on their status, services, payment details and booking method. As you apply filters, your calendar updates to show or highlight the information that matches your selections.
To see your calendar in a different way and personalize how it looks, you can switch between calendar views and customize each view's settings to suit the way you work.
Filter your calendar by team member or resources
-
From the main menu on the left of your screen, go to Calendar.
-
Click on the Team and resource selector in the calendar toolbar.

-
In the panel, tick the checkboxes next to each Team member and resource you want to view the schedule for. You can also choose to view:
- Scheduled team: Show all team members that are scheduled to work on the dates selected.
- All team: Show all team members that are assigned to the location selected. This will include members who are not scheduled to work on the dates selected.
- All Resources: Show all resources that are assigned to the location selected.
- All team and resources: Show all team members and resources that are assigned to the location selected. This will include members who are not scheduled to work on the dates selected.

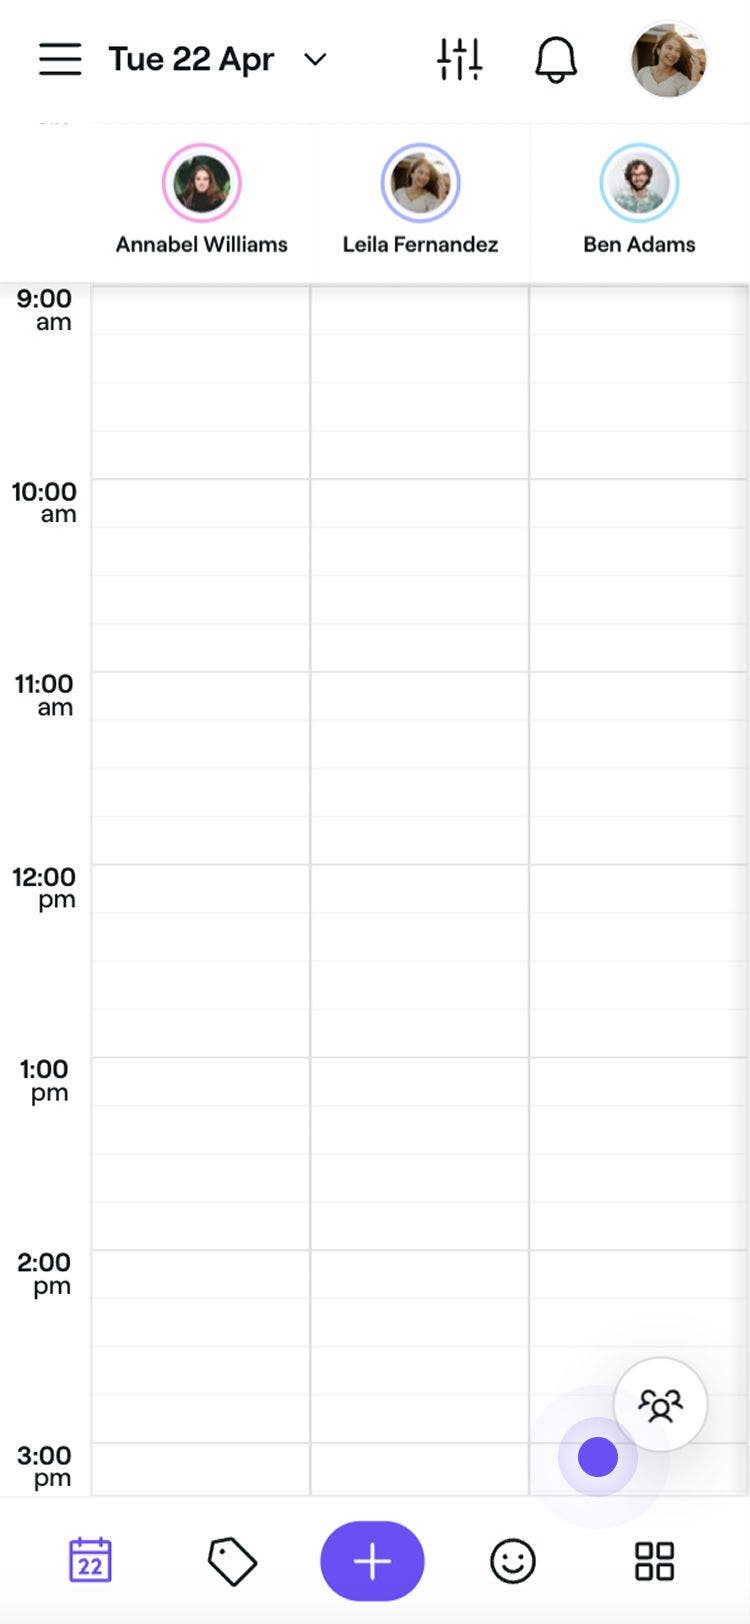

Your calendar updates to show the selected team members and resources. To change the order in which team members appear, update their order in your team member list under Team settings.
Filter your calendar by appointments
-
From the main menu on the left of your screen, go to Calendar.
-
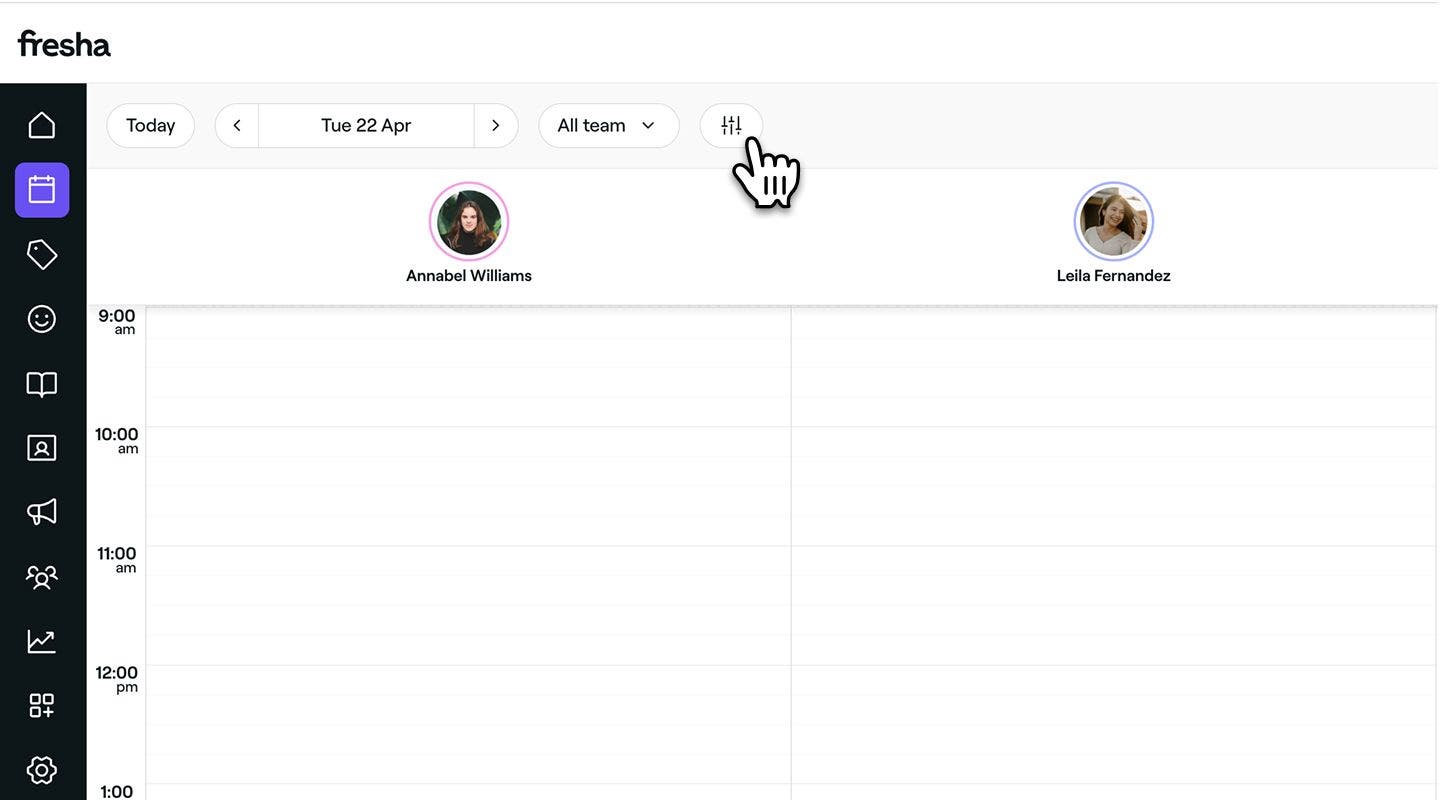
Click on the Filters icon in the calendar toolbar to open the filters view.
-
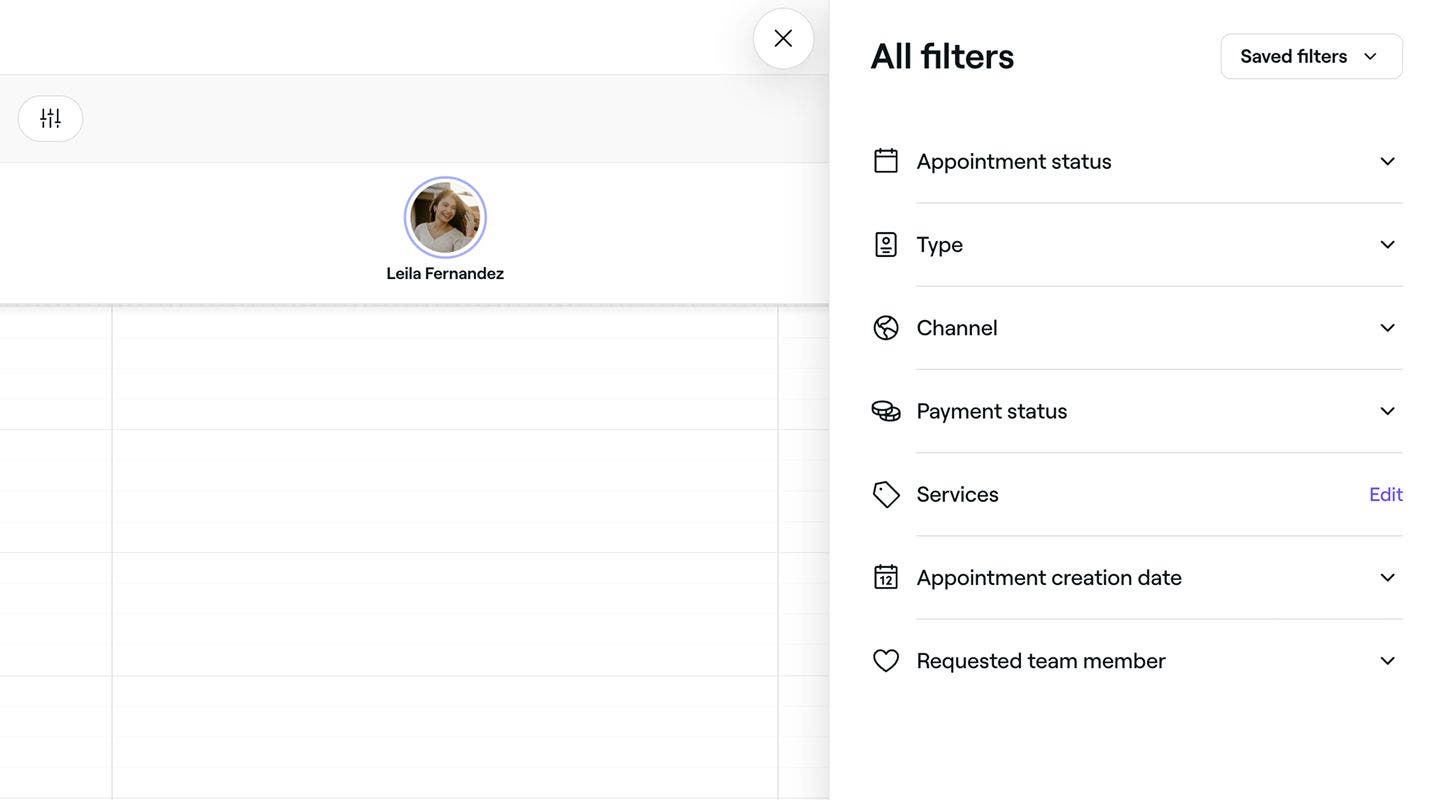
In the filters view, tick the checkboxes next to the following options:
- Appointment status: Highlight appointments based on their current status, including Booked, Confirmed, Arrived, Started, Completed, and No-show.
- Type: Sort appointments by the type of booking, including Single client appointments, Group appointments, or Blocked time.
- Channel: Show appointments based on how clients booked, categorized as either Online or Offline bookings.
- Payment status: Filter bookings by the status of payment, from Unpaid, Part-paid, or Fully paid.
- Services: Focus your calendar view based on appointments that hold specific services. Click on Edit next to Services and select the relevant ones from your list. Click on the Apply button to save your selection.
- Appointment creation date: Sort your calendar by the date appointments were booked within a specific time period.
- Requested team member: Highlight appointments by whether a team member was requested or no preference was selected.
-
Click on the Apply button to apply the filter to your calendar.


Once the filters have been applied, your calendar will update to highlight only the appointments that match your selected filters.
Create a preset filter
If you regularly use the same appointment filters, you can save them as a preset to quickly apply them again without selecting each option individually.
- From the main menu on the left of your screen, go to Calendar.
- Click on the Filters icon in the calendar toolbar to open the filters view.
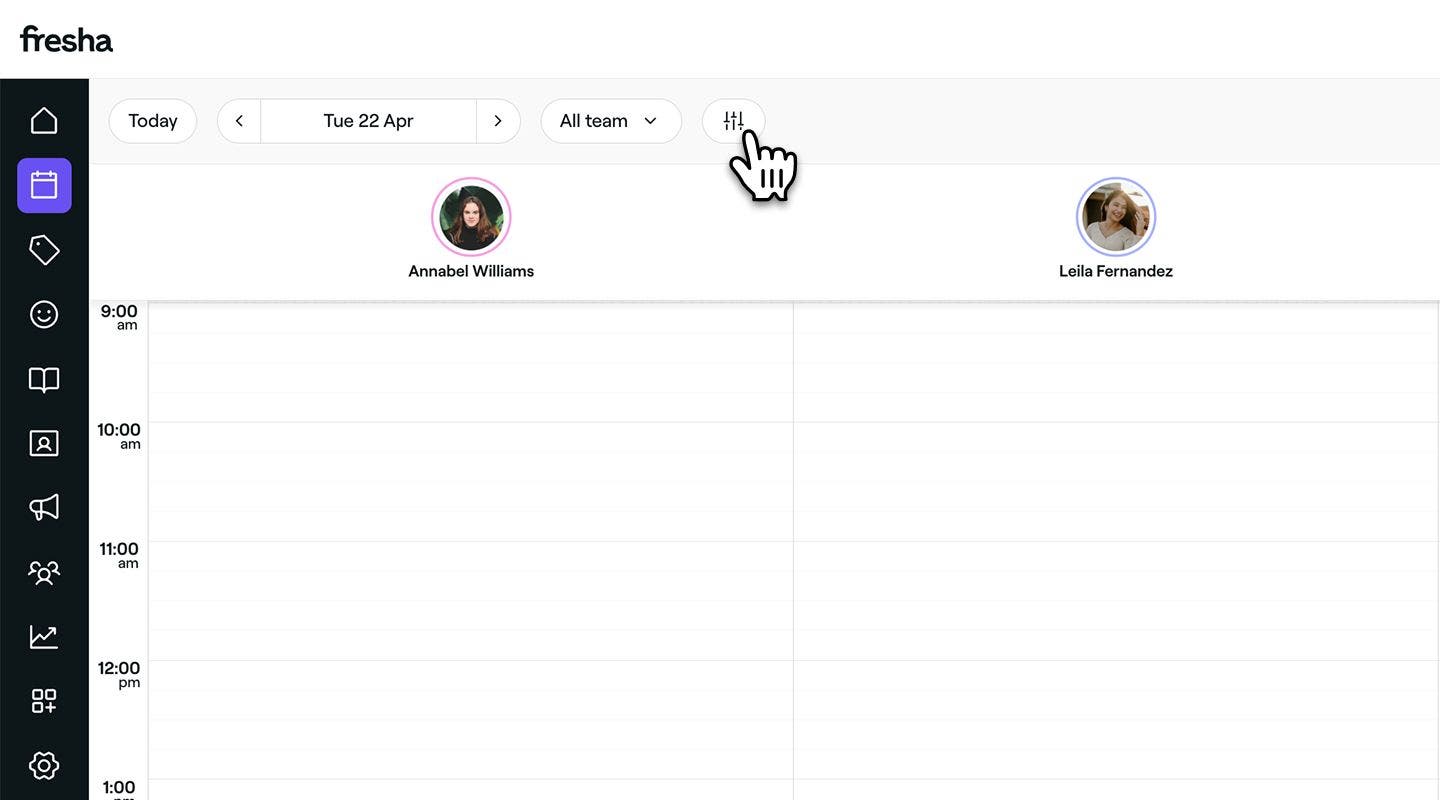
- In the filters view, tick the checkboxes next to your preferences.
- Click on Actions (three dots) at the bottom of the filter view and select Save as new filter preset from the panel.
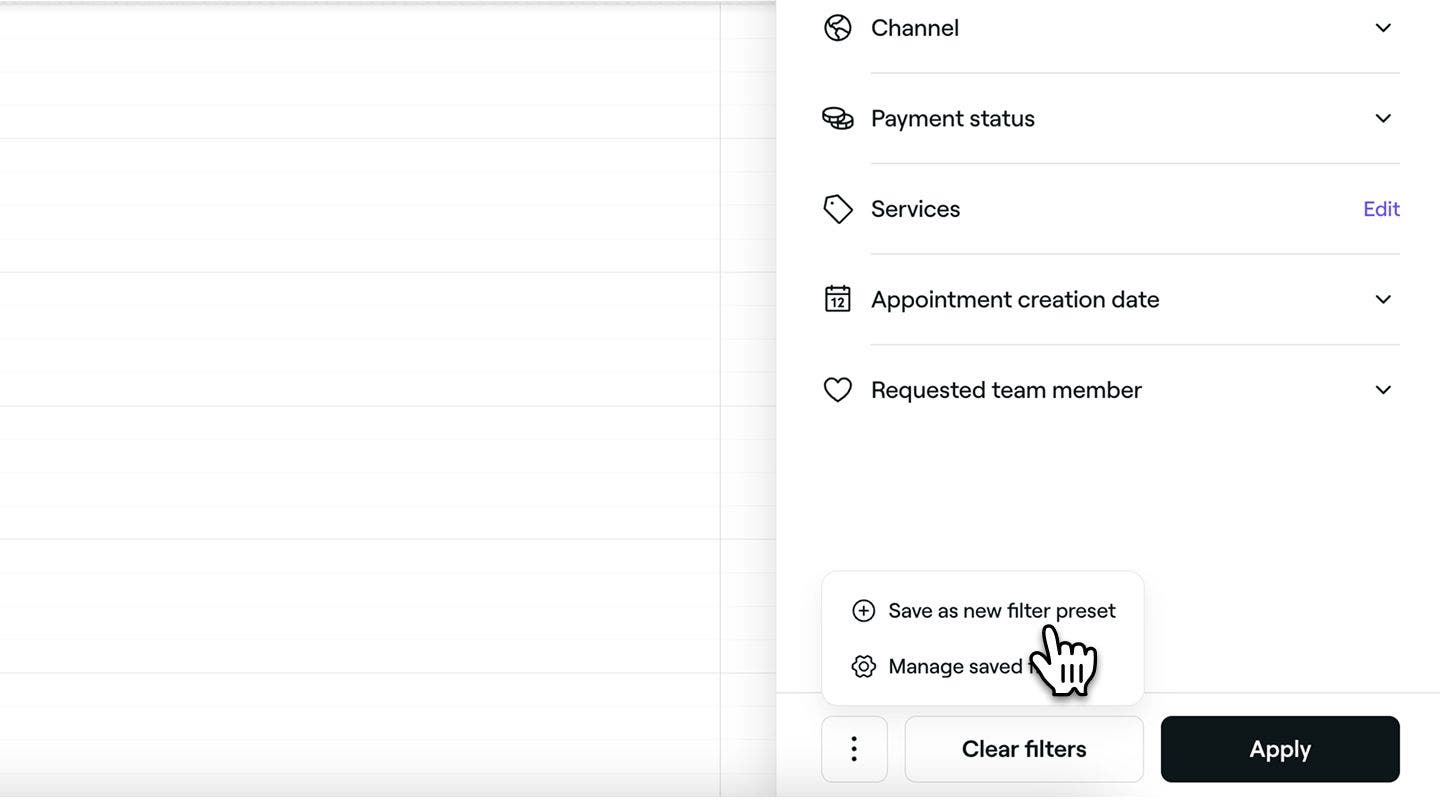
- Enter a Preset name in the pop-up window.
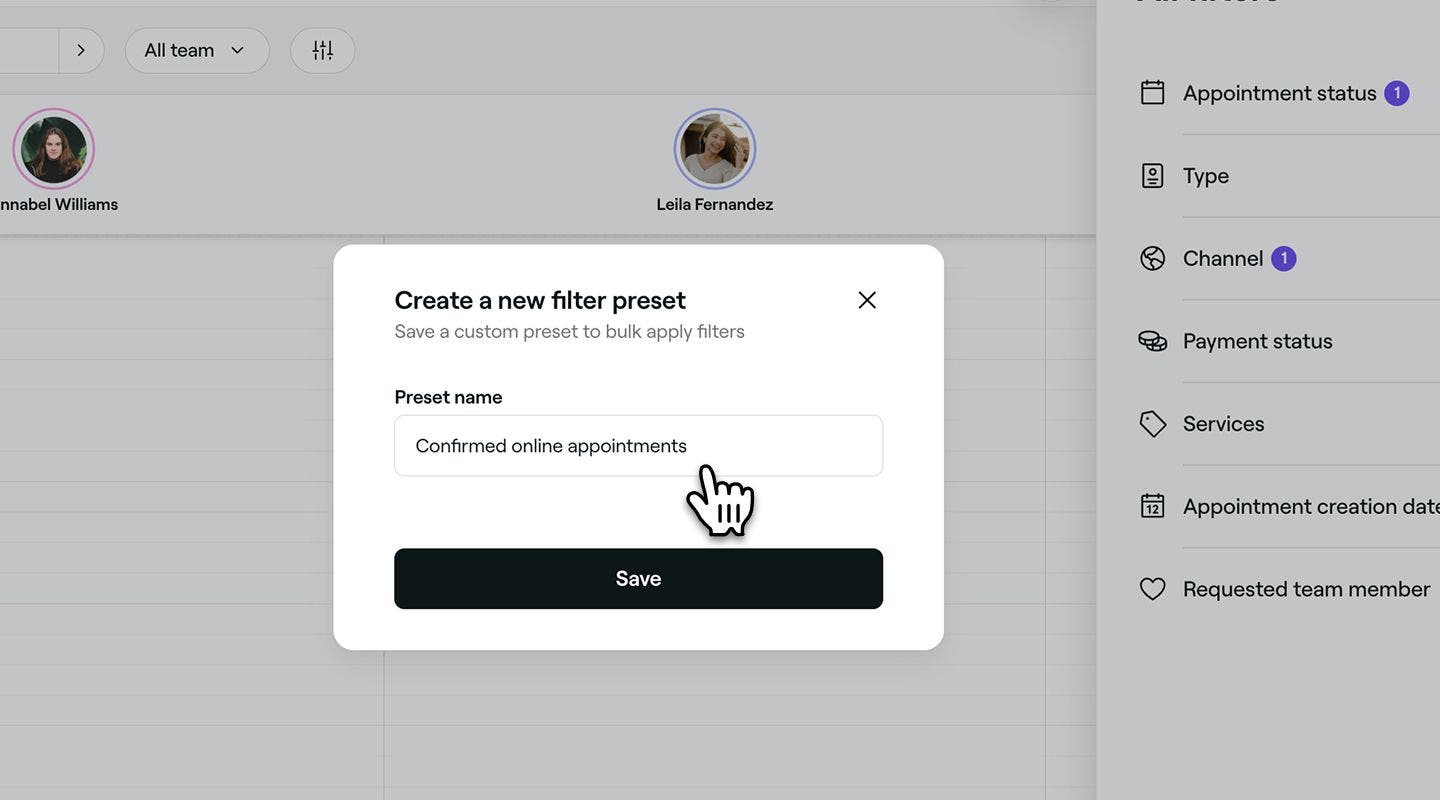
- Click on the Save button to create a new filter preset.


The filter preset will now appear in your list of Saved filters in the top right of the Filters view, ready to be applied for quicker access to your preferred calendar view.
FAQs
If more appointments are booked than can fit within the visible calendar space, Fresha will display the first few in chronological order. Any additional bookings will be grouped under an “+X more” link.
Clicking this link will take you to a filtered calendar view, showing all appointments for the specific team member handling those bookings.
Any filters you apply will appear at the top of your calendar. To return to the standard view, simply click the X next to the filters.
Click the Date selector in the calendar toolbar to choose a date or date range. You can also use the options to jump ahead by 1 to 8 weeks.
Open the Filters panel, click Actions (three dots) and select Manage saved filters to rename or delete a preset. To change which appointments a preset highlights, create a new preset with your preferred filters.
Click the Location selector in the calendar toolbar and choose the location you want to view from the dropdown.
Your calendar updates to show the selected location and its team members and resources.
Yes, the appointment will appear in both the team member’s column and the resource’s column, making it easy to see who and what is involved. To keep things clear, hovering over either instance will highlight both, showing that they’re part of the same appointment.