Link your calendar with Fresha
In this guide, you'll learn how to create a two-way link between your Fresha business calendar and external calendars like Google, Apple, or Outlook.
In this article
How calendar linking works
Linking your calendar creates a two-way connection from Fresha to your personal calendar. You can export your Fresha appointments to your personal calendar, and import your personal appointments in your Fresha calendar, so you can see your full day in both calendars and avoid double bookings.
You can link your external calendar to a workspace directly from your personal account settings.
Link your calendar with Fresha
-
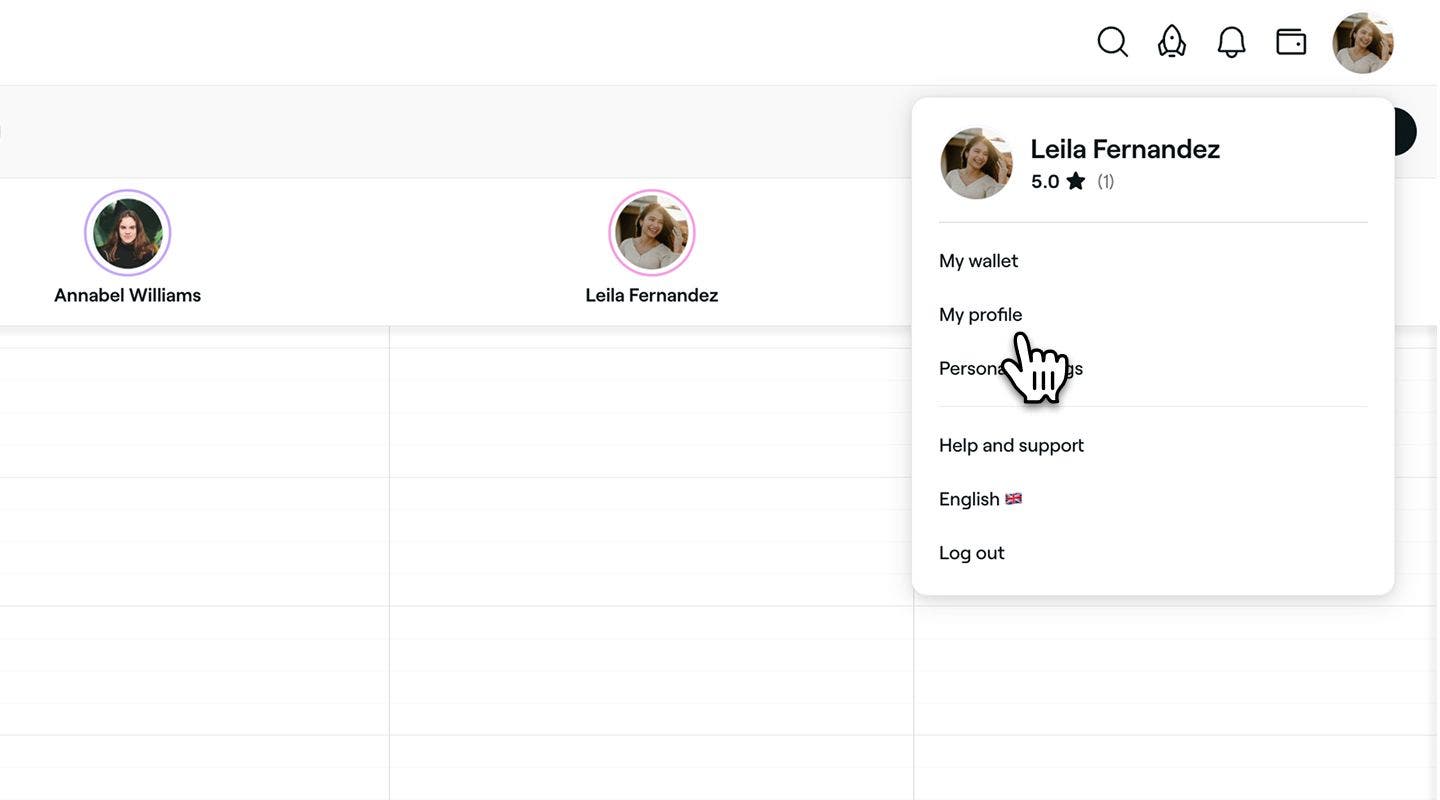
From the toolbar on the top right of your screen, click on your Profile picture and select My profile from the panel.
-
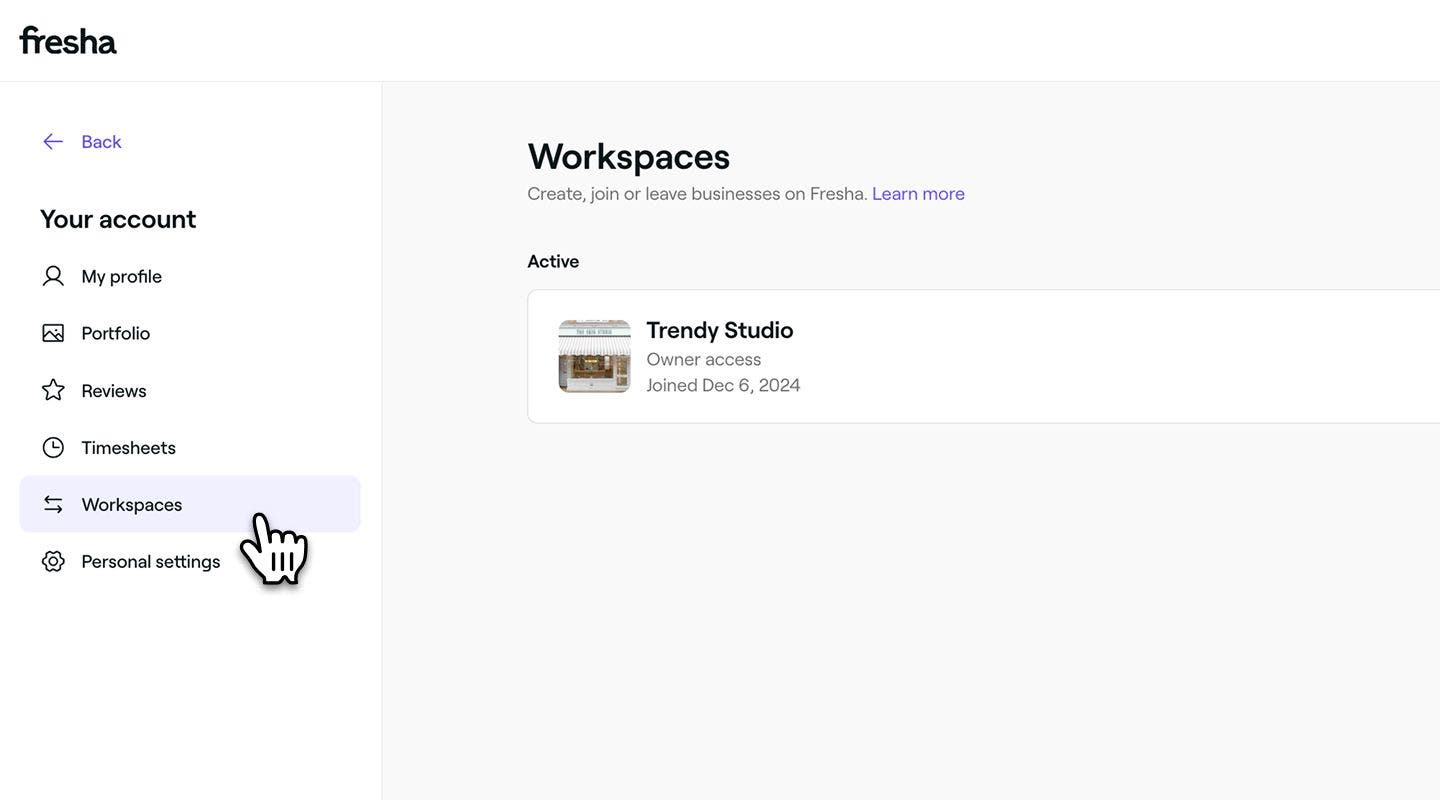
In the left menu panel, select Workspaces to view your workspace.
-
Next to your workspace, click Manage to view your workspace settings.
-
Under Linked calendars, click on the option to Link a calendar.

-
In the Choose a calendar to link step, choose either Google calendar or Other Calendars and click on the Next step button in the top right.
- If you've selected Google calendar, follow the steps to select the email address you'd like to sync with. Click Continue to return back to Fresha.
- If you've selected Other, you'll need to add your calendar's link later, at the import step below.
-
Next, in the How should this calendar sync step, choose between:
- Export events to calendar: Show your Fresha schedule alongside the rest of your day.
- Import events to calendar: Pull events from your calendar into Fresha as blocked time.
- Two-way sync with your calendar (Google calendar only): Send Fresha events out and bring external events in as blocked time.

-
Click on the Next Step button in the top right.
-
If your sync includes export, you’ll see the Export events to an external calendar step. Choose if you would like to sync blocked time as well as appointments, and select under Locations to sync which locations you'd like to include. Click on the Complete button in the top right.

-
If your sync includes import, you’ll see the Import events from calendar step. Choose:
-
Which calendar to import from (Google only): Select the calendar you would like to import into Fresha.
-
Calendar URL (Other calendar only): paste your calendar's ICS link here, Fresha checks the link and shows a tick once it connects successfully. For steps on how to find your ICS link, follow the guides here: Outlook calendar, Apple Calendar (iCal)
-
Where to place imported events: Imported events appear as blocked time at the location you choose.
-
What to import: Choose how much detail to import from the linked calendar. All details bring in the event title and description, while Time and duration only keeps those private, showing the event in Fresha as a generic blocked time.

-
-
Click on Complete in the top right to save.
- If you selected Other calendar, you'll then be prompted to paste your calendar URL to complete the sync. You can use this link to sync Fresha with Google Calendar, Apple Calendar (iCal), Outlook calendar.
Two-way sync is only available when linking a Google calendar. If you link with Other calendar, you can link it twice, once for export and once for import.
It may take up to 15 minutes for your calendar to sync. Once complete, the linked calendar's status changes to Synced, and your appointments, blocked time, or imported events appear as configured. You can repeat these steps to link additional calendars, each with its own direction and settings.
Link a team member's calendar
You can link a calendar directly from a team member's settings to keep their Fresha calendar and personal schedule in sync. It helps them see their full day in one place and avoid double bookings.
-
From the main menu on the left of your screen, go to Team.
-
Click on Team members, and then select the team member's name to open their profile.
-
Under Actions select Edit and then in the left menu panel select Settings.

-
Under Linked calendars, click on the option to Link a calendar.

-
In the Choose a calendar to link step, choose either Google calendar or Other Calendars and click on the Next step button in the top right.
- If you've selected Google calendar, follow the steps to select the email address you'd like to sync with. Click Continue to return back to Fresha.
- If you've selected Other, you'll add your calendar's link later, at the import step below.
-
Next, in the How should this calendar sync step, select between:
- Export events to calendar: Show your Fresha schedule alongside the rest of your day.
- Import events to calendar: Pull events from your calendar into Fresha as blocked time.
- Two-way sync with your calendar (Google calendar only): Send Fresha events out and bring external events in as blocked time.

-
Click on the Next Step button in the top right.
-
If your sync includes export, you’ll see the Export events to an external calendar step. Choose if you would like to sync blocked time as well as appointments, and select under Locations to sync which locations you'd like to include. Click on the Complete button in the top right.
-
If your sync includes import, you’ll see the Import events from calendar step. Choose:
-
Which calendar to import from (Google only): Select the calendar you would like to import into Fresha.
-
Calendar URL (Other calendar only): paste your calendar's ICS link here, Fresha checks the link and shows a tick once it connects successfully. For steps on how to find your ICS link, follow the guides here: Outlook calendar, Apple Calendar (iCal)
-
Where to place imported events: Imported events appear as blocked time at the location you choose.
-
What to import: Choose how much detail to import from the linked calendar. All details bring in the event title and description, while Time and duration only keeps those private, showing the event in Fresha as a generic blocked time.

-
-
Click on Complete in the top right to save.
- If you selected Other calendar, you'll then be prompted to paste your calendar URL to complete the sync. You can use this link to sync Fresha with Google Calendar, Apple Calendar (iCal), Outlook calendar.
If your team member has already linked one of their personal calendars, it will show who added the calendar in their settings.
Remove a linked calendar
-
From the toolbar on the top right of your screen, click on your Profile picture and select My profile from the panel.
-
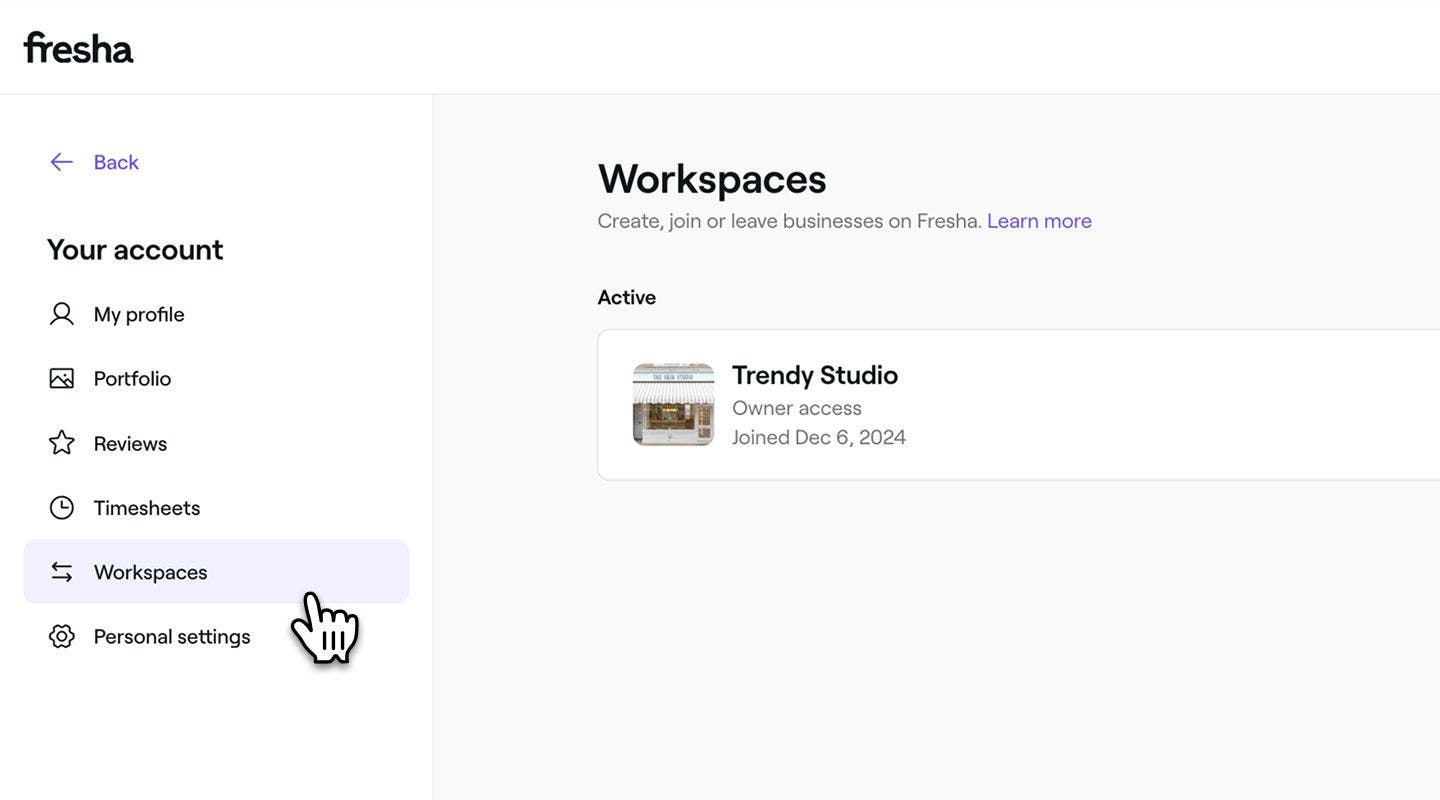
In the left menu panel, select Workspaces to view your workspace.
-
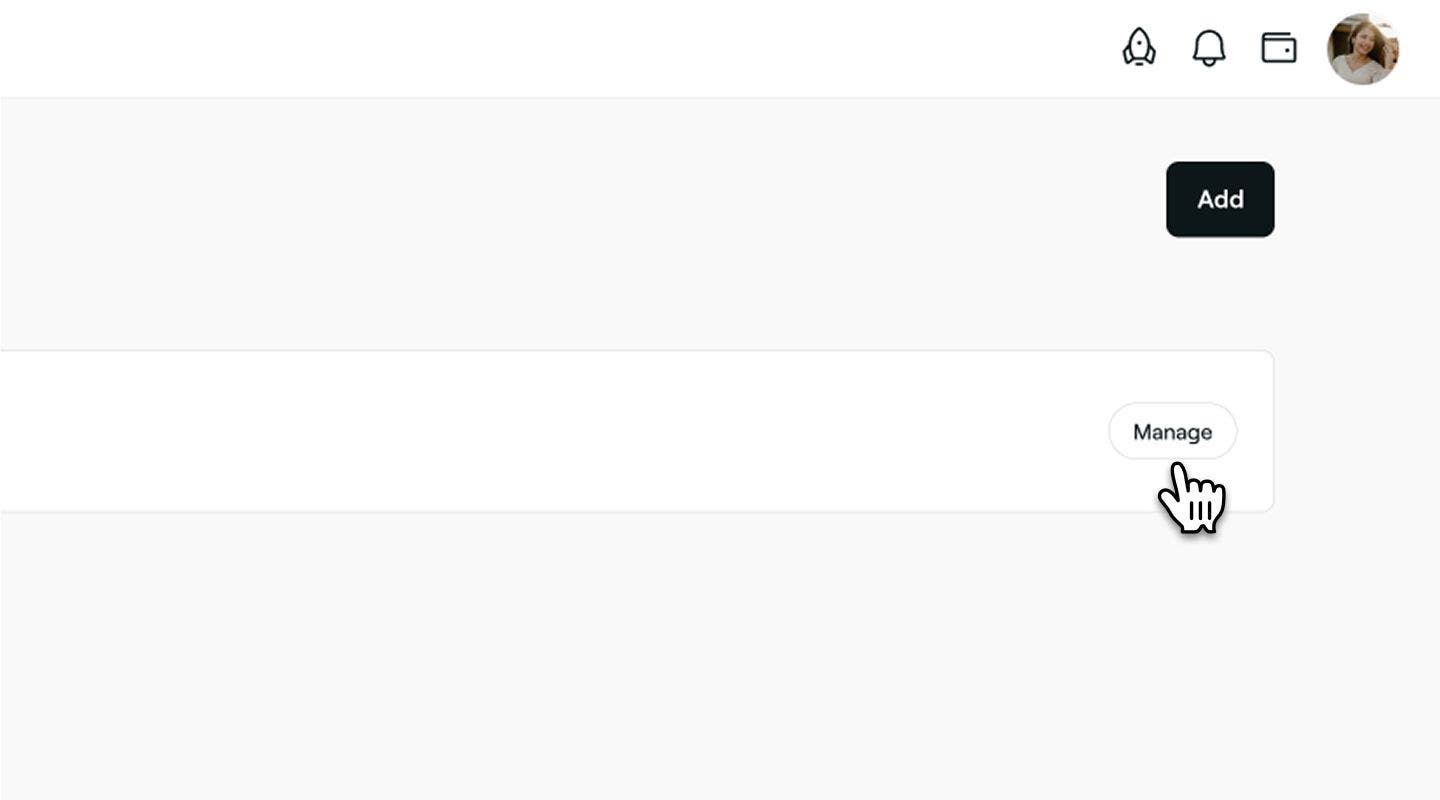
Next to your workspace, click on Manage to view your workspace settings.
-
Under Linked calendars, click on Actions (three dots) next to your synced calendar and select Remove from the panel.
-
If the calendar imports events into Fresha, tick or untick the Delete blocked time imported from this calendar checkbox in the pop-up. This is ticked by default, so imported blocked time is removed along with the calendar.

-
Click on the Remove button to confirm.
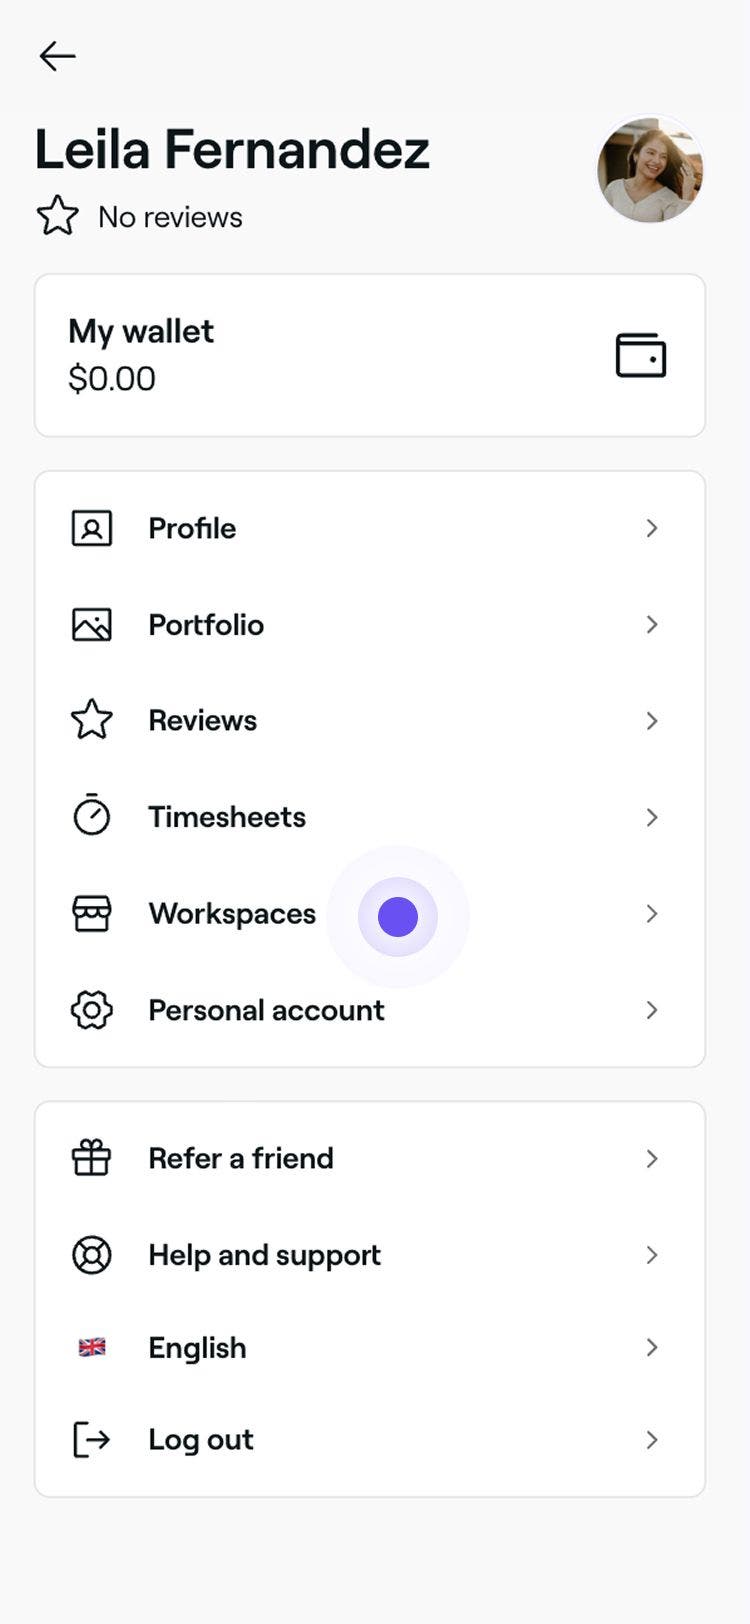
Once your calendar has been removed, Fresha appointments will no longer show in your personal calendar. If you keep any imported blocked time, it stays in your Fresha calendar as a standalone entry with no link back to the source. If the calendar was exporting to an Other calendar, its Subscribe URL stops updating.
FAQs
Yes, you can link more than one personal calendar with your Fresha calendar. All Fresha events will appear across the calendars you sync with.
Events from your personal calendar will show as blocked time in your Fresha calendar. You can choose whether they bring in full details or just the time and duration, depending on what you selected under What to import when linking the calendar.
Yes, team members can link their personal calendar with your Fresha calendar, as long as they have permission to book appointments enabled. You can also link a calendar on a team member's behalf directly from their team member profile.
Yes, you can sync your Google calendar with multiple Fresha calendars as long as each business has granted you access. Events from each Fresha calendar will appear in your Google calendar, allowing you to manage appointments across different locations in one place. For better clarity, consider assigning a unique color to each calendar in Google Calendar to easily distinguish between them.