Set up Fresha Payments
Learn how to sign up for Fresha Payments, including verification and account set-up so you’re ready to accept payments securely right away.
In this article
Sign up for Fresha Payments
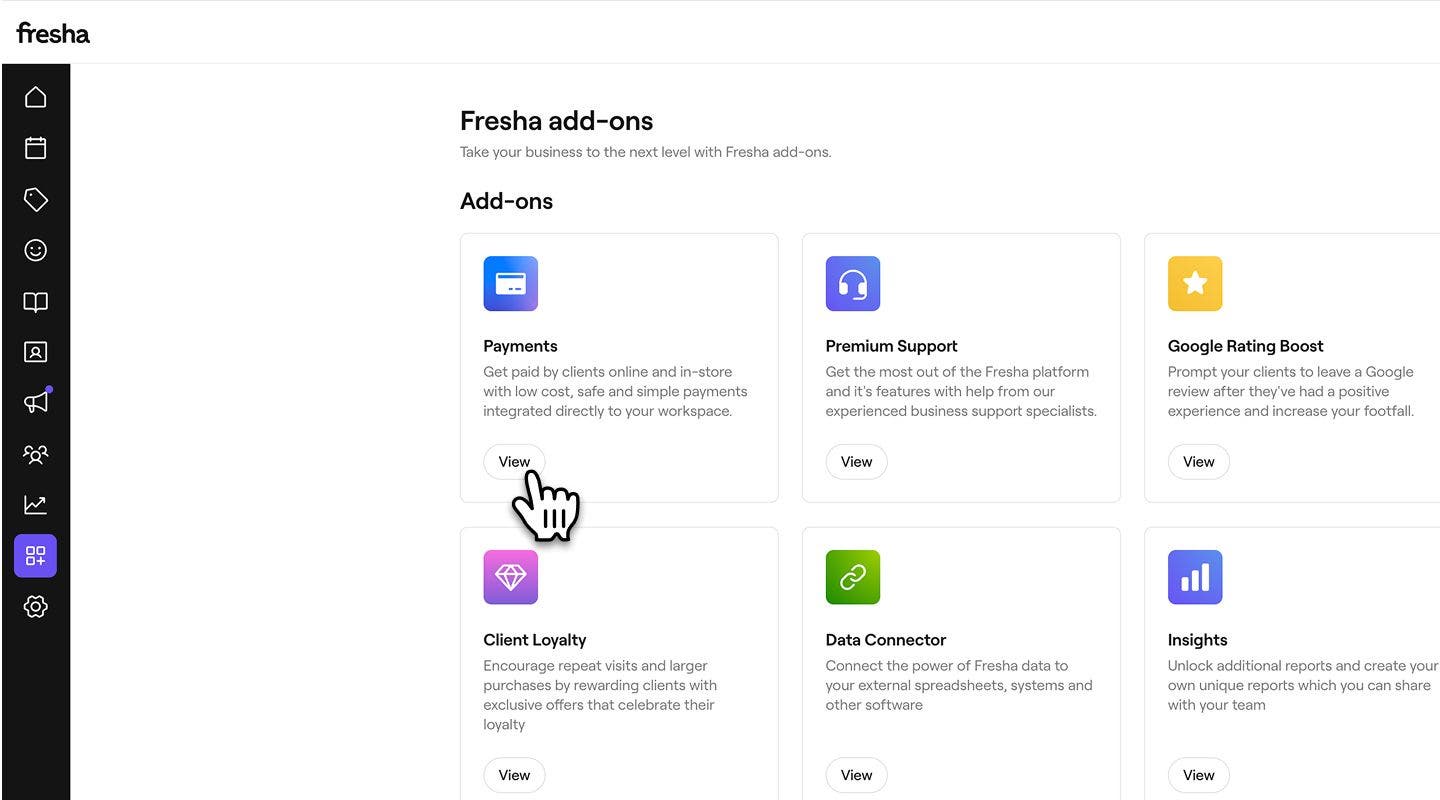
- From the main menu on the left of your screen, go to Add-ons.
- Select the View button under Payments to open the add-ons summary view.
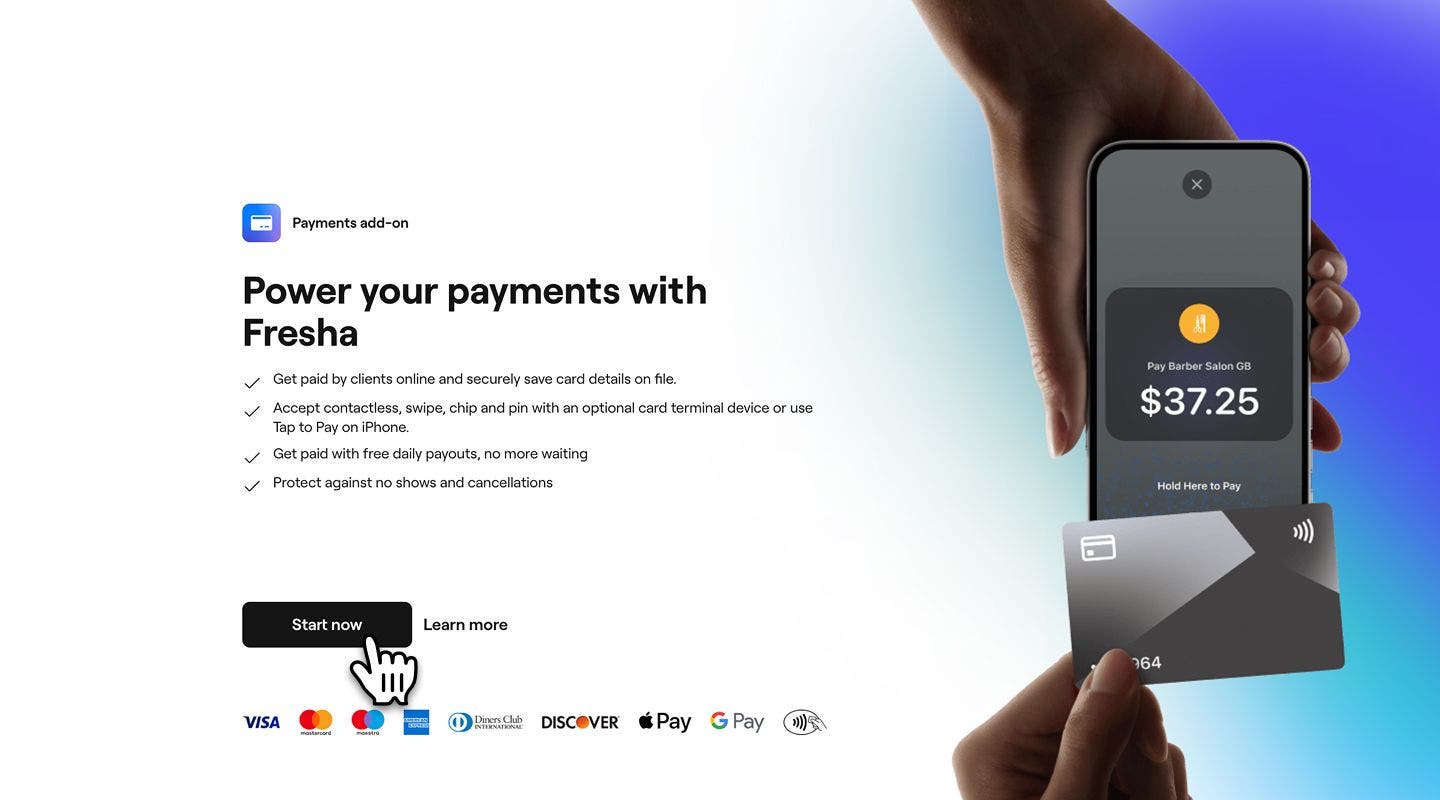
- Click on the Start now button to review payment rates and continue through the steps to get set up.
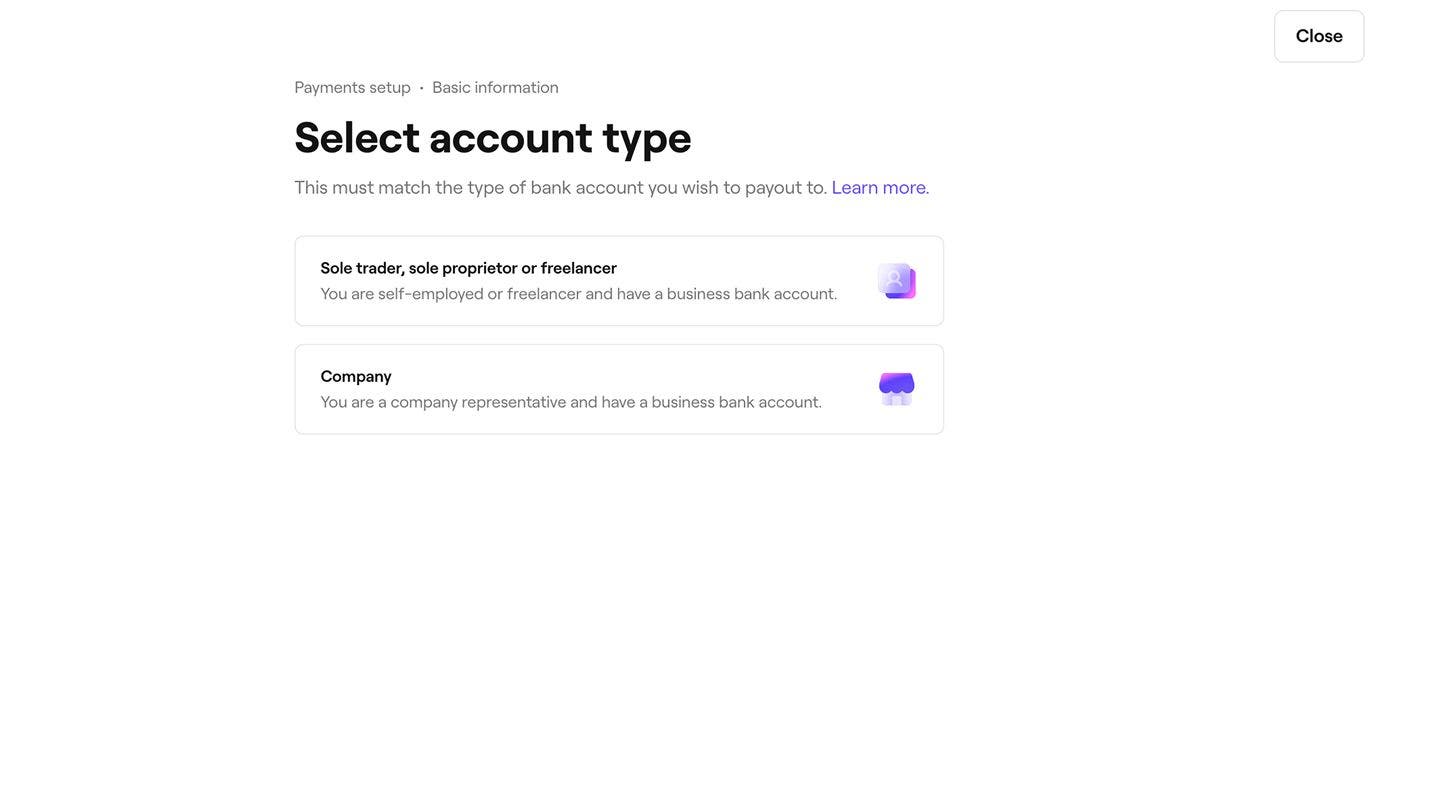
- Select one of the following account types that matches the type of bank account you want to payout to:
- Sole trader, sole proprietor, or freelancer: You’re self-employed or a freelancer with a business bank account.
- Company: You’re a company representative with a business bank account.
- Follow the steps on screen and provide the following:
- Your identity details and a valid proof of identity, such as a passport.
- Bank account details for the account where you want funds released.
- Once submitted, click on the Done button in the top right.


You can begin accepting payments through Fresha right away while your details are being verified. If any additional information is required, you’ll receive a notification both in your account and by email.
When setting up Fresha Payments, you can easily save your progress at any stage. Select Close in the top right, then choose Save and Exit in the pop-up. You can return at any time to pick up right where you left off.
Disable Fresha Payments
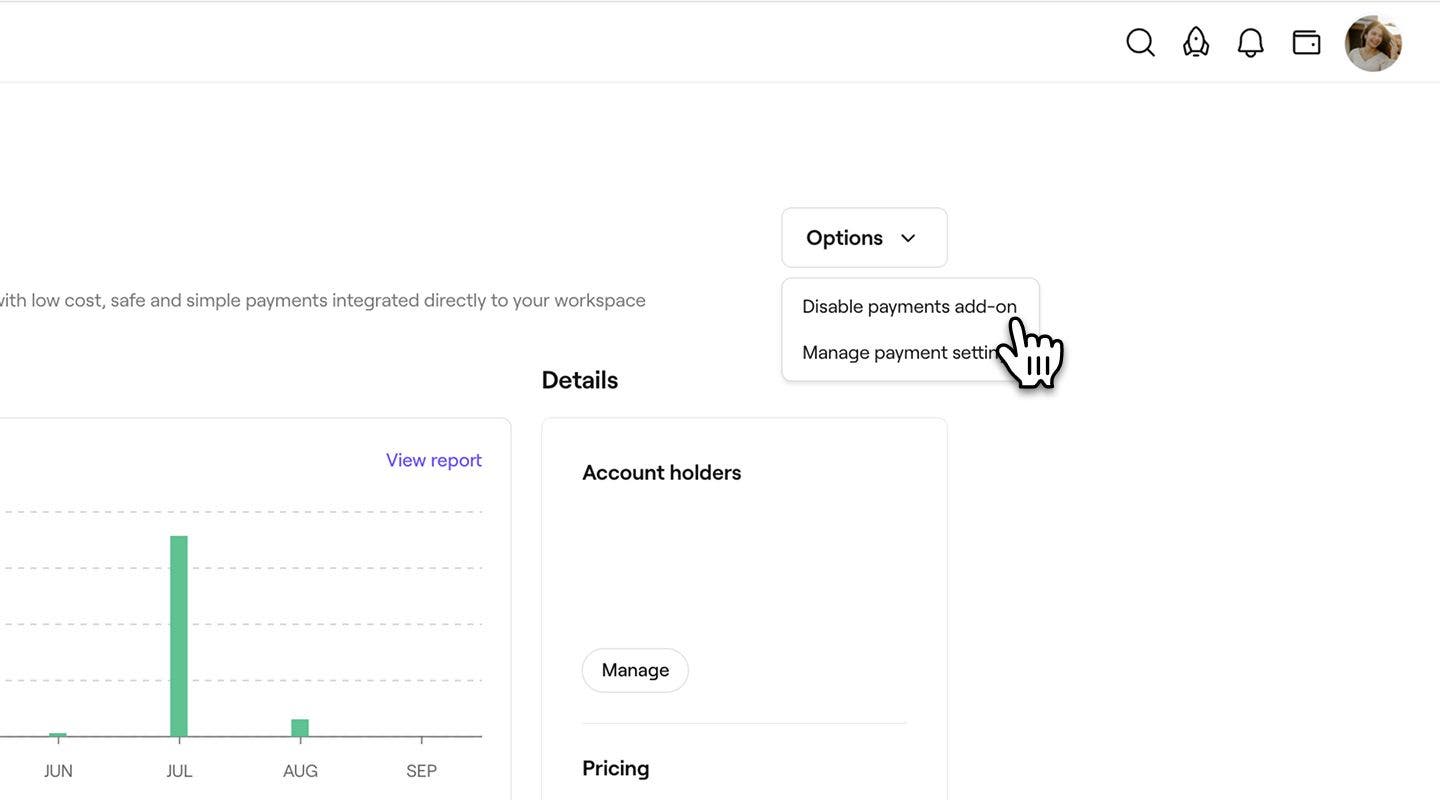
- Open Payments from Add-ons.
- Click on the Options button in the top right and select Disable payments add-on.
- Review the conditions of disabling Fresha payment.
- Click on the Disable now button to confirm.
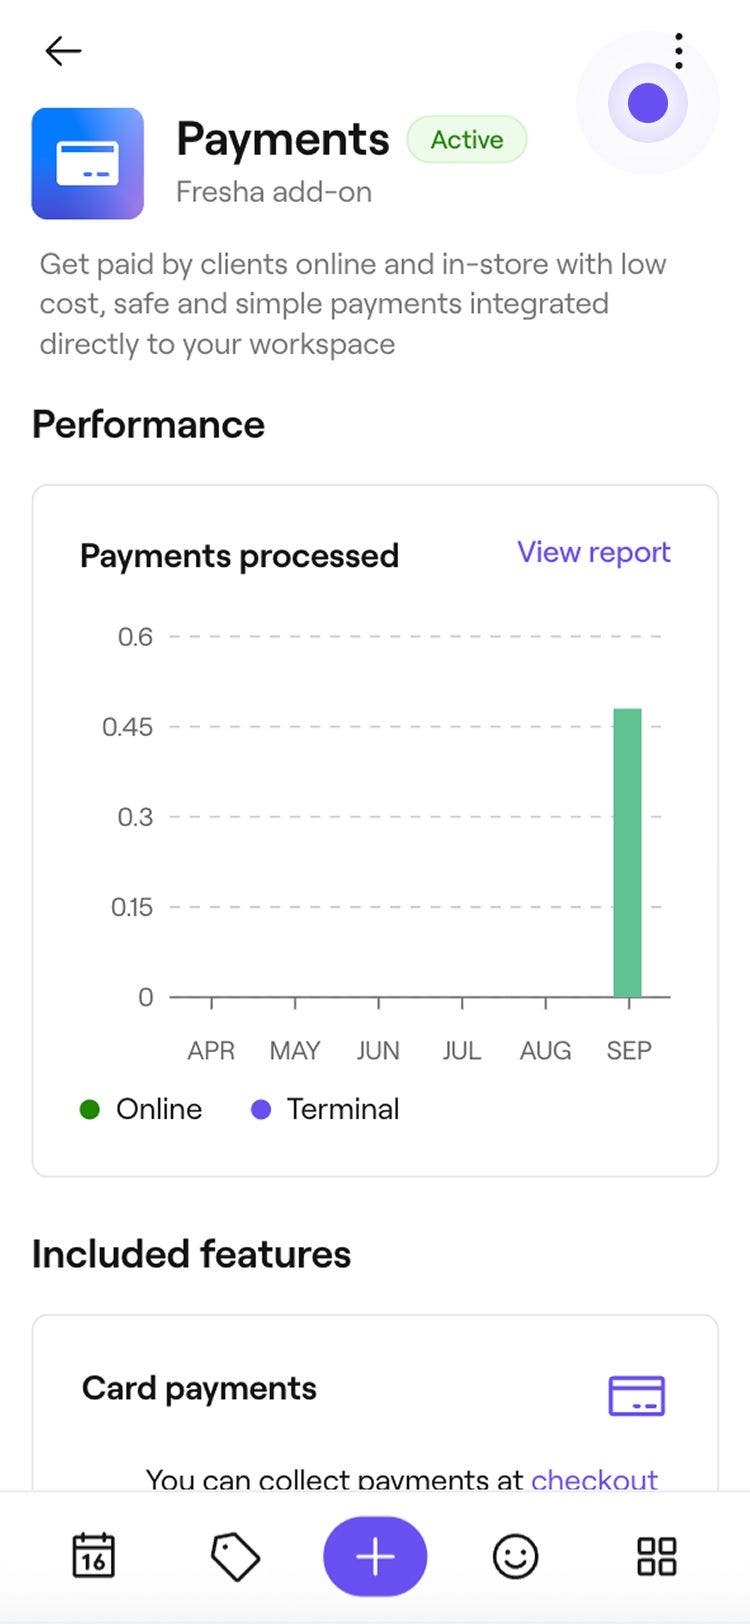
Once Fresha Payments is disabled, you won’t be able to accept online or in-store payments. To re-enable payments, open the add-on and select the Enable now button.
FAQs
The verification process for Fresha Payments usually takes up to two business days. You’ll receive an email confirmation once it’s complete. If it takes longer, contact our support team can who can help resolve delays.
It is safe to upload documents for account verification when setting up Fresha Payments through your account, as all uploads follow international financial regulations and Anti-Money Laundering (AML) laws.
With Fresha Payments, funds are paid out to your bank account automatically according to the payout schedule set in your account. You can change how often payouts are made by setting up automatic payouts.
You can check if your bank account is verified by opening your Wallet and selecting Bank accounts. A verified bank account will show a Verified label, while an unverified account will display a label that the verification failed and prompt you to update your details. Once verification is complete, you can accept payments and receive payouts.