Create email blast campaigns
In this guide, learn how to create and send email blast campaigns that target specific audiences to promote your business, share updates, or win back clients.
In this article
How email blast campaigns work
Email blast campaigns let you send a one-time message to a selected group of clients using customizable templates. You can segment your audience, like targeting loyal or lapsed clients, to reach the right people and boost engagement.
Once your campaign is created, it’s reviewed to meet Fresha’s guidelines. After approval, it’s sent automatically, and you can track performance directly in your account.
Image guidelines for email blast campaigns
High-quality images are essential for capturing clients’ attention in email blast campaigns. Clear, professional visuals help your promotions stand out in busy inboxes and encourage clients to engage with your email blast campaign. Here are some general recommendations:
- Resolution:
Images in email blast campaigns are typically displayed at around 600px wide. For crisp, high-quality visuals on retina screens, we recommend uploading images at 2x or 3x the display size:- 1200px wide for standard-quality images.
- 2000px wide for extra sharpness.
- File formats:
We recommend using the following file formats for your images:- JPG: Recommended for photographs.
- PNG: Recommended for graphics, icons, and images that have any transparency.
- Size:
Images should be between 0.5 MB and 5 MB for optimal performance, with a maximum upload size of 25 MB.
Create an email blast campaign
- From the main menu on the left of your screen, go to Marketing.
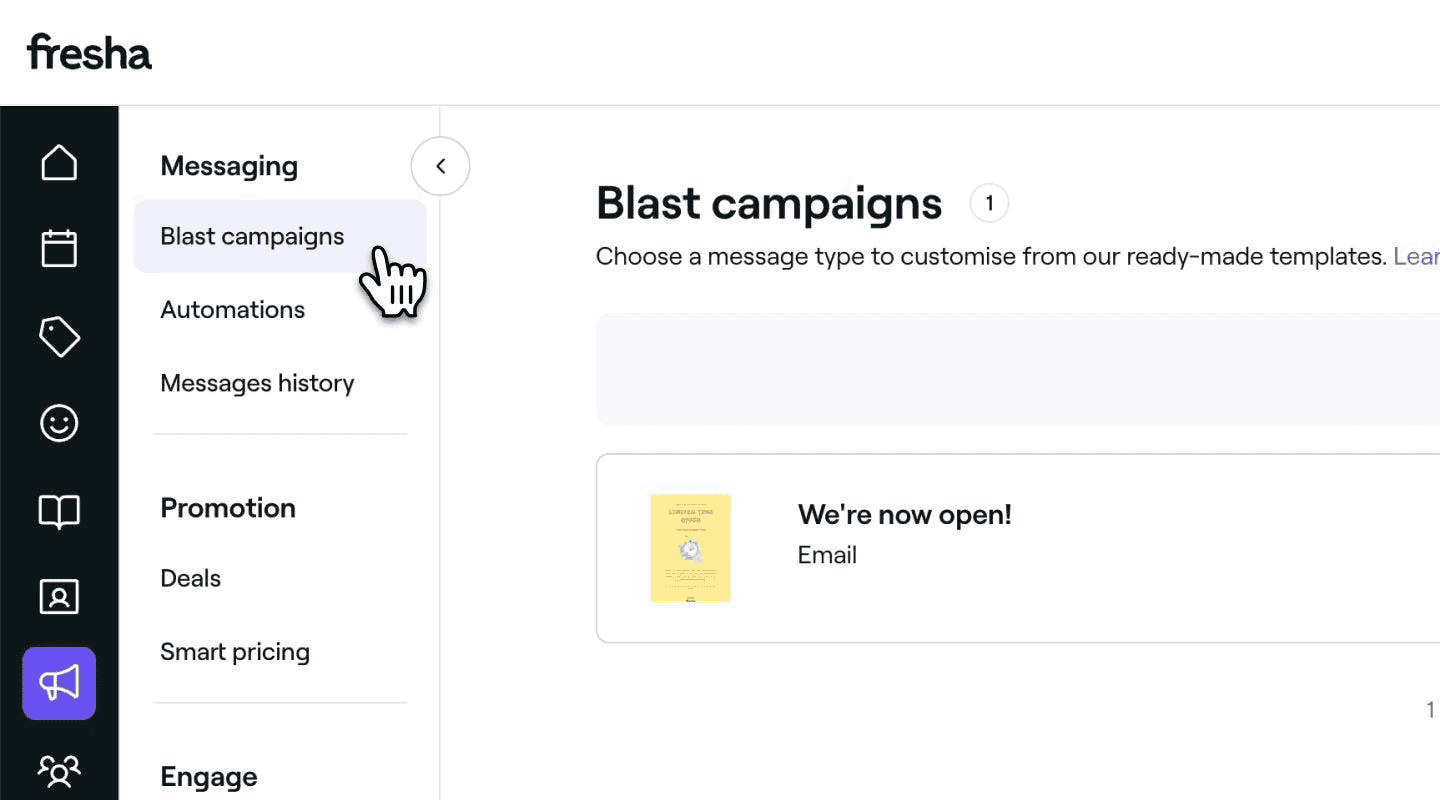
- Select Blast campaigns from the left menu panel.

- Click on the Add button in the top right and choose Email from channel options.

- In the next step, choose your template by selecting an existing template or choose to Start from scratch and click Continue.

- In the next step, customize your message using the email builder to edit the text, images, theme, and call-to-action buttons.

- If you have selected a promotional campaign, you will need to assign a deal, or create a new one. The deal must be a promotion type, and have a discount code associated for clients to use.
- You can preview your design on desktop and mobile by clicking on each tab at the top of the page.
- Click on Enhance in a title or paragraph field to refine your existing content, or select Generate with AI to create new AI-powered text in an empty title or paragraph field when using a template.
- Click “@” to insert client-specific details to the text, such as:
- Client details: Each client’s first name, last name, or full name.
- Loyalty details: Each client’s current points balance, loyalty tier, referral code, or referral link.

- To proceed to the next step, click on Continue in the top right.
- In the next step, from the left panel, under Campaign details, enter a campaign name. This is for internal labeling, and will not be visible to clients.

- Under Email details, customize how the email will appear in your client’s inbox, including the Subject line and Preview text.
- Click “@” to insert client-specific details into the Subject or Preview text.

- Click on Enhance in the Subject or Preview text fields to refine your content.

- You can update the sender name and reply-to email address for your campaign.
- To send a test email, click on the Options button in the top right and select Send test email from the panel. Enter your email address in the pop-up and click on the Send button to preview the campaign.

- Click on Continue in the top right to proceed with your blast campaign.
- In the next step, select which clients should receive your email, choosing between:
1. Client group: Choose between specific Client groups where you can click on Edit to apply filters based on appointment history, services, or visit frequency.

2. All clients: Choose all clients, or click Edit under Total clients to review the final mailing list.

- In the next step, you can decide when to send the email blast campaign:
1. Now: Send immediately
2. Scheduled: Select a future date and time to send your campaign

- Review the campaign cost in the right panel, and click Continue in the top right to proceed.
- In the last step, review your selected payment method and click Send now or Schedule to launch or schedule your campaign.


Before your blast campaign is sent out to clients, it will undergo a brief review period where we'll ensure it meets our guidelines and policies. Once approved, your campaign will be sent immediately or at the scheduled time depending on your setup.
Manage a scheduled email blast campaign
If you cancel a scheduled email blast campaign, it will show in your list of blast campaigns as a draft and the fees will be refunded to your wallet.
FAQs
- Include your business name so clients recognize who the message is from.
- Be clear with your message’s goal to avoid confusion.
- Avoid certain words like ‘discount.’ Use alternatives like ‘offer’ instead.
- Limit links to only what’s necessary.
- Don’t include phone numbers in the body of your text.
- Do not promote cannabis or CBD products via text, as their marketing and sale remain illegal under federal law, despite some states allowing it.
To deactivate a deal, go to Deals from the main menu on the left of your screen, click the Actions (three dots) next to the deal, and select Deactivate. This will prevent clients from using the offer.
No, once a blast campaign has been sent, it cannot be deleted. However, you can delete a draft by clicking Actions (three dots) next to the draft and selecting Delete message.
The cost of your blast campaign depends on the number of emails and text messages sent, with text message costs varying by message length.
Due to recent changes in A2P 10DLC regulations in the US, mobile carriers may filter out your email message blast campaigns to prevent unwanted messages, fraud, or abuse. Here’s what you can do to improve the chances of your email campaigns being delivered:
When setting up a blast campaign, you can target specific client groups, including lapsed clients. For lapsed clients, you can define how long it's been since their last visit, up to a maximum of 12 months, to help focus your promotions on those most likely to return.
Reviews are usually completed within 12 hours. If your blast is scheduled to send during that window and the review is still in progress, it will go out as soon as the review is complete.
To reschedule a scheduled email blast campaign, first cancel the scheduled blast. It will automatically return to your list of blast campaigns as a draft. From there, click Actions (three dots) next to the draft and select Edit, update the date and time, then schedule it again.
You can undo an AI text change once to return to the previous version of the text. Each time you use Enhance or Generate with AI, only the most recent change can be undone.