Send appointment reminders
In this guide, you'll learn how to set up and manage automatic text, WhatsApp and email notifications that remind clients about their upcoming appointments.
In this article
How appointment reminders work
Appointment reminders are automatic messages sent to clients before their appointments to remind them. Two are set up by default, and you can create an additional reminder.
Edit appointment reminders
-
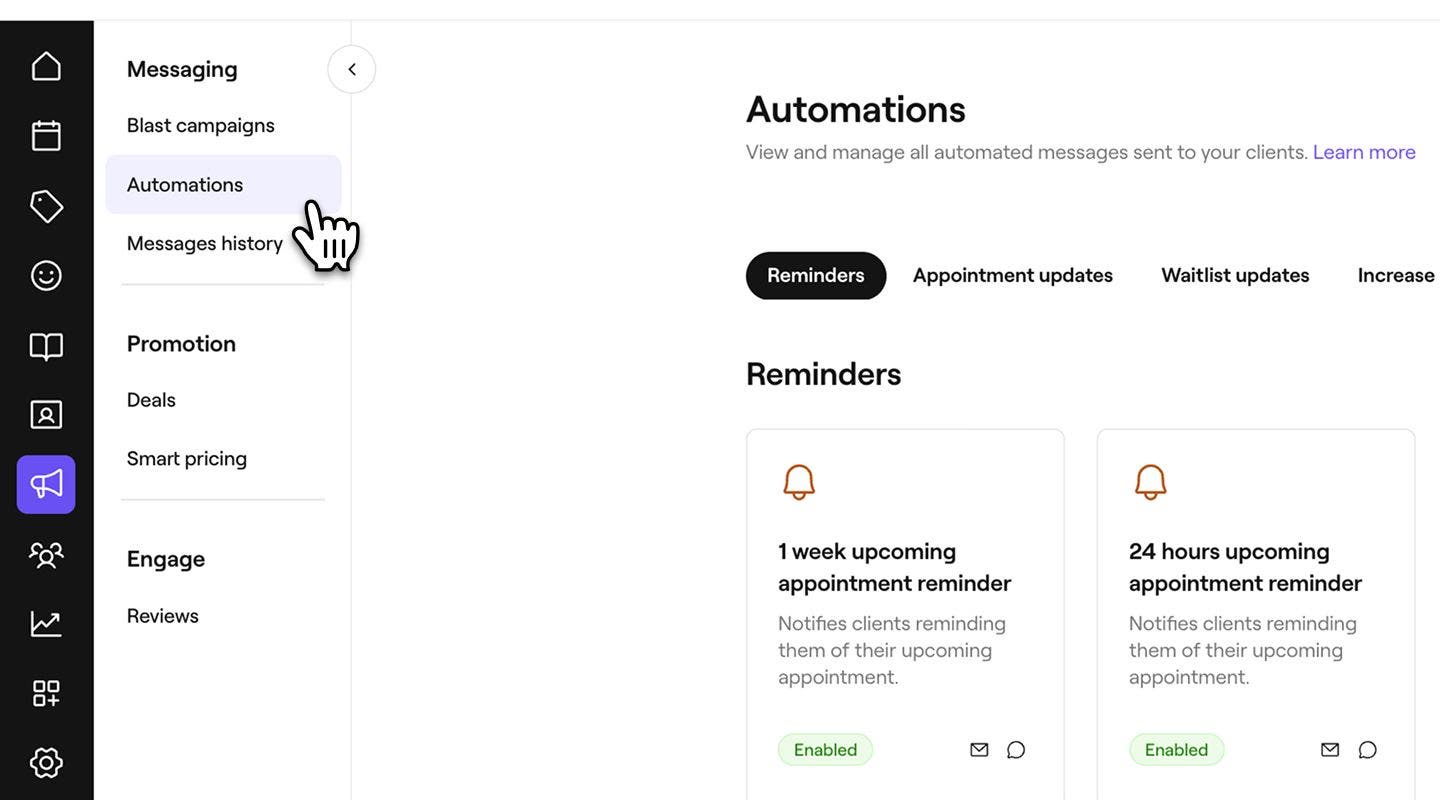
From the main menu on the left of your screen, go to Marketing.
-
In the left menu panel, select Automations to view and manage appointment reminders.
-
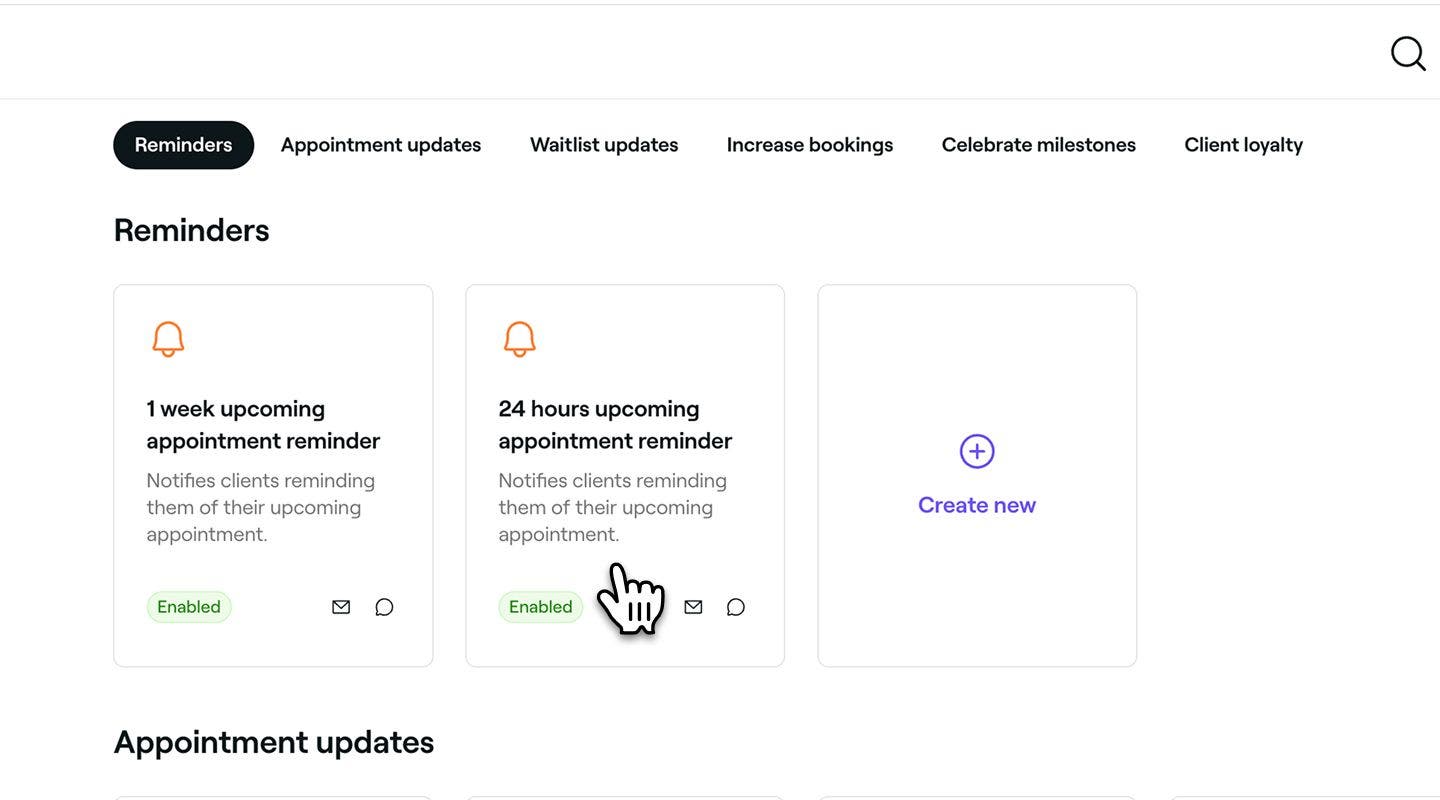
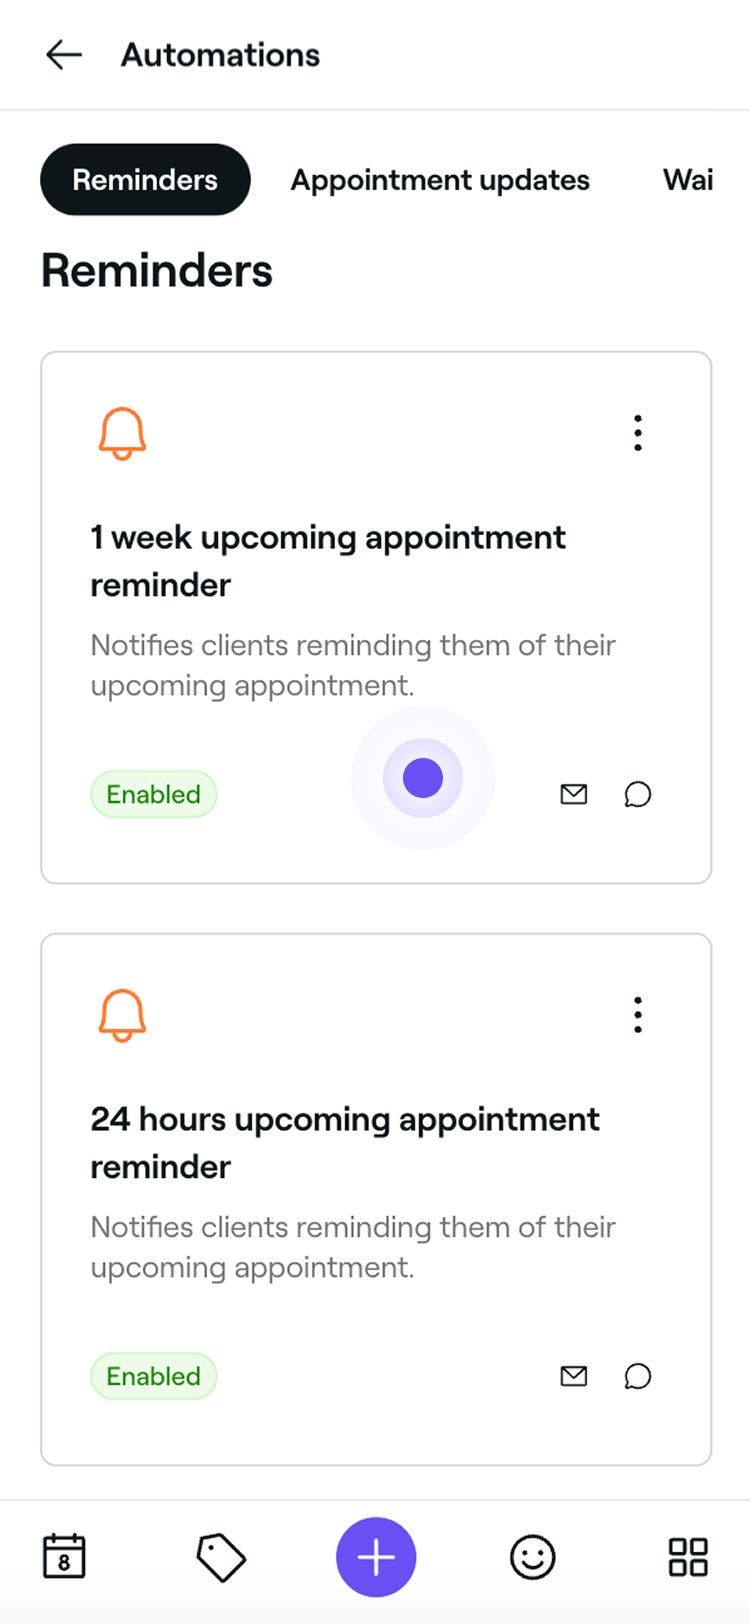
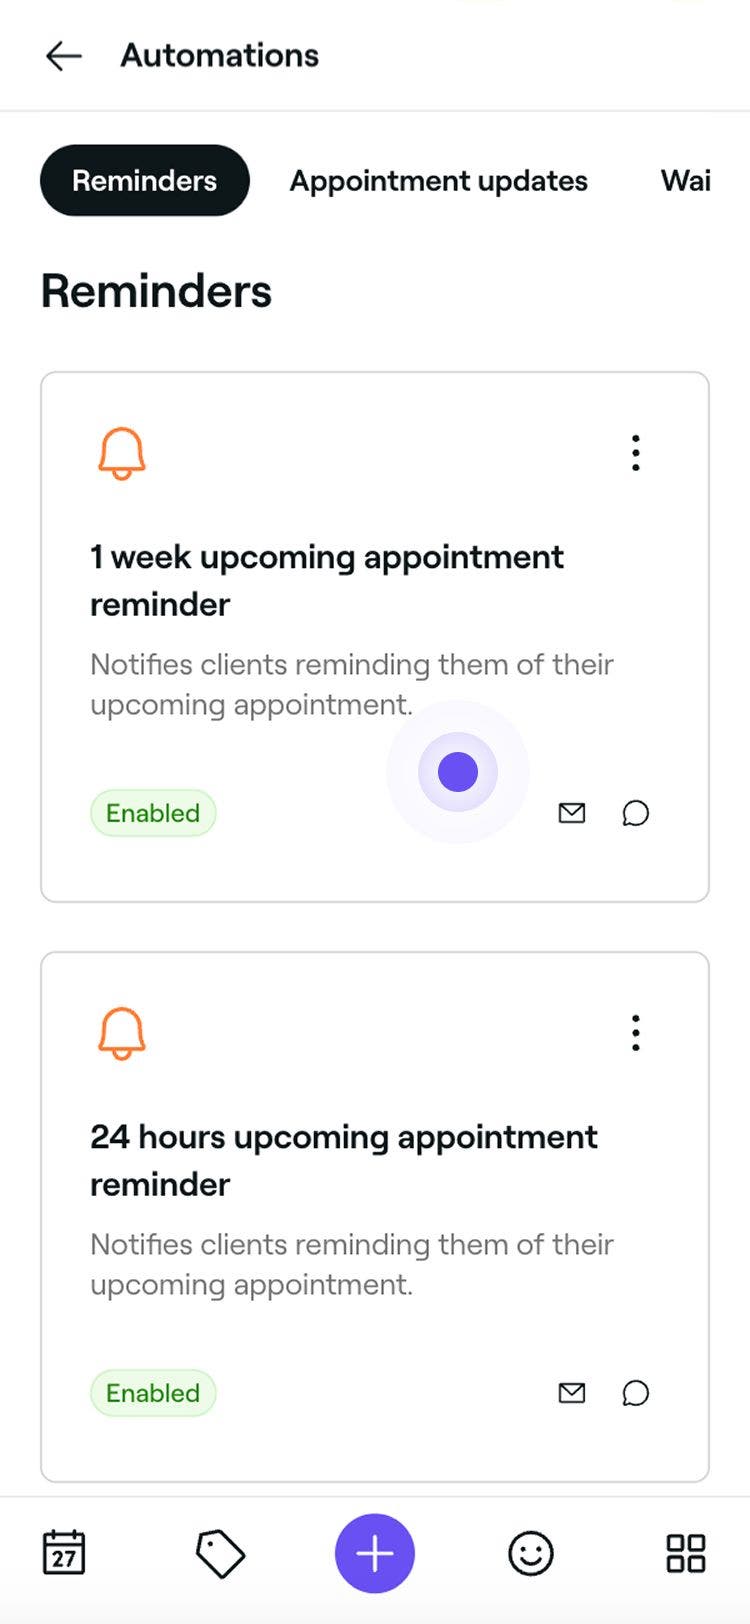
Click on a reminder automation to open its overview.
-
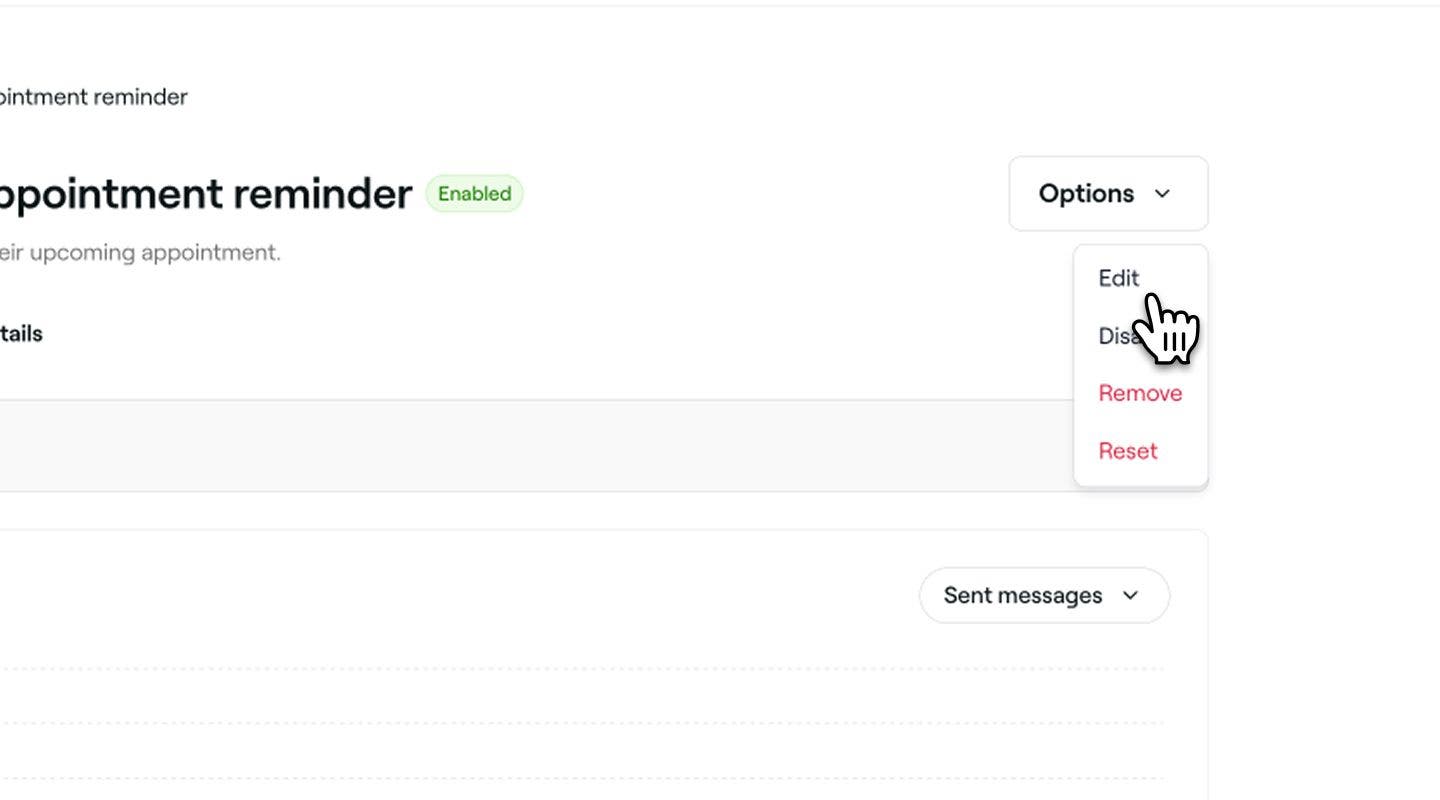
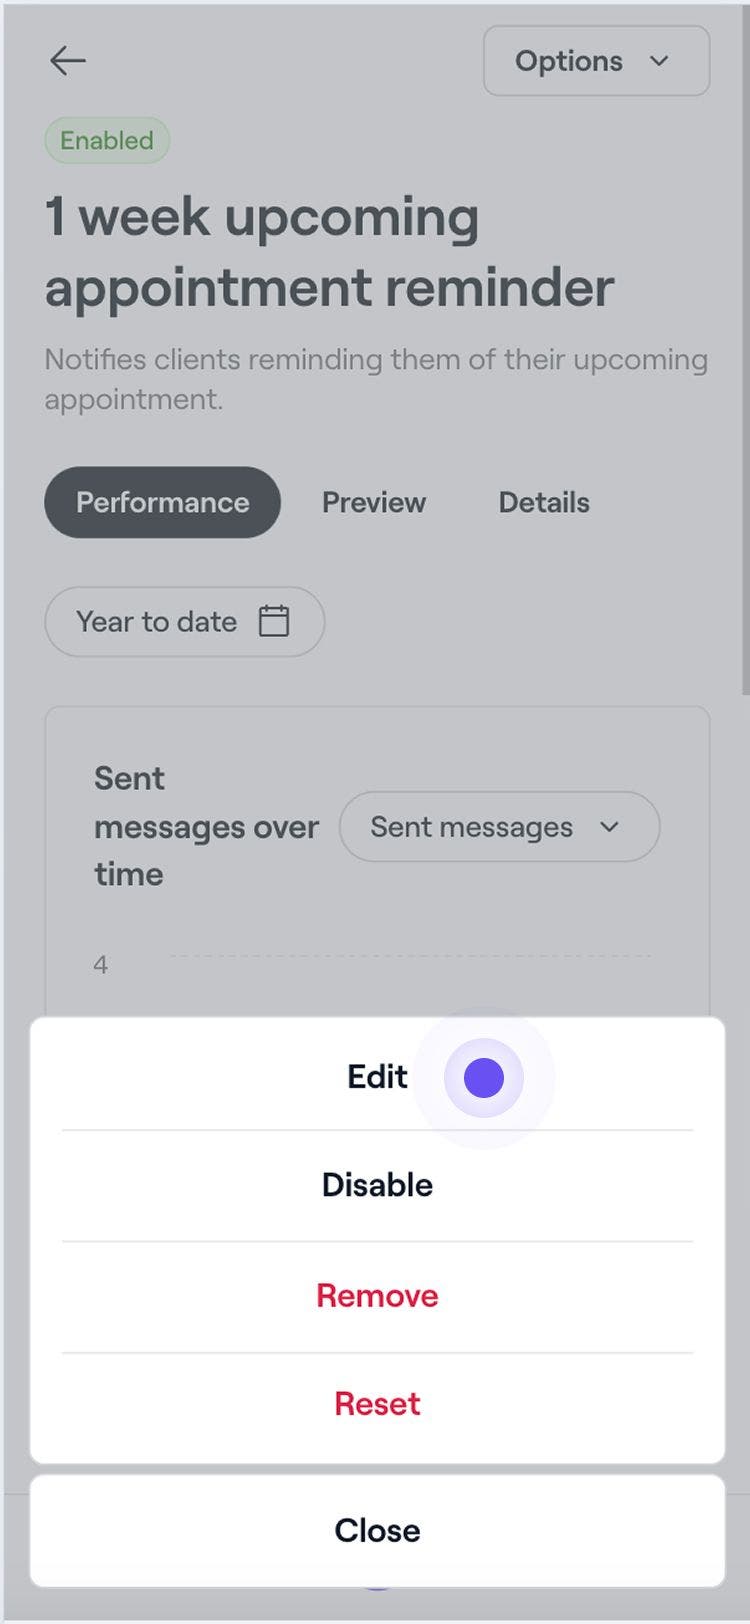
In the reminder automation overview, click on the Options button in the top right and select Edit from the panel.
-
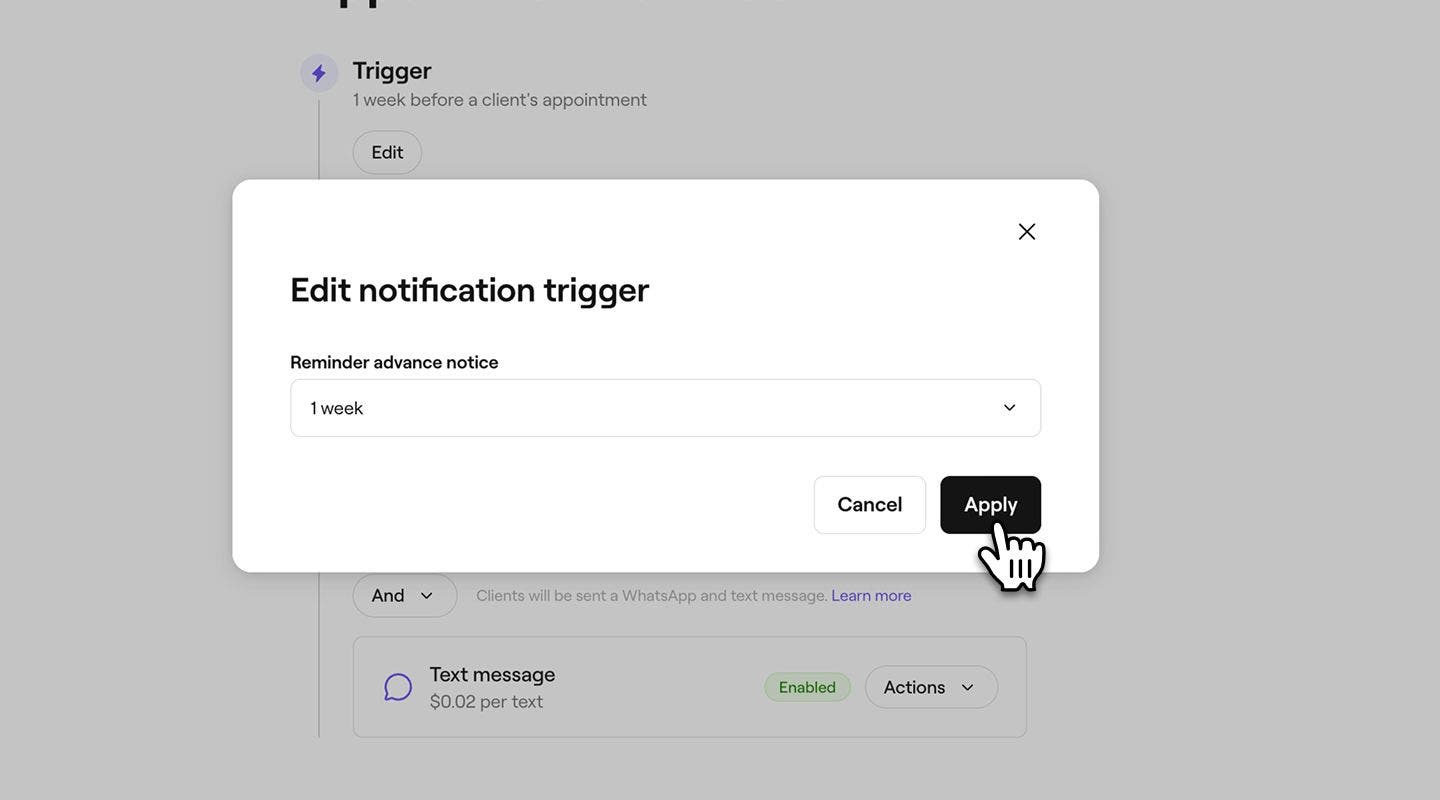
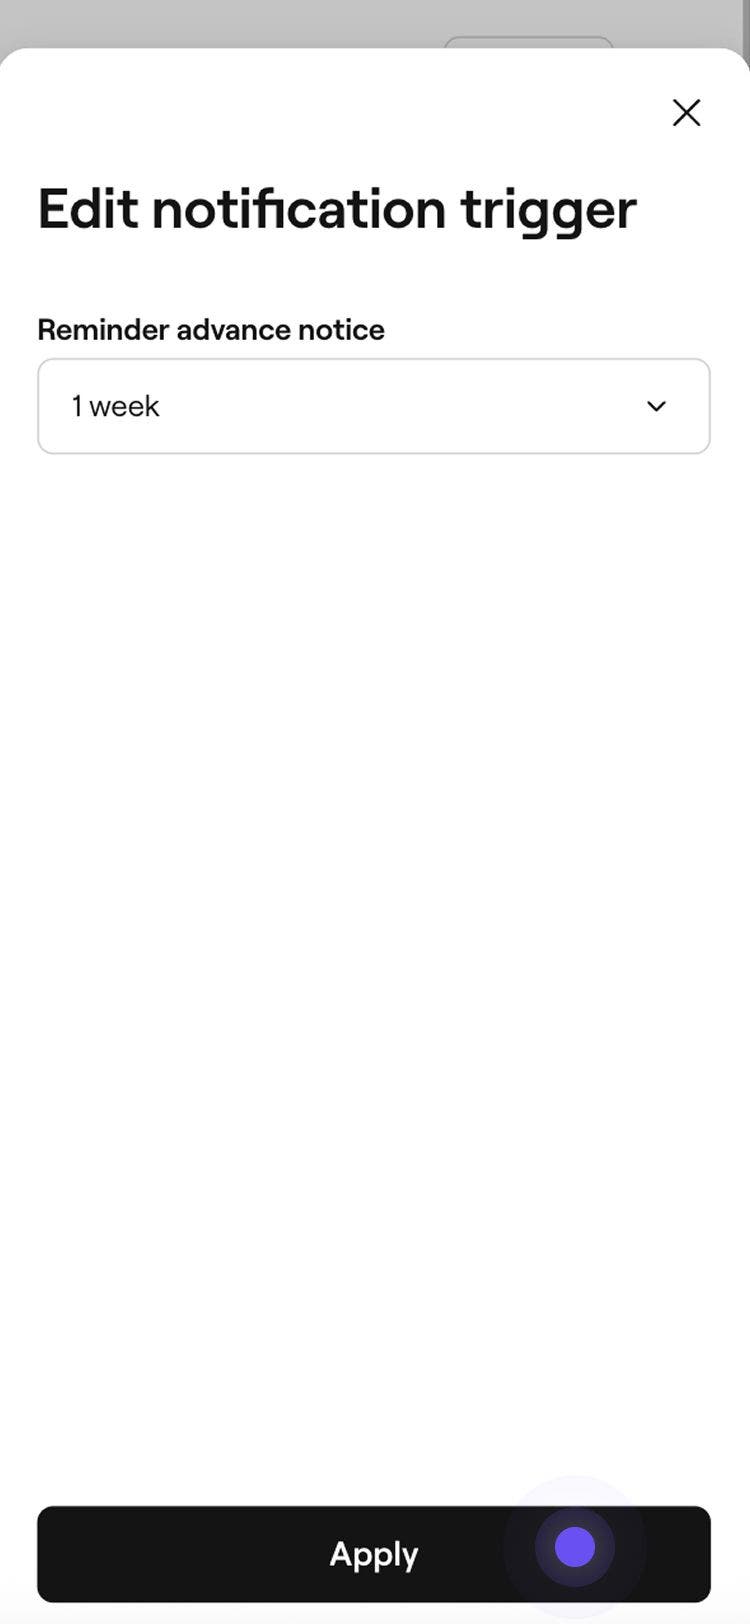
Under Trigger, click on the Edit button and set how far in advance the reminder should be sent in the pop-up, then select Apply.
-
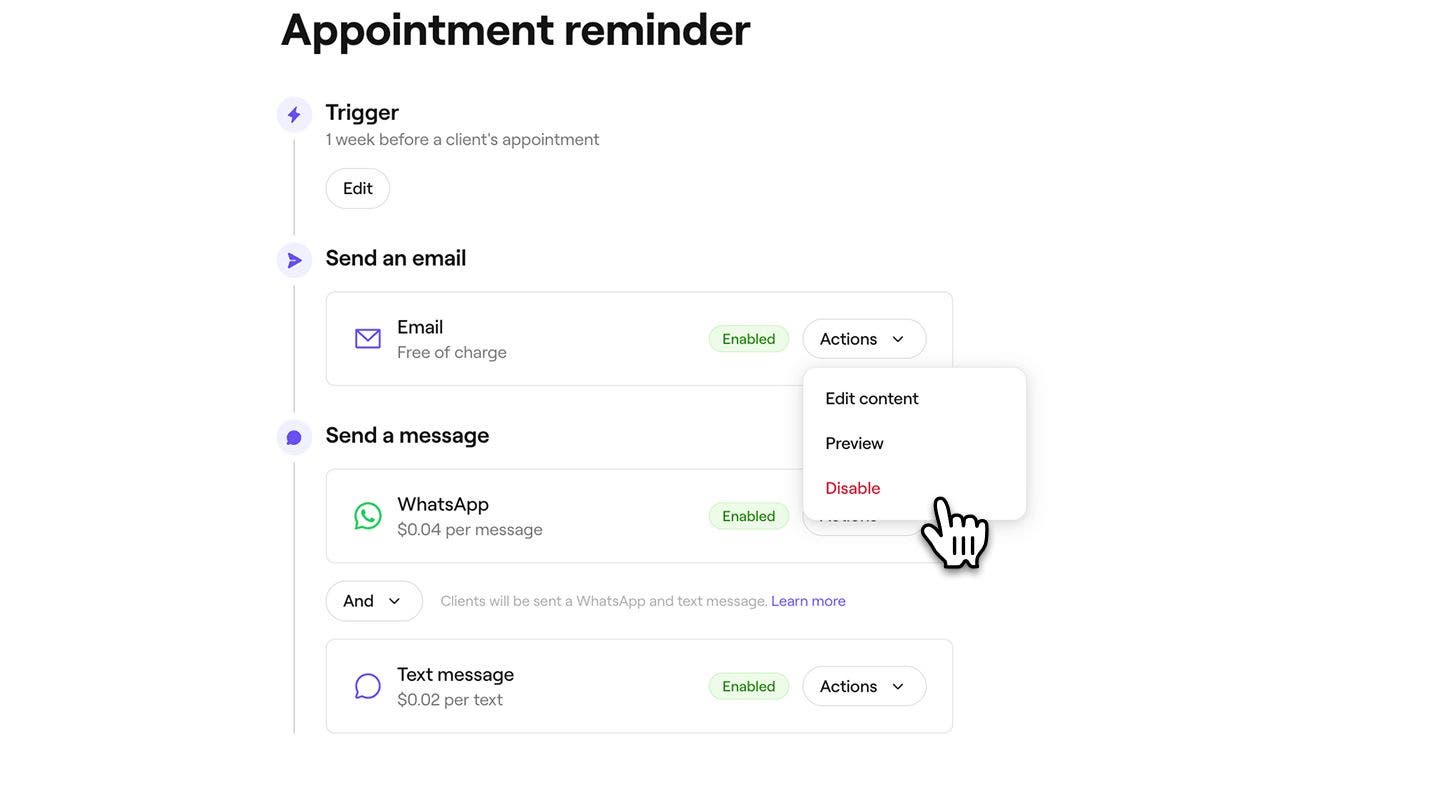
Under Send an email, click the Actions button to manage your email reminder settings:
- Edit content: Select Edit content to add important information to your reminder. You can tick the checkbox to Display the service price, and add any extra details in the Important info field. Click Save in the top-right to apply your changes.
- Preview: See what automated email messages your clients will receive by sending yourself a test email.
- Disable: Select Disable if you don’t want this reminder to be sent via email.
-
Under Send a message, choose to send the reminder via WhatsApp, text message, or both.
- To manage each channel, click on the Actions button next to WhatsApp or text message to Preview the message or Disable that channel.
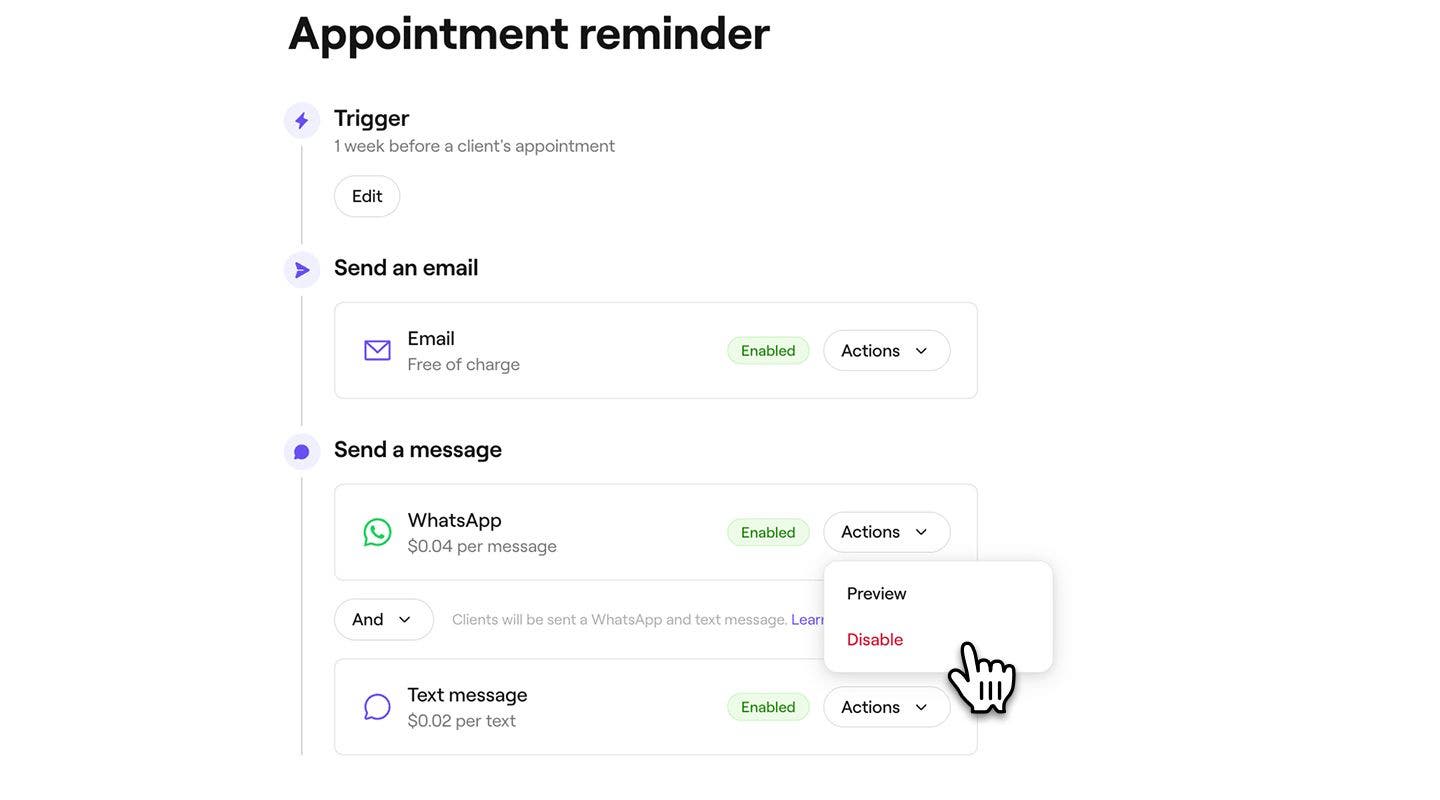
- To manage each channel, click on the Actions button next to WhatsApp or text message to Preview the message or Disable that channel.
-
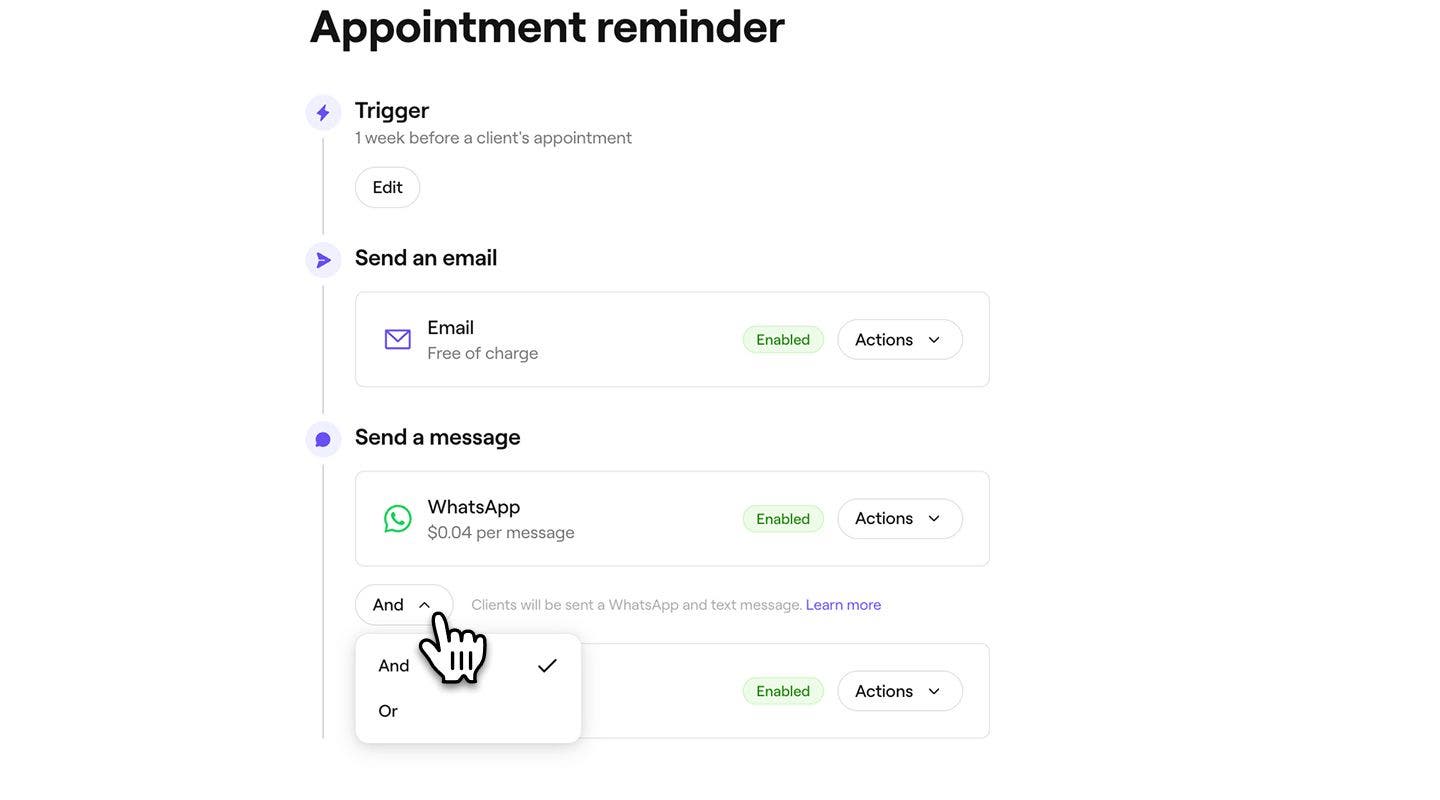
Use the And/Or toggle between WhatsApp and text to control how the message is sent:
- And: The reminder will be sent via both WhatsApp and text message, ensuring the client receives it through both channels.
- Or: The reminder will first try to send via WhatsApp. If the client doesn’t have WhatsApp or the message cannot be delivered, it will automatically be sent as a text message. You’ll only be charged for the message that’s successfully sent. If the WhatsApp message fails and a text message is sent instead, you’ll only be charged for the text message.
-
Click on the Save button in the top right to create the appointment reminder.
The appointment reminder will be automatically sent to clients based on your chosen timing and notification preferences. You can update a reminder at any time, using the same steps by clicking on it to open the editing view.
You also have the option to create a new appointment reminder by selecting Create New from your list of appointment reminders.
Manage appointment reminders
-
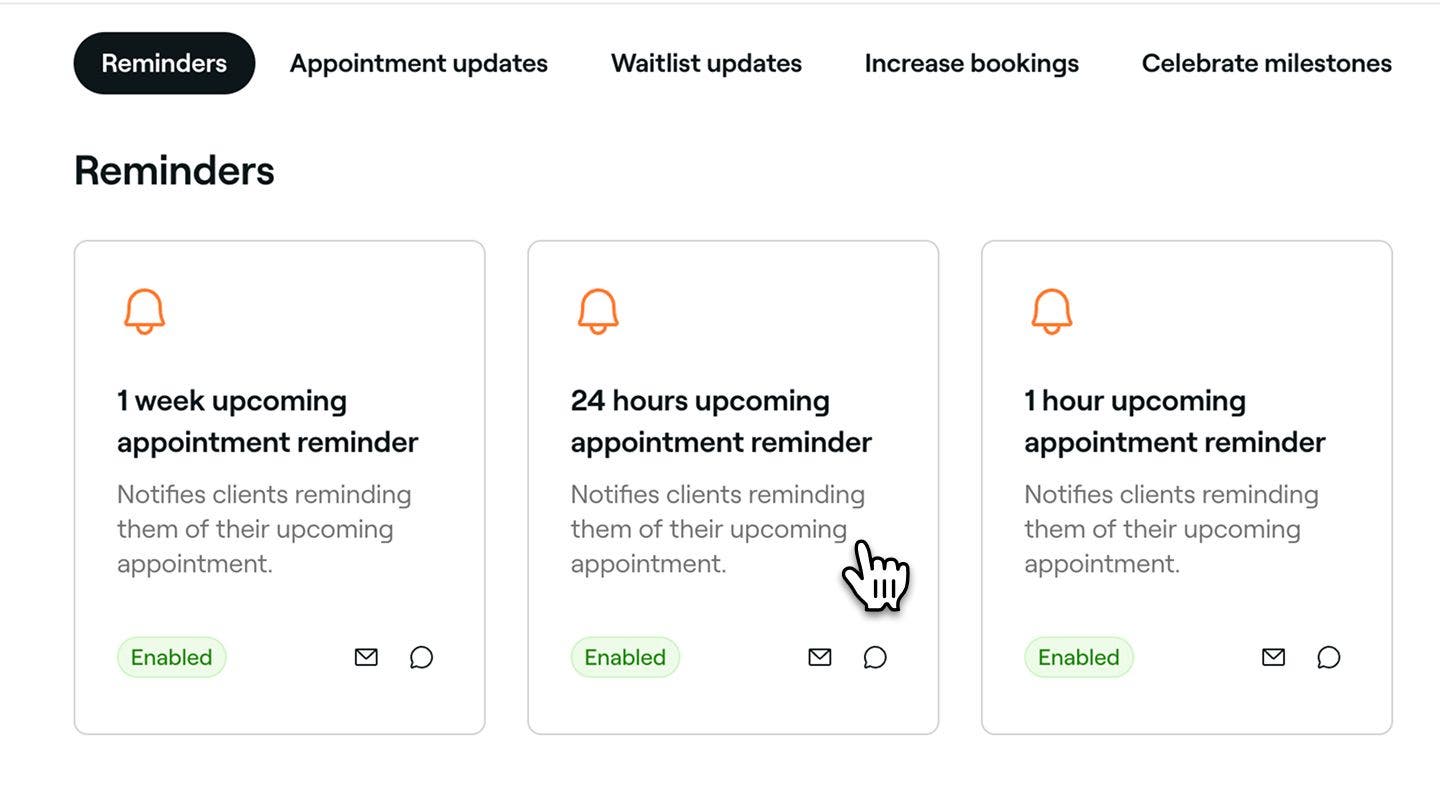
Open an existing reminder from your Automations.
-
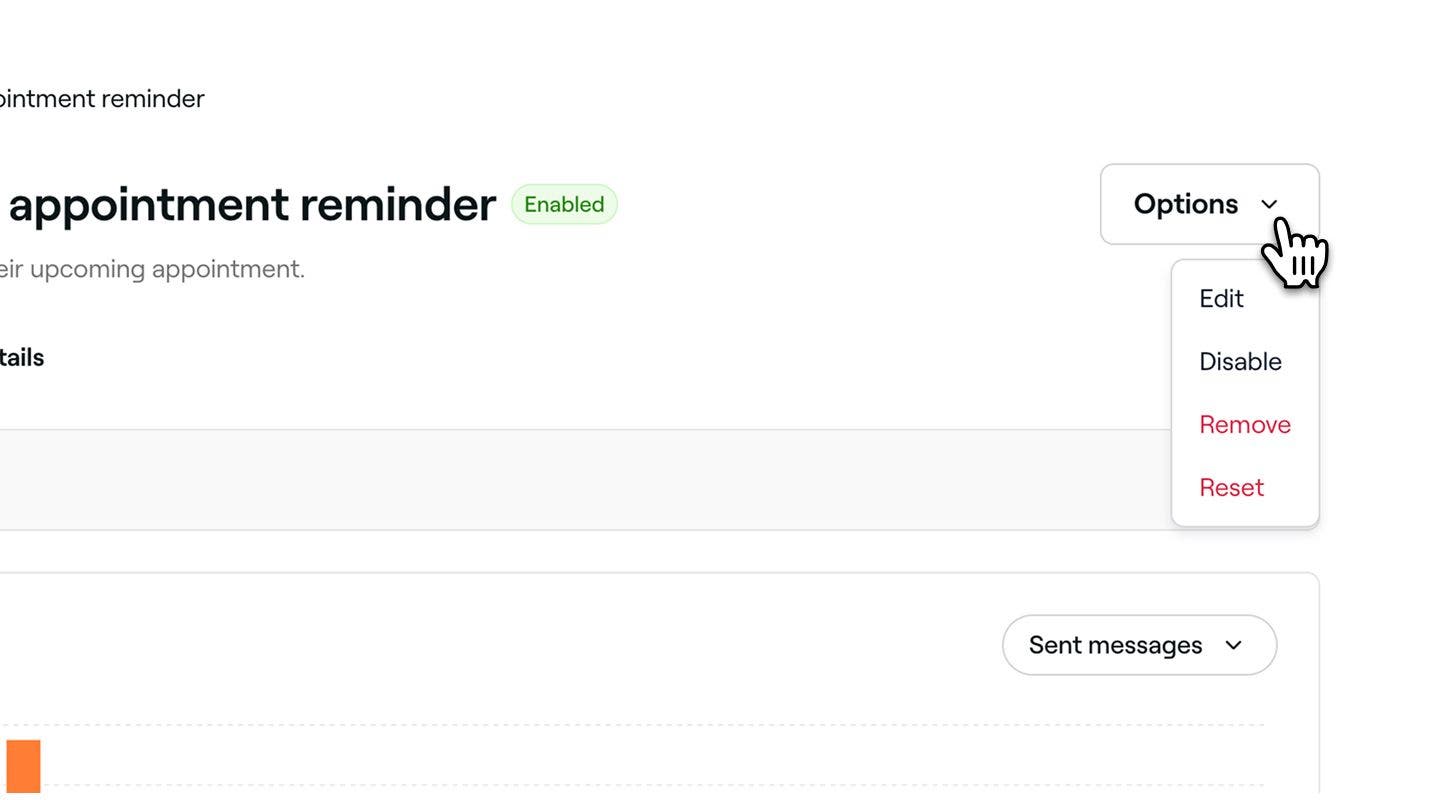
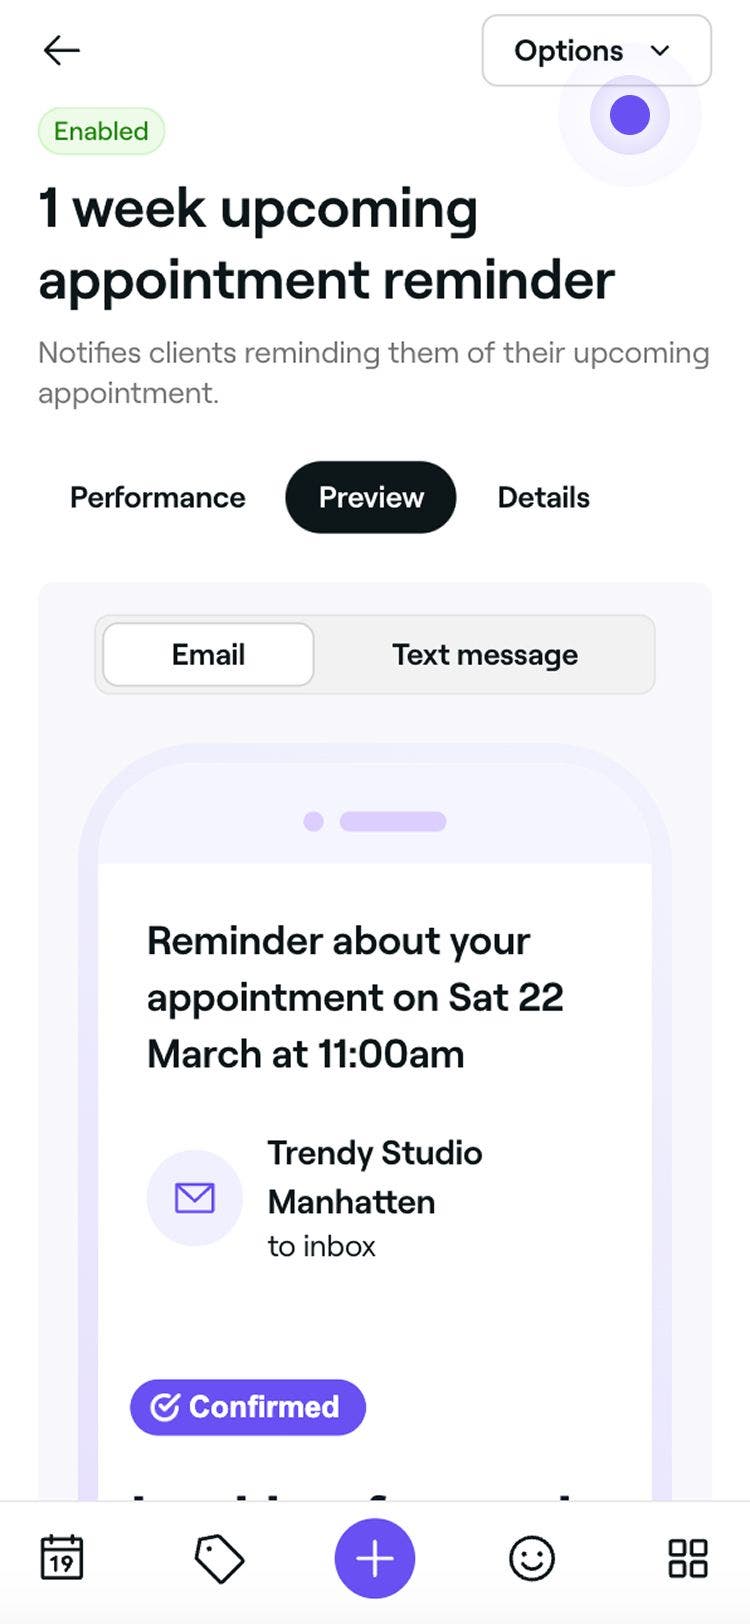
In the appointment reminder overview, click on the Options button in the top right and select one of the following options from the panel:
- Disable: Stop the appointment reminder from being triggered without deleting it by clicking on the Disable button in the pop-up to confirm.
- Remove: Permanently delete the appointment reminder by clicking on the Delete button in the pop-up to confirm.
- Reset: Restore the appointment reminder to its default settings by clicking on the Reset button in the pop-up to confirm.
Preview appointment reminders
Before sending automated reminders, you can preview how each message will appear to your clients.
- Open an existing reminder from your Automations.
- In the reminder automation overview, click on the Options button in the top right and select Edit from the panel.
- Click on the Preview button in the top-right.
- In the preview, click on each channel type to check how your message will appear across Email, Text message, and WhatsApp.
- In the top right, click on one of the following options:
- Send test email: In the pop-up, enter an email address and click on Send to see exactly how it will appear to clients before enabling the automation.
- Done: Close the message preview.
FAQs
You can choose to exclude the service price and add extra details for clients using the Important info field when editing email automated messages. This allows you to add helpful notes about the client’s visit and is shown in emails only. Text and WhatsApp message can't be customized and use a standard format to ensure clear and consistent communication.
All other content in automated messages is added based on the appointment details. Cancellation and no-show terms are automatically generated from the payment policy you have set up and can’t be edited directly in the reminder.
Yes, to prevent overwhelming clients, you can send up to three appointment reminders per appointment. These reminders can be scheduled at different times before the appointment to ensure clients receive timely notifications.
When a client changes their notification preferences, all future appointment reminders will automatically follow their latest settings. If they disable text or email notifications, appointment reminders will no longer be sent through that method.
Email reminders are always free to send through Fresha. Text and WhatsApp message reminders, however, are deducted from your messaging balance. You can manage your messaging balance under billing.
All WhatsApp messages sent through Fresha will come from a verified Fresha business account with the Fresha logo and phone number. Currently, it’s not possible to customize the sender name, phone number, or branding on WhatsApp.
Text and WhatsApp communication through Fresha is one-way only. Clients will not be able to reply to these messages. All messages will include a standard WhatsApp and text disclaimer at the bottom.
If a client blocks the Fresha number on WhatsApp, they’ll stop receiving notifications through that channel. To resume receiving messages, the client must unblock the number in their WhatsApp settings.
Clients receive one reminder per appointment. If multiple services are booked together within a single appointment, they’ll receive just one reminder for that booking. If the services are booked as separate appointments, they’ll receive a separate reminder for each one.