HomeKnowledge baseFresha academy
Create a custom form template
Back
  1. Knowledge base•
  2. Clients•
  3. Create a custom form template

Create a custom form template

In this guide, you’ll learn how to structure your form templates using custom sections to collect the information you need.

In this article

  • How custom sections in form templates work

How custom sections in form templates work 

Forms are made up of sections that help you organise the information you collect from clients. You can create a simple form to collect basic details, or build a fully custom form using tailored sections and questions.

Custom sections let you add your own questions based on the information you want to gather. You can choose from a range of question types, such as short text, multiple choice, yes or no, and more.

  1. You can start by creating a new form template. 
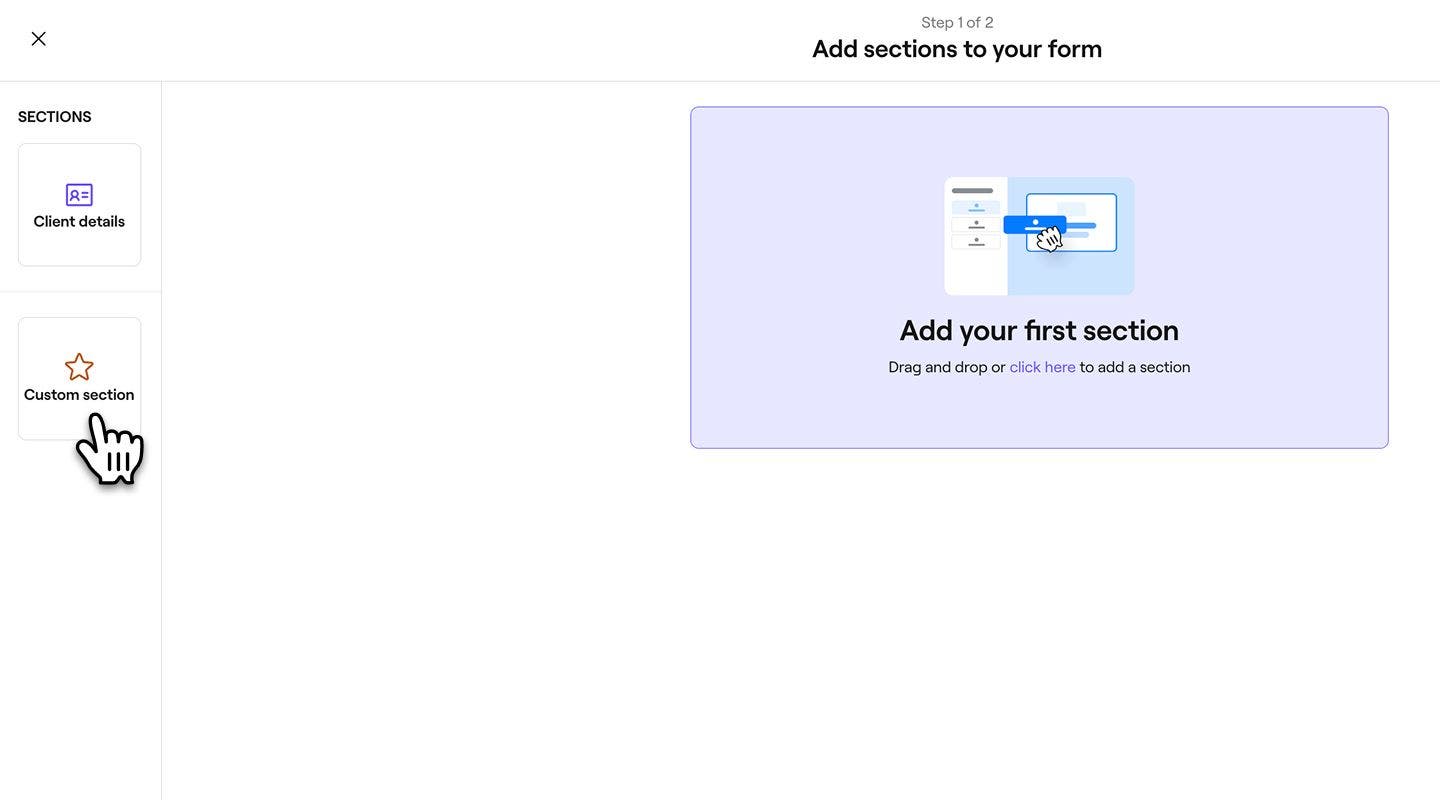
  2. In the Add sections step, select Custom section from the menu on the left. 
    custom_form_web_2.jpg
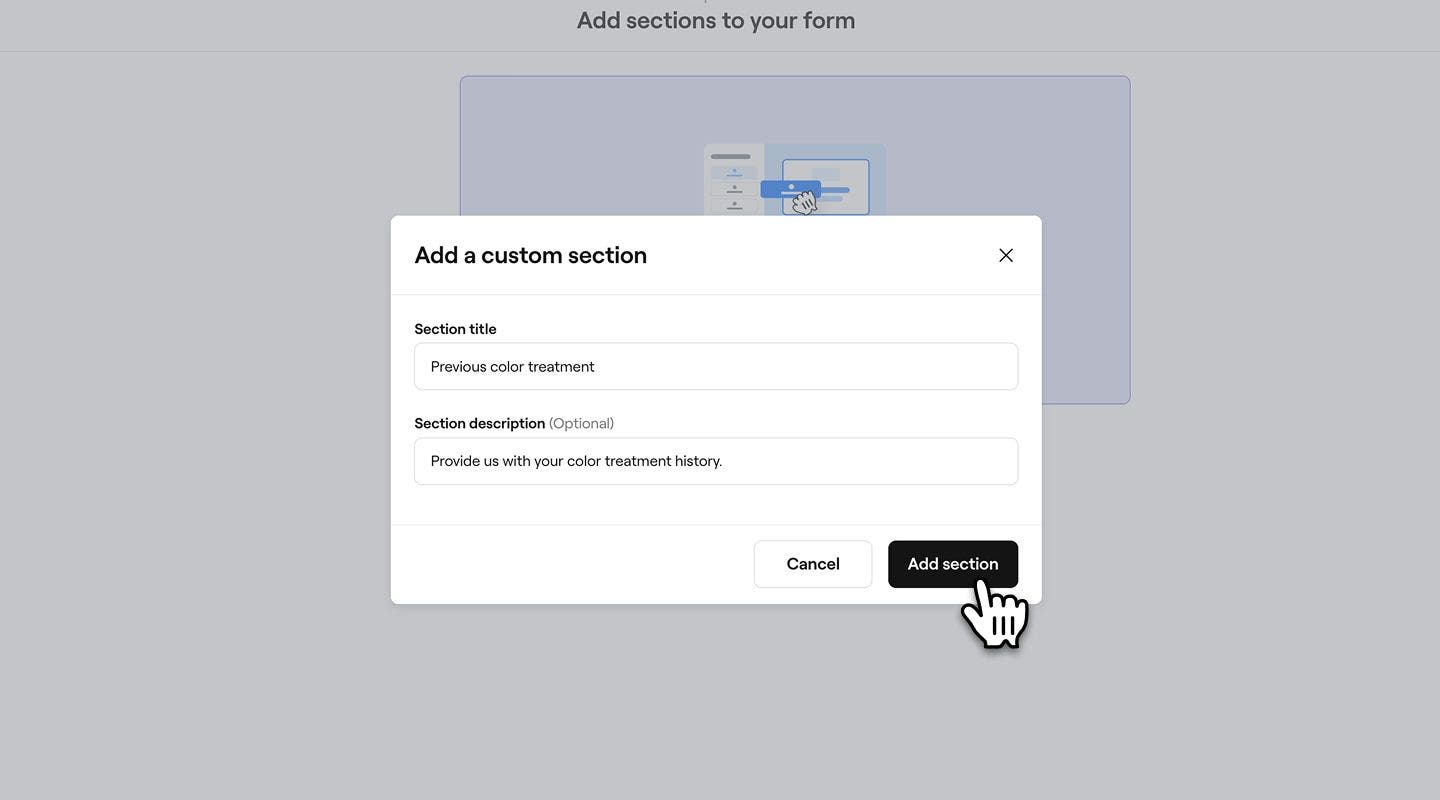
  3. In the pop-up, enter a Section title and description.
  4. Click on the Add section button to customize the details. 
    custom_form_web_4.jpg
  5. In the form builder view, choose an Answer type or item, and add a Question using the following options:
    custom_form_web_5.jpg
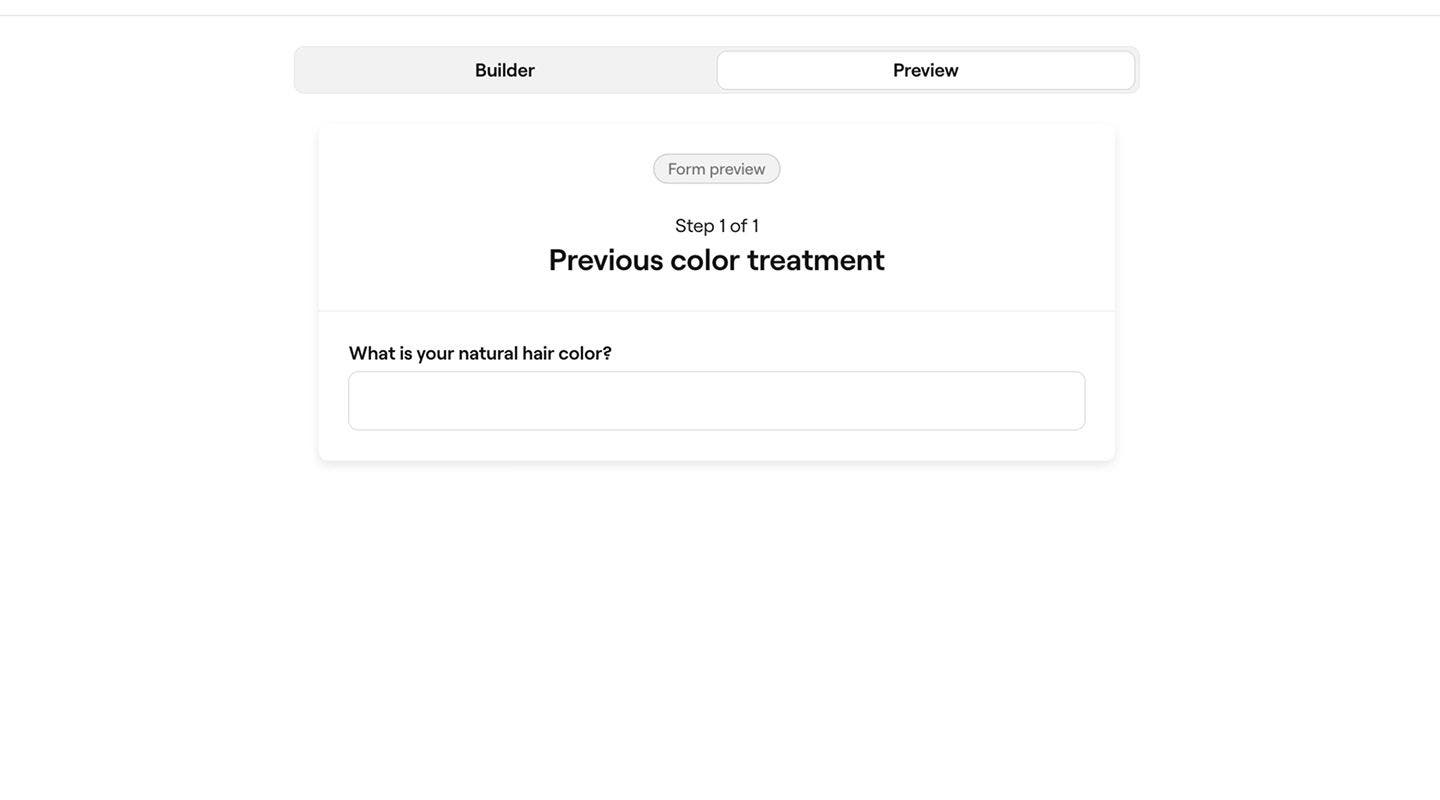
    1. Short answer: A single-line text field for brief responses.
      custom_form_web_5_a.jpg
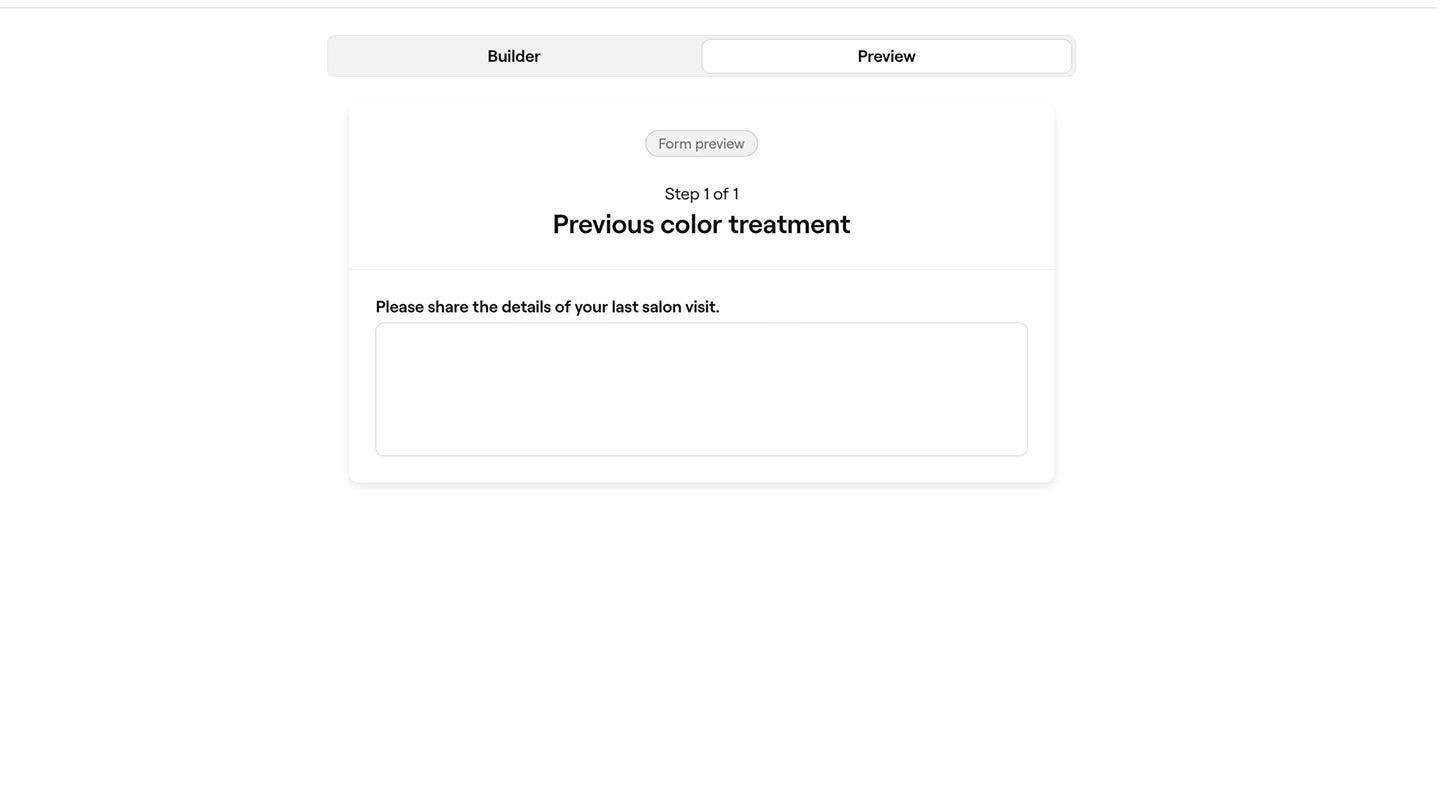
    2. Long answer: A multi-line text box for detailed responses.
      custom_form_web_5_b.jpg
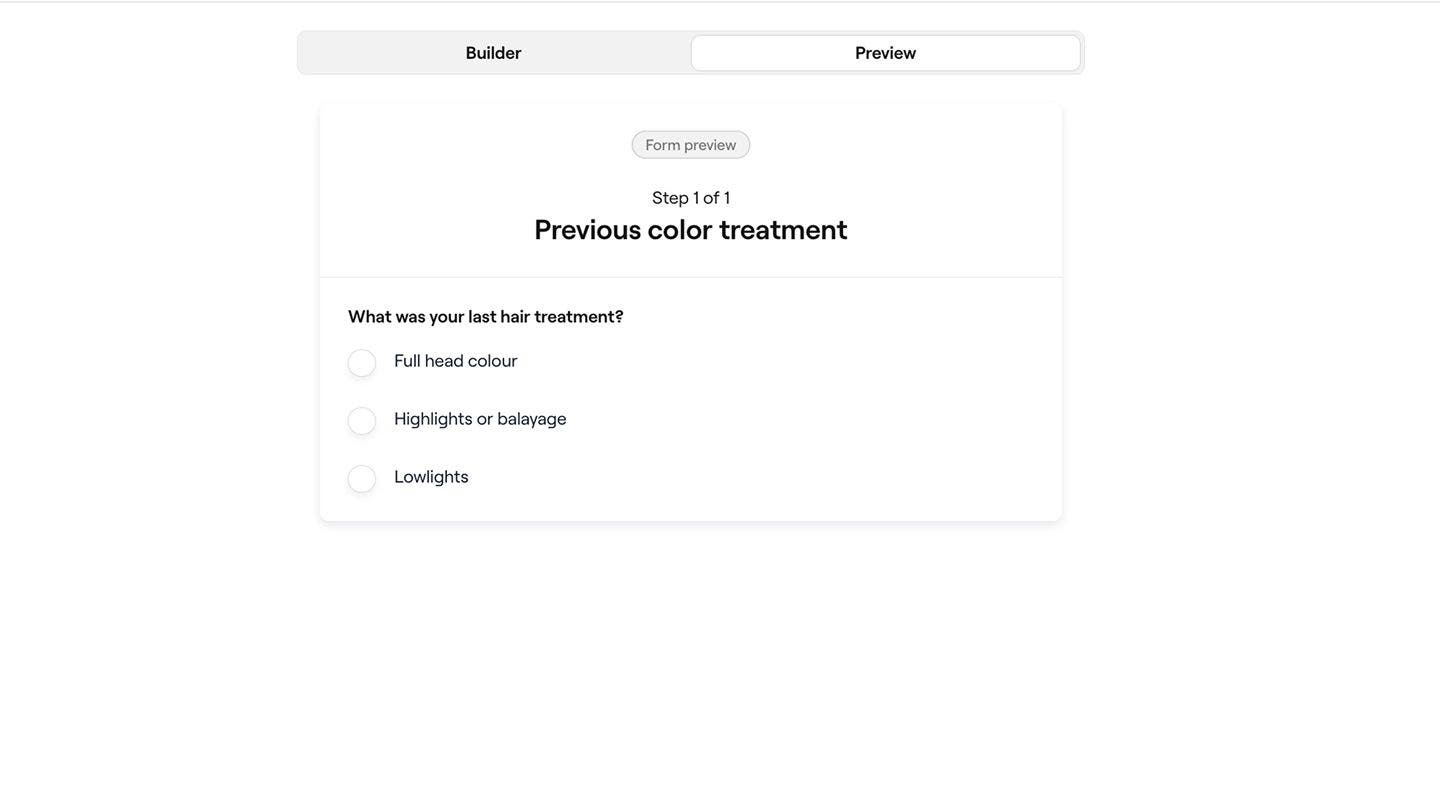
    3. Single answer: Let clients select one option from a list.
      custom_form_web_5_c.jpg
    4. Single checkbox: A single checkbox that clients can tick to agree or confirm something.
      custom_form_web_5_d.jpg
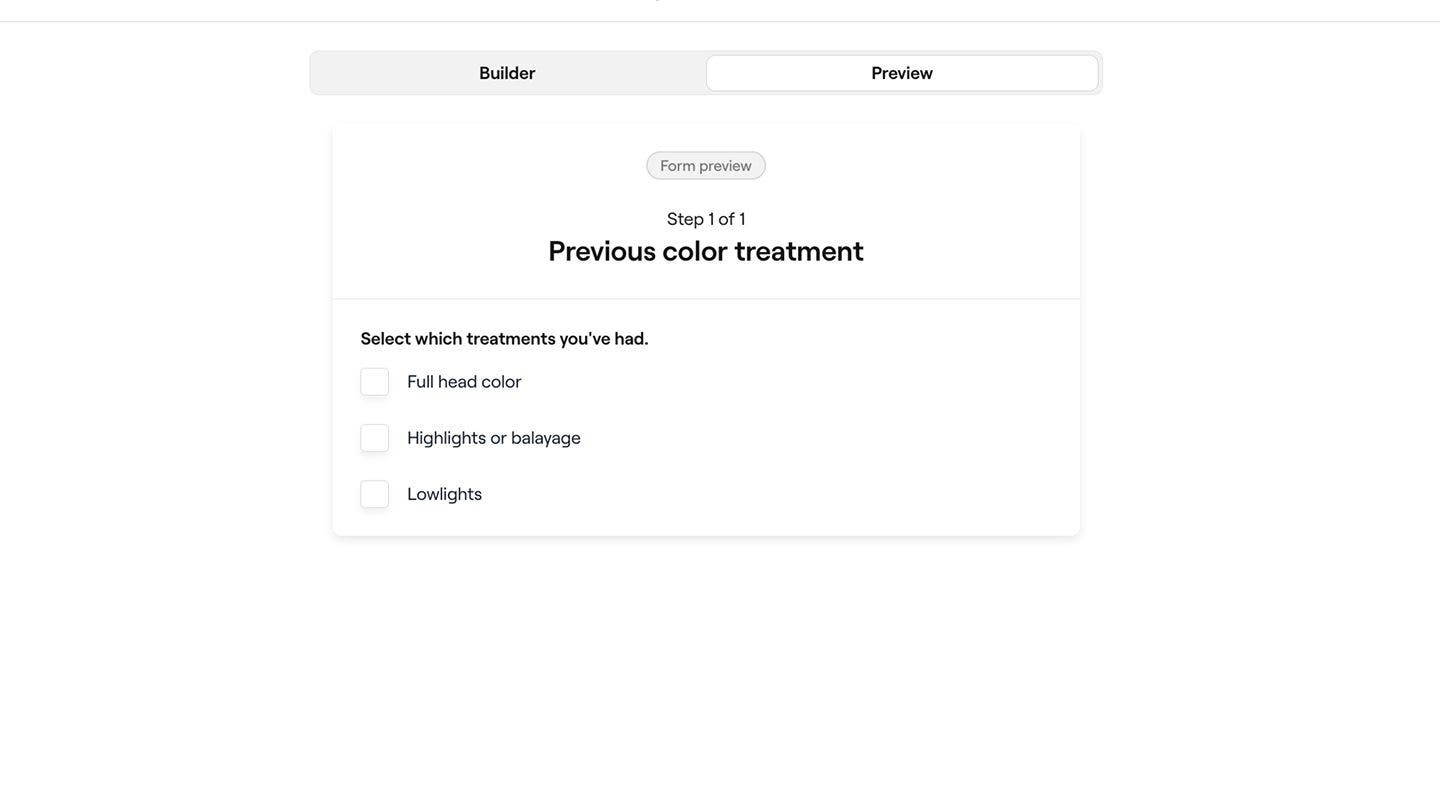
    5. Multiple choice: Let clients select more than one option from a list of check boxes.
      custom_form_web_5_e.jpg
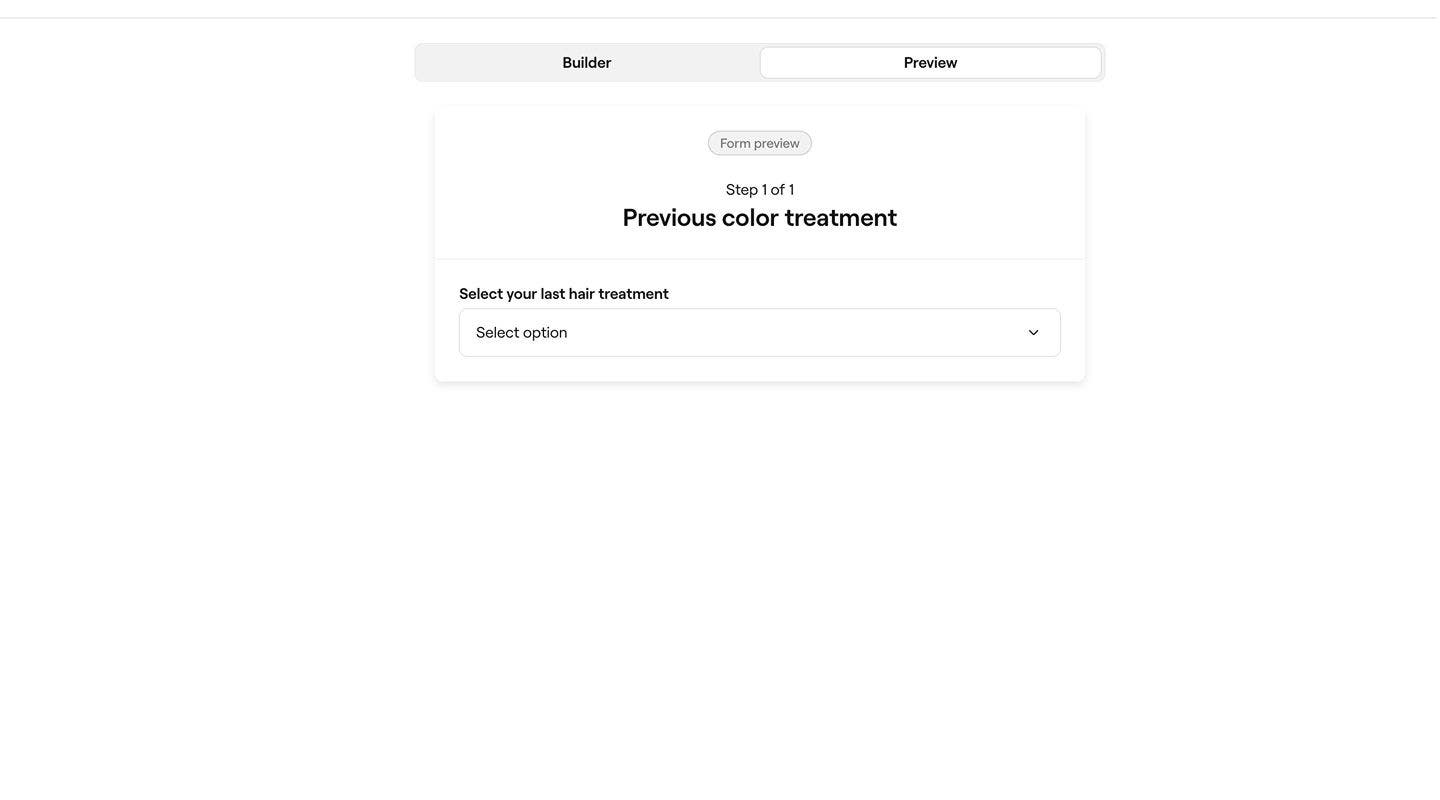
    6. Drop-down: Let clients select an option from a menu.
      custom_form_web_5_f.jpg
    7. Yes or no: Let clients choose between two options.
      custom_form_web_5_g.jpg
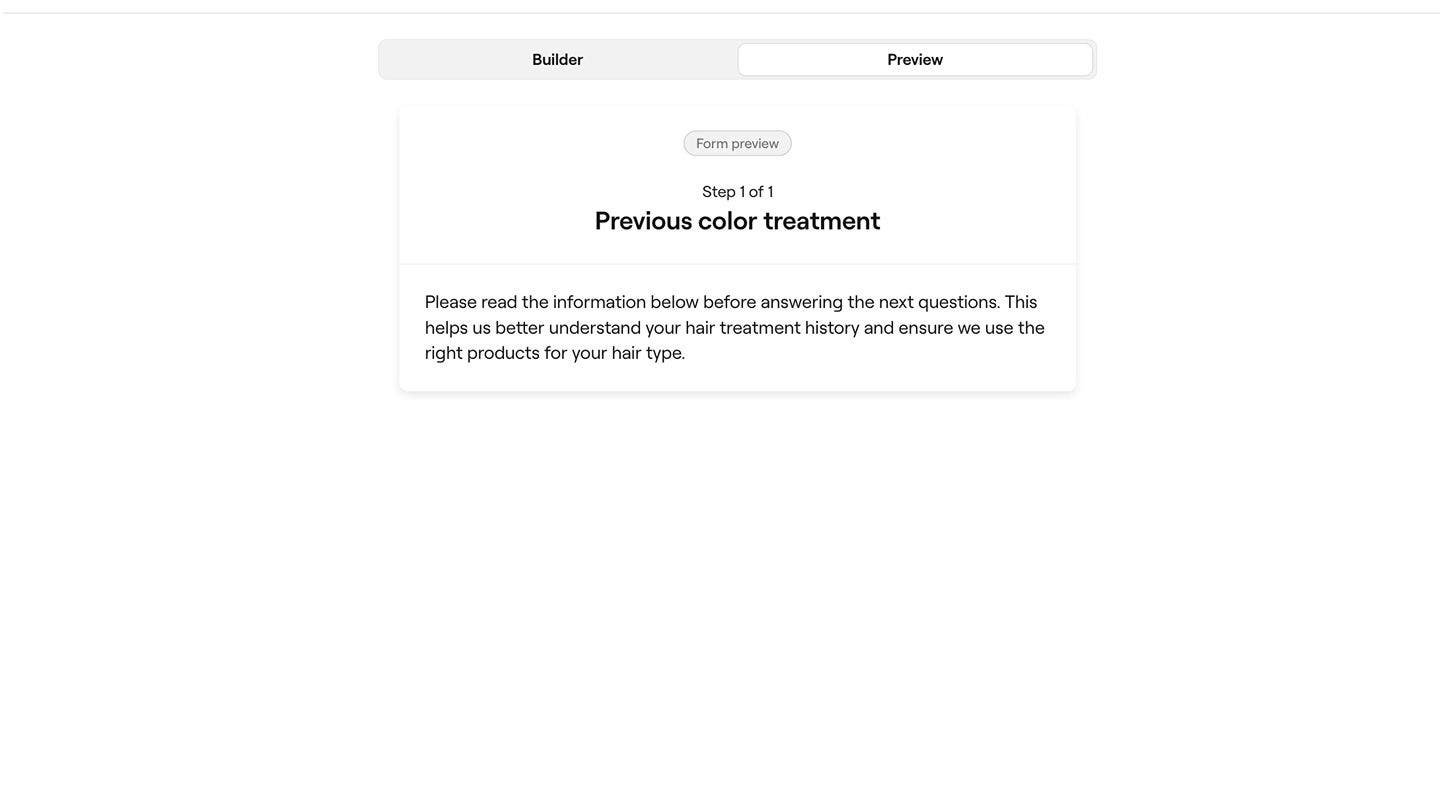
    8. Description text: Add information in a free text block, for clients to read.
      custom_form_web_5_h.jpg
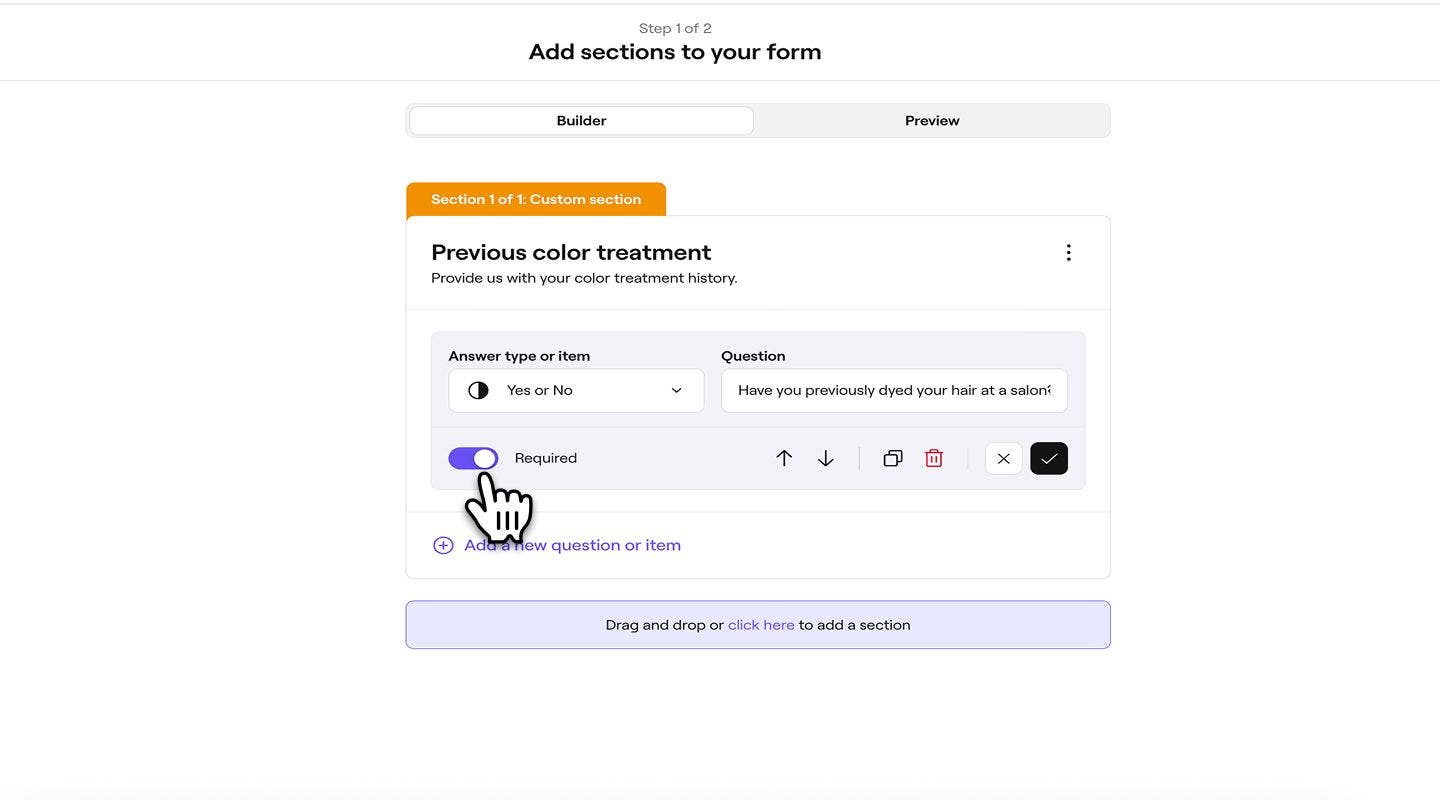
  6. Choose whether the question must be completed before the form can be submitted.
    custom_form_web_6.jpg
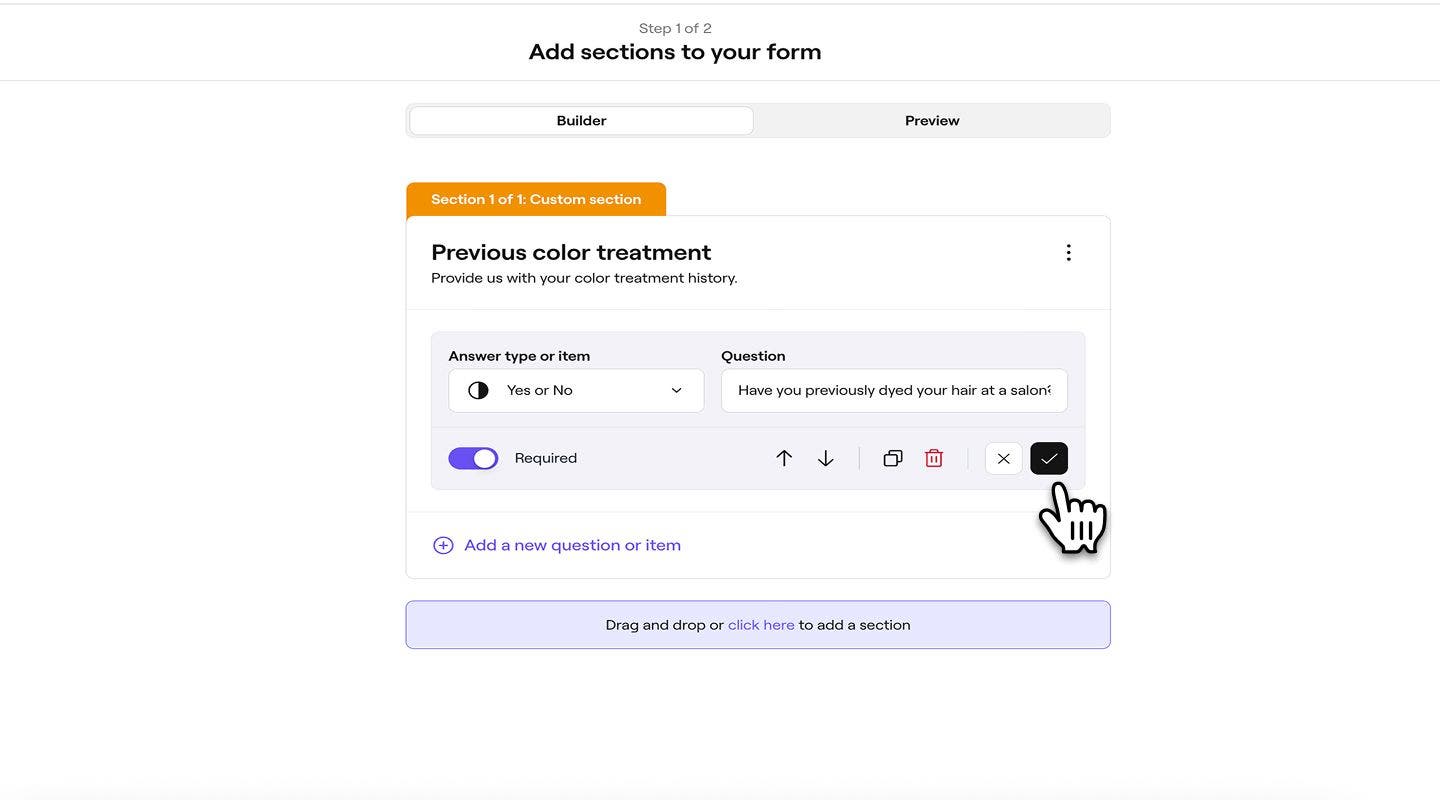
  7. At the bottom of each question or item, use the editing options to organize the custom section:
    1. Up/down arrows: Move up or down within the section.
    2. Duplicate icon: Create a copy.
    3. Delete icon: Remove from the section.
    4. Cancel icon: Discard any changes made.
    5. Tick icon: Apply and save your changes.
      custom_form_web_7.jpg
  8. To add another question or item, click on Add a new question or item at the bottom.
  9. Continue following the steps to complete your form template.
  1. You can start by creating a new form template. 
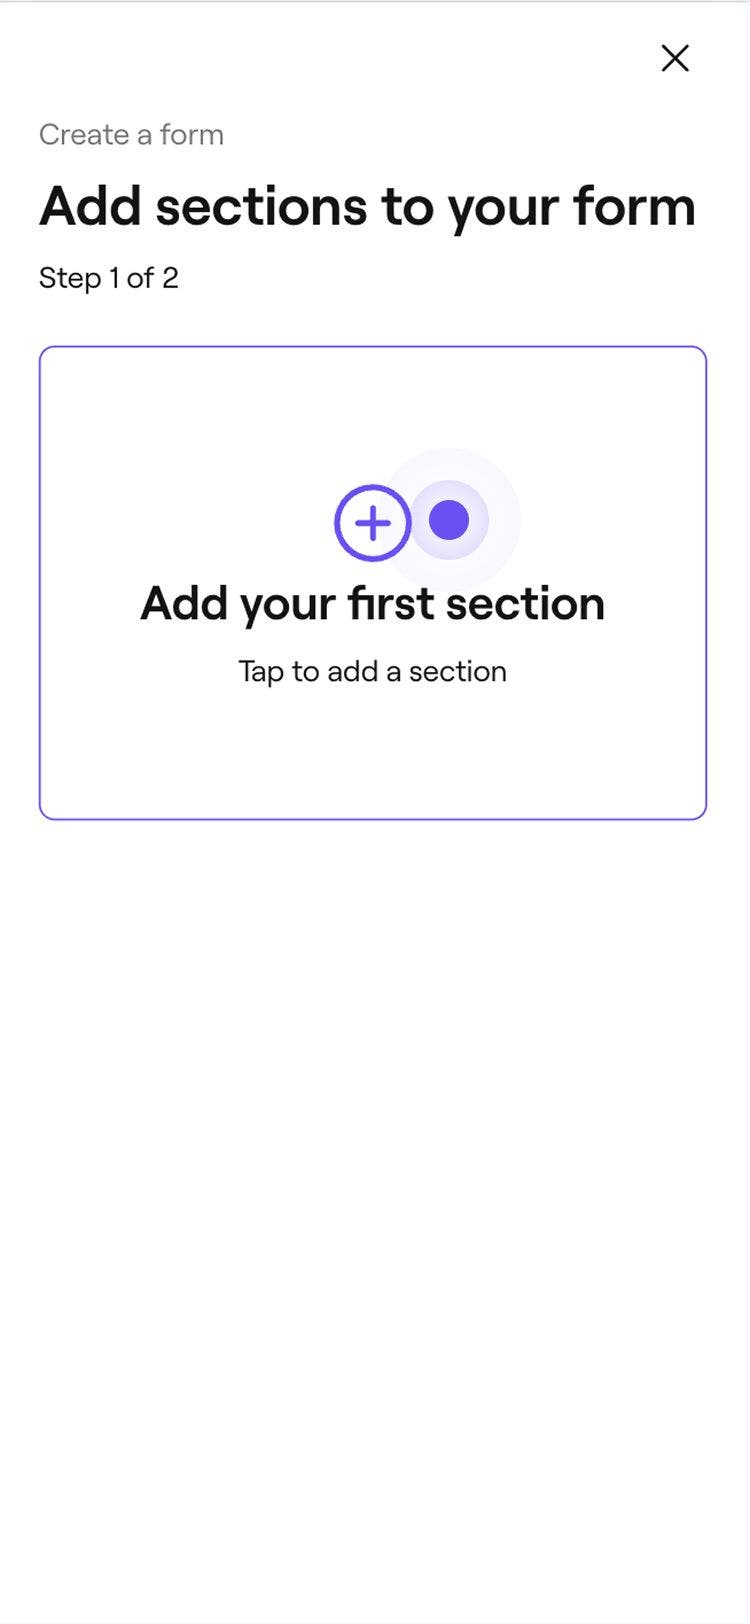
  2. In the Add sections to your form step, tap Add your first section.Group 216 (1).jpg
  3. In the Add a section step, select Custom section, then Add section at the bottom.
  4. In the Add a custom section view, enter a Section title and description.
  5. Tap on the Add section button to customize the details. 
  6. In the Question or item view, choose an Answer type or item, and add a Question using the following options:
    1. Short answer: A single-line text field for brief responses 
    2. Long answer: A multi-line text box for detailed responses 
    3. Single answer: Let clients select one option from a list 
    4. Single checkbox: A single checkbox that clients can tick to agree or confirm something
    5. Multiple choice: Let clients select more than one option from a list of check boxes.
    6. Drop-down: Let clients select an option from a menu.
    7. Yes or no: Let clients choose between two options.
    8. Description text: Add information in a free text block, for clients to read.
  7. Choose whether the question must be completed before the form can be submitted.
  8. Tap on the Save button at the bottom to add the question or item.
  9. At the top of each question or item, select Actions (three dots) to use the editing options to organize the custom section:
    1. Edit: Update the question or item.
    2. Duplicate: Create a copy.
    3. Move up or down: Change the order.
    4. Delete: Remove from the section.
  10. To add another question or item, click on Add a new question or item at the bottom.
  11. Continue following the steps to complete your form template.

Client forms

Was this guide helpful?

Client forms

Client forms overview

Collect client information before or during appointments using forms.

Create a basic form template

Gather important client information before or during appointments with forms.

Create a custom form template

Add custom sections to form templates.

Complete forms

Easily manage forms, including handling drafts, completed forms, and incomplete ones.

Fresha
Get the app

About Fresha

Careers

Help and support

Blog

Sitemap

For business

For partners

Pricing

Features

Scheduling

Point of sale

Payments

Capital

Marketplace

Support

Status

Legal

Privacy Policy

Terms of service

Terms of use

Find us on social

Facebook
Linkedin
Instagram

© 2026 Fresha.com SV Ltd