Track Meta Pixel Ads
Learn how to track events and attract new audiences based on client activity using Facebook Pixel.
In this article
About Meta Pixel Ads and Fresha
The Facebook Pixel is a small piece of code added to your website that collects data to help you track conversions from Facebook ads, optimize ad performance, build targeted audiences, and retarget visitors who have interacted with your site. For more information, refer to the official Facebook article.
Fresha supports 6 default Facebook events to track client actions during the booking process:
- PageView Triggered when a client enters the booking flow, views or reschedules an appointment, or enters the membership or gift card flow (triggered once per flow).
- Reservation Triggered when an appointment is confirmed (via the Confirm button).
- Purchase Triggered when the client reaches the Payment Method confirmation screen.
- Schedule Triggered on appointment confirmation (used with older Facebook Pixel setups, same behavior as Reservation).
- InitiateCheckout Triggered at the first step of the booking flow.
- AddPaymentInfo Triggered when the client reaches the Payment Method screen.
Before running ad campaigns with Facebook Pixel, make sure you have a registered Facebook Business account and that a 15-digit Pixel ID is visible in the top left corner. If it's missing, you'll need to create one.
Connect Meta Pixel Ads with Fresha
- Open your Facebook Business account and create a Meta Pixel using the Facebook Business Help Center guide.
- Once you've added the Meta Pixel code to your website, copy the Pixel ID. For step-by-step instructions, refer to the guide in the Facebook Business Help Center.
- Open your Fresha business account.
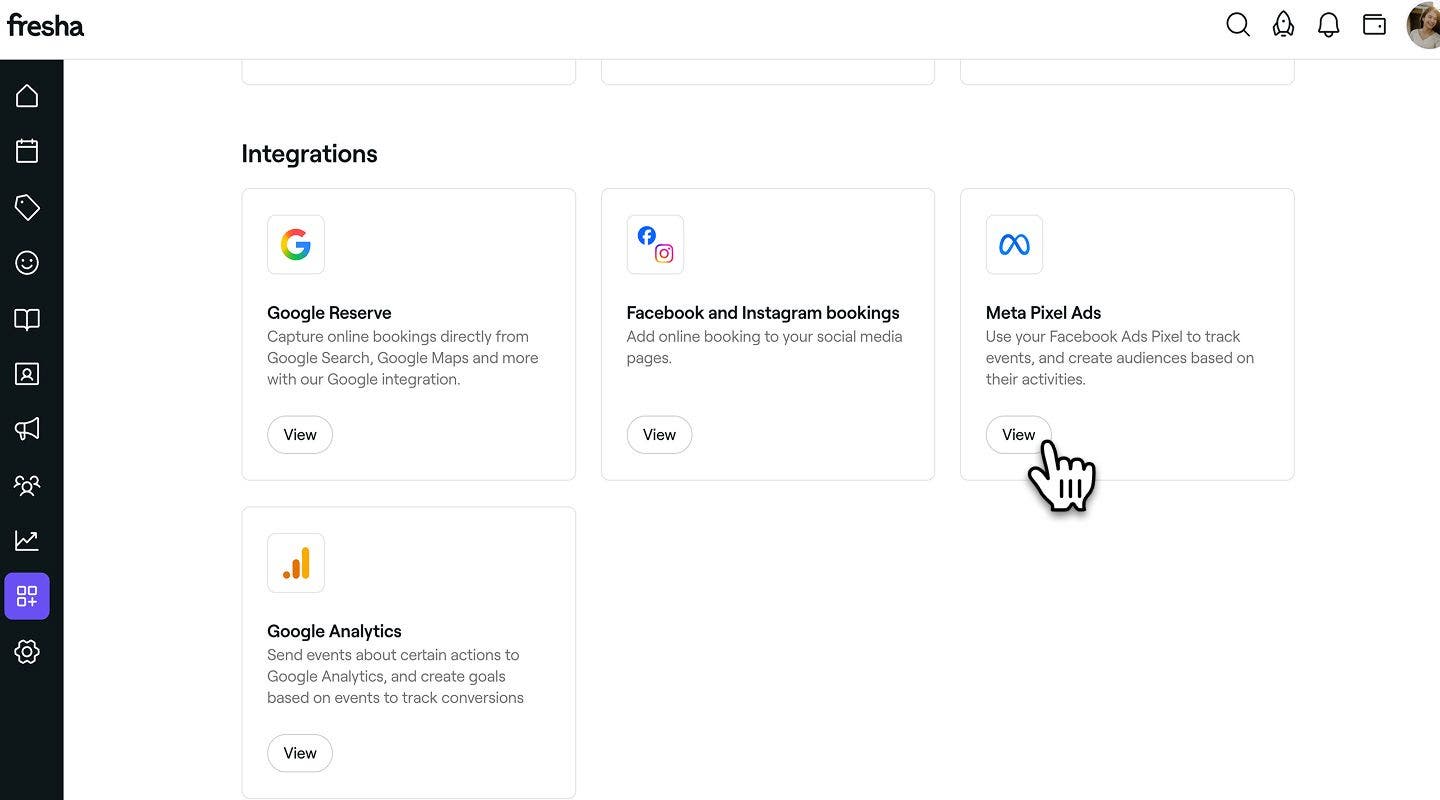
- From the main menu on the left of your screen, go to Add-ons.
- Under Meta Pixel Ads, click on the View button.
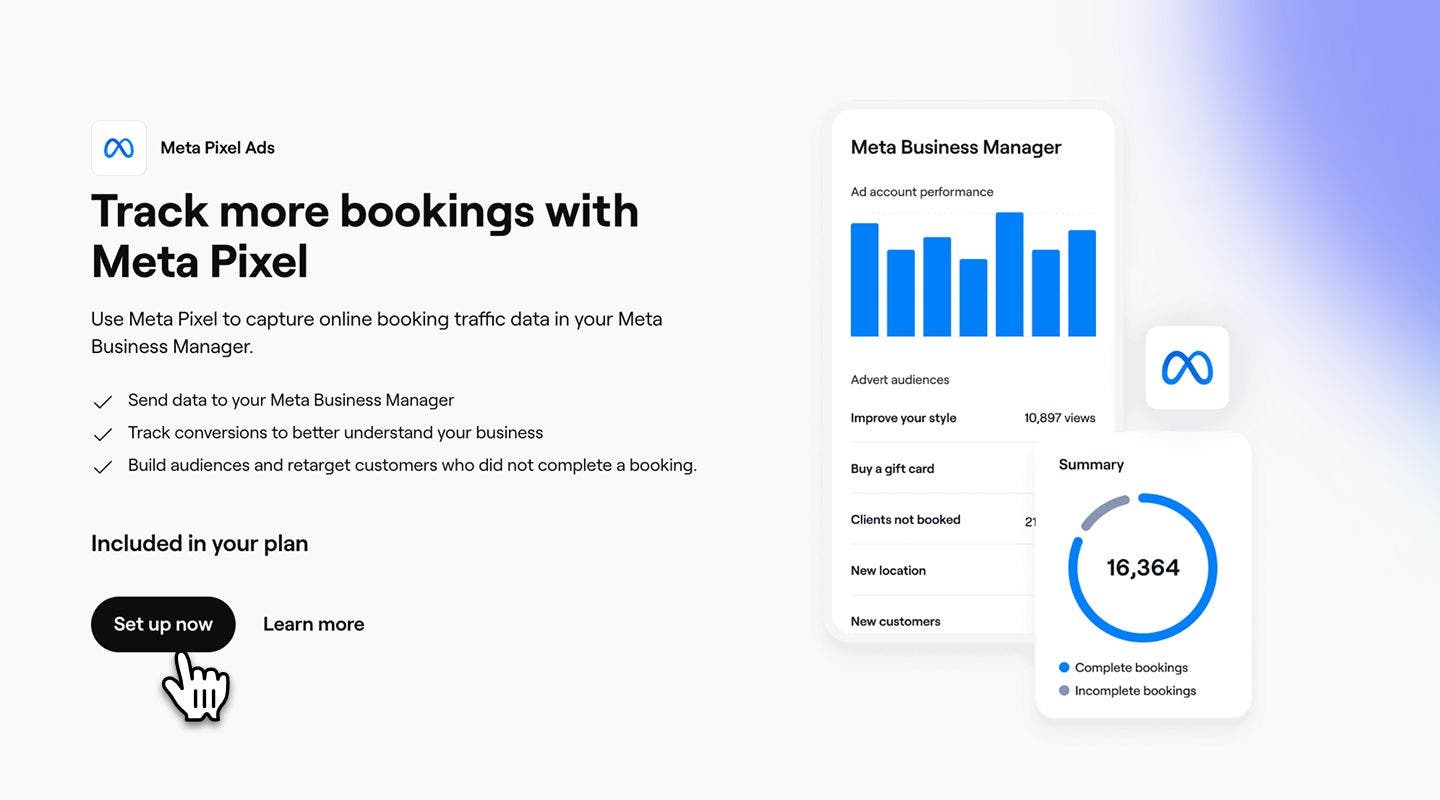
- Click on the Set up now button to begin enabling the add-on.
- Paste your copied Pixel ID into the field provided.
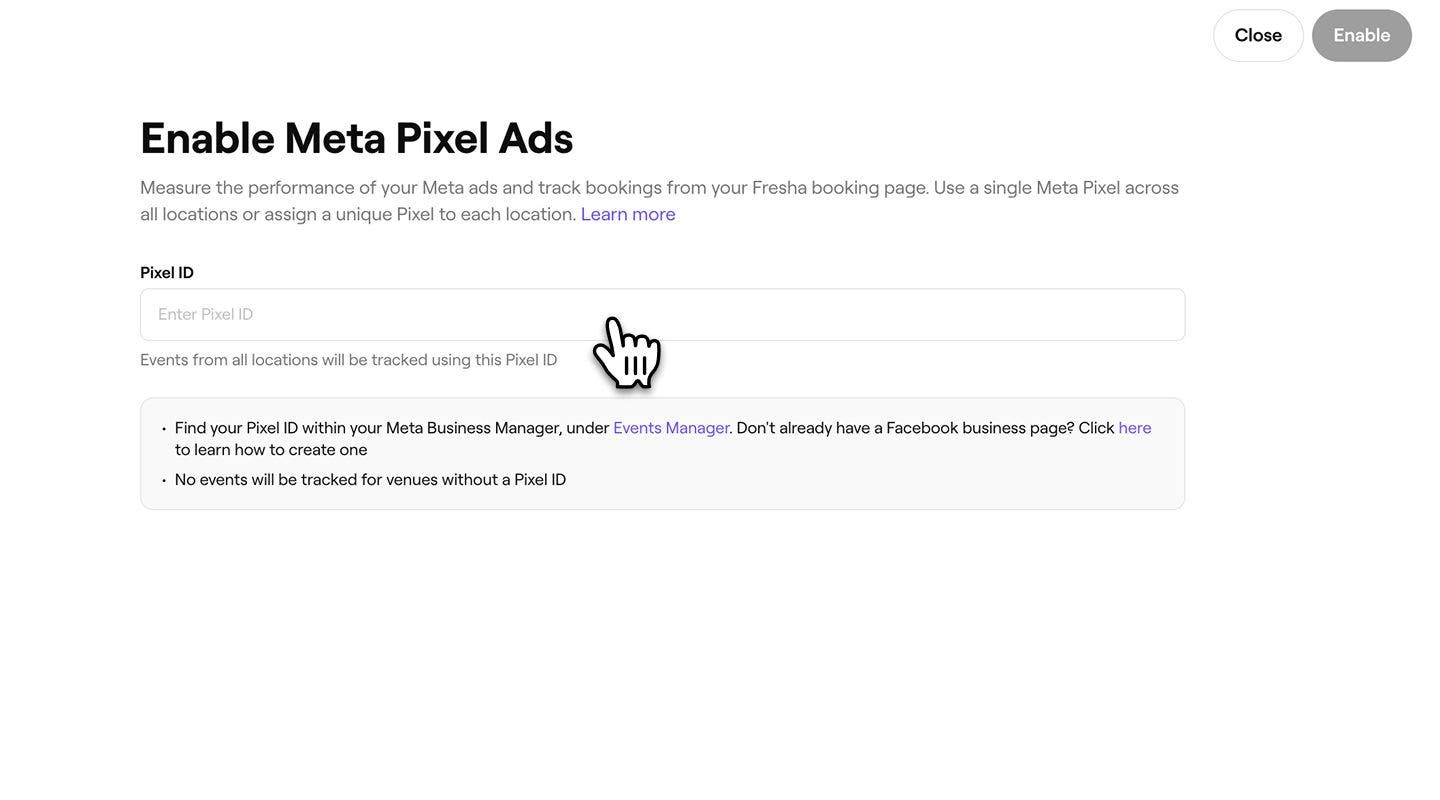
- Click on the Enable button in the top right to connect your Fresha account with Meta Pixel.
Once you’ve connected Fresha to your Facebook Pixel, data from your online profile and booking flow will be sent as “events” to your Meta Business Manager. This allows you to track visitors on your scheduling page and optimize your ads to reach the right audience.
Connect a Pixel ID per location
If you have multiple locations in your workspace, you can connect a different Pixel ID for each location so that tracking data is sent separately per location to Meta Business Manager.
- When you reach the step to paste your Pixel ID, select the Pixel ID per location tab.
- Paste the Pixel ID into the field for each location.

- Click on the Enable button in the top right to connect all locations.
Disable Meta Pixel Ads
- From the main menu on the left of your screen, go to Add-ons.
- Under Meta Pixel Ads, click on the Actions button and select Disable.

- In the pop-up, click on the Disable now button to confirm your choice.
If you need any assistance with Meta Pixel Ads, you can review the Facebook Help Center or contact Facebook support directly.