Create a package
Learn how to create a package by combining services, products, and discounts into one pre-packaged collection, with added benefits for your clients.
In this article
Create a package
From the main menu on the left of your screen, go to Catalog.
-
Select Packages from the side panel and click Add in the top right of your screen, and select Package to create a new package.

-
Under Package details, enter a package name that reflects what’s included. For example, ‘Ultimate Spa package’.
- You can add a design to your package by clicking on the theme button and selecting a color theme.
-
Under Category, use the dropdown menu to select an existing category where the package will be displayed under for clients booking online

- You can create a new category by selecting Create new category.
-
Add a short Description in the textbox so clients know what’s included when they see the package online.
-
To add benefits to a package, click the Add Benefit button under Benefits.

-
From the list of benefits to add, choose from the following options:

- Services: Choose a single service with dedicated sessions, or a group of services that clients can redeem across multiple services.
- Products: Choose a single product with a set quantity, or a group of products that clients can redeem across multiple products.
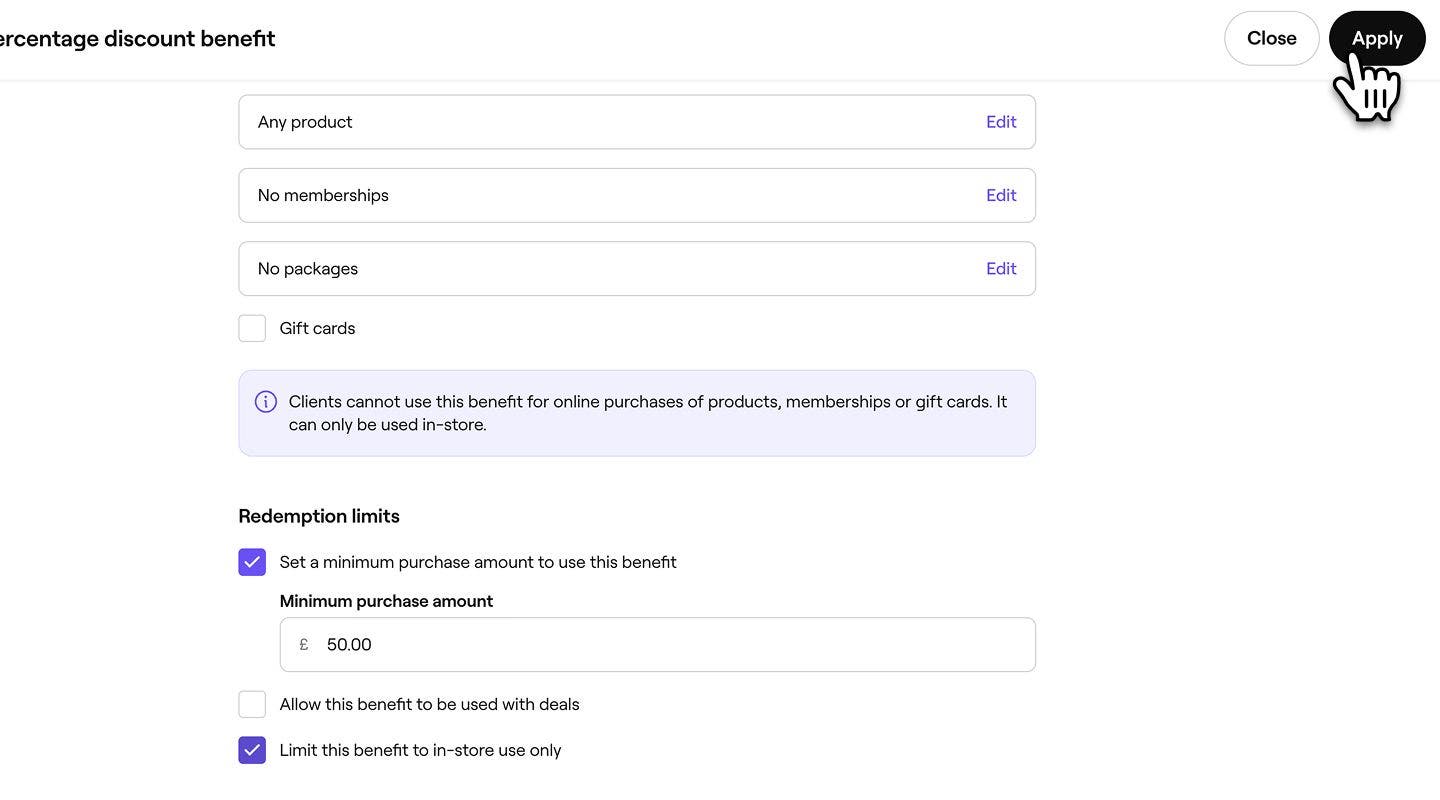
- Discounts: Offer either a fixed amount or percentage discount on selected services and products.
-
For services, select the service you would like to add to your package and click Save in the top right of your screen.

-
Next to each benefit, set the appropriate value based on the benefit type:
-
Sessions: Set the number of service sessions clients can redeem.
-
Quantity: Set how many products clients can receive.
-
Uses: Set how many times a discount can be redeemed.

-
-
Once you've added all your benefits, under Pricing, enter the total package price and choose an expiration period. The package price is the upfront amount the client pays, while the expiration period determines how long they have to redeem their benefits.

-
Click on the Save button in the top right to create your package.
Once you create a package, it’s ready to start selling online or in-store based on your selected settings.
If you have multiple locations, by default, all active locations are enabled to sell this package. To change this, update your package settings.
Update package settings
Manage whether packages can be sold online, add terms and conditions, enable commission to be earned for the package, and tax update settings.
- Open your package, then select Settings from the left menu panel manage how the package can be purchased and used.

- Under Settings, untick the checkbox to remove clients' ability to purchase the package online.

- Use the Terms and conditions text box to add any important details clients should know before purchasing.
- Under Sales settings, check the tickbox to enable team member commission to be earned for sales of the package.
- Use the dropdown menu under Sales tax to update the tax settings for the package.
- Choose to use your default tax settings (as set in your workspace), apply an existing tax rate, or set no tax for this package.
- Click Save in the top right of your screen to apply changes to the package.

Once you have updated a package, the changes take immediate effect. If you make changes to price or benefits, these will apply to future purchases only and won’t affect packages that have already been sold.